To set up a Venmo button on your website, you'll need to obtain a Venmo merchant ID. This ID is unique to your business and is required for processing payments.
You can obtain a Venmo merchant ID by logging into your Venmo account and navigating to the "Settings" menu, where you'll find the "Merchant ID" option.
Having a Venmo merchant ID is essential for integrating a Venmo button on your website, as it allows you to receive payments through the platform.
Discover more: E Wallet Website
Setting Up Venmo Button
To set up a Venmo button, you'll need to have a WordPress website. Now that you know the benefits, let's get started.
You'll need to have a few things on hand to make this process smooth. Specifically, you'll need to have the Venmo button plugin installed on your WordPress site.
Before you begin, it's a good idea to make sure you have a Venmo account. This will be necessary to link your account to your WordPress site.
You'll also need to have a payment method set up on your Venmo account. This could be a debit card, credit card, or bank account.
Having these requirements met will make the process of setting up a Venmo button much easier and less frustrating.
Additional reading: Why Do Banks Take so Long to Process Payments
Adding Venmo to Website
Adding a Venmo button to your website can be done through your PayPal account. You can create a payment button that will display a Venmo button, provided both the buyer and seller accounts are in the US.
To create this button, log into your PayPal account, click on Pay & Get Paid, and then click on Pay Links & Buttons. Fill in the details for your button, click Change the Look and Feel to customize the buttons, and then click Build It. You will be given the option for Code, Link, or QR code, which you can copy and paste into your website.
For WordPress sites, you can use plugins like WooCommerce, PayPal Buttons for WordPress, or Simple PayPal Donations to integrate Venmo as a payment option. If you're using WooCommerce, install the WooCommerce PayPal Payments plugin to accept PayPal and Venmo payments in one place.
Recommended read: Will Synchrony Bank Settle
Adding PayPal to Website Pages
Adding PayPal to website pages is a breeze, especially if you're looking to add a Venmo button. You can create a payment button through your PayPal account that will display a Venmo button, provided both the buyer and seller accounts are in the US.
Discover more: Woocommerce Venmo
To get started, log into your PayPal account at https://paypal.com. Click on Pay & Get Paid, then Pay Links & Buttons. Fill in the details for your button and click Change the Look and Feel to customize the buttons.
You'll be given the option for Code, Link, or QR code. You can copy and paste it into your website. As you build the button, a preview is shown to the right, so you can see how it will look before adding it to your site.
Mobile Payments
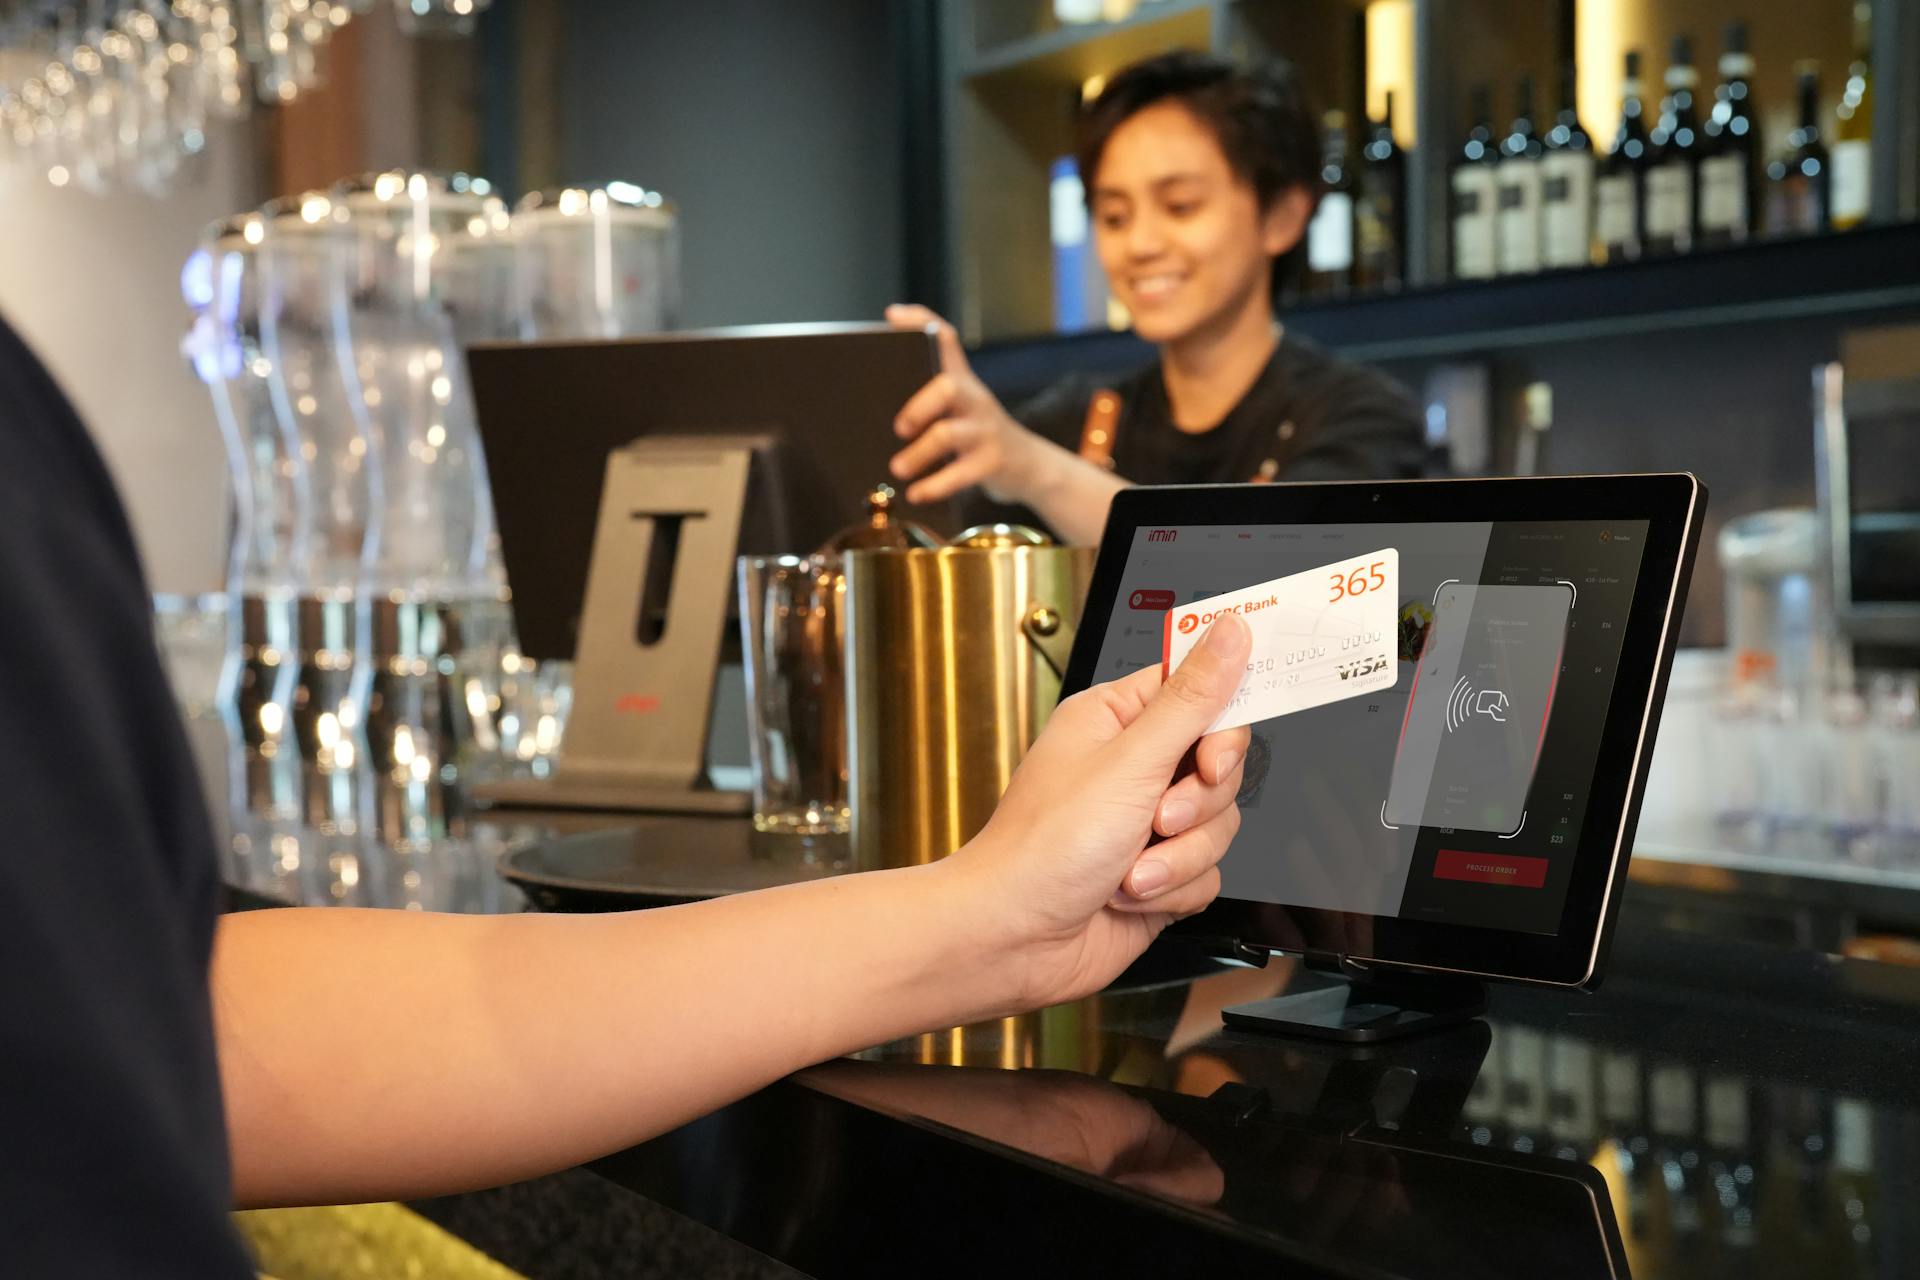
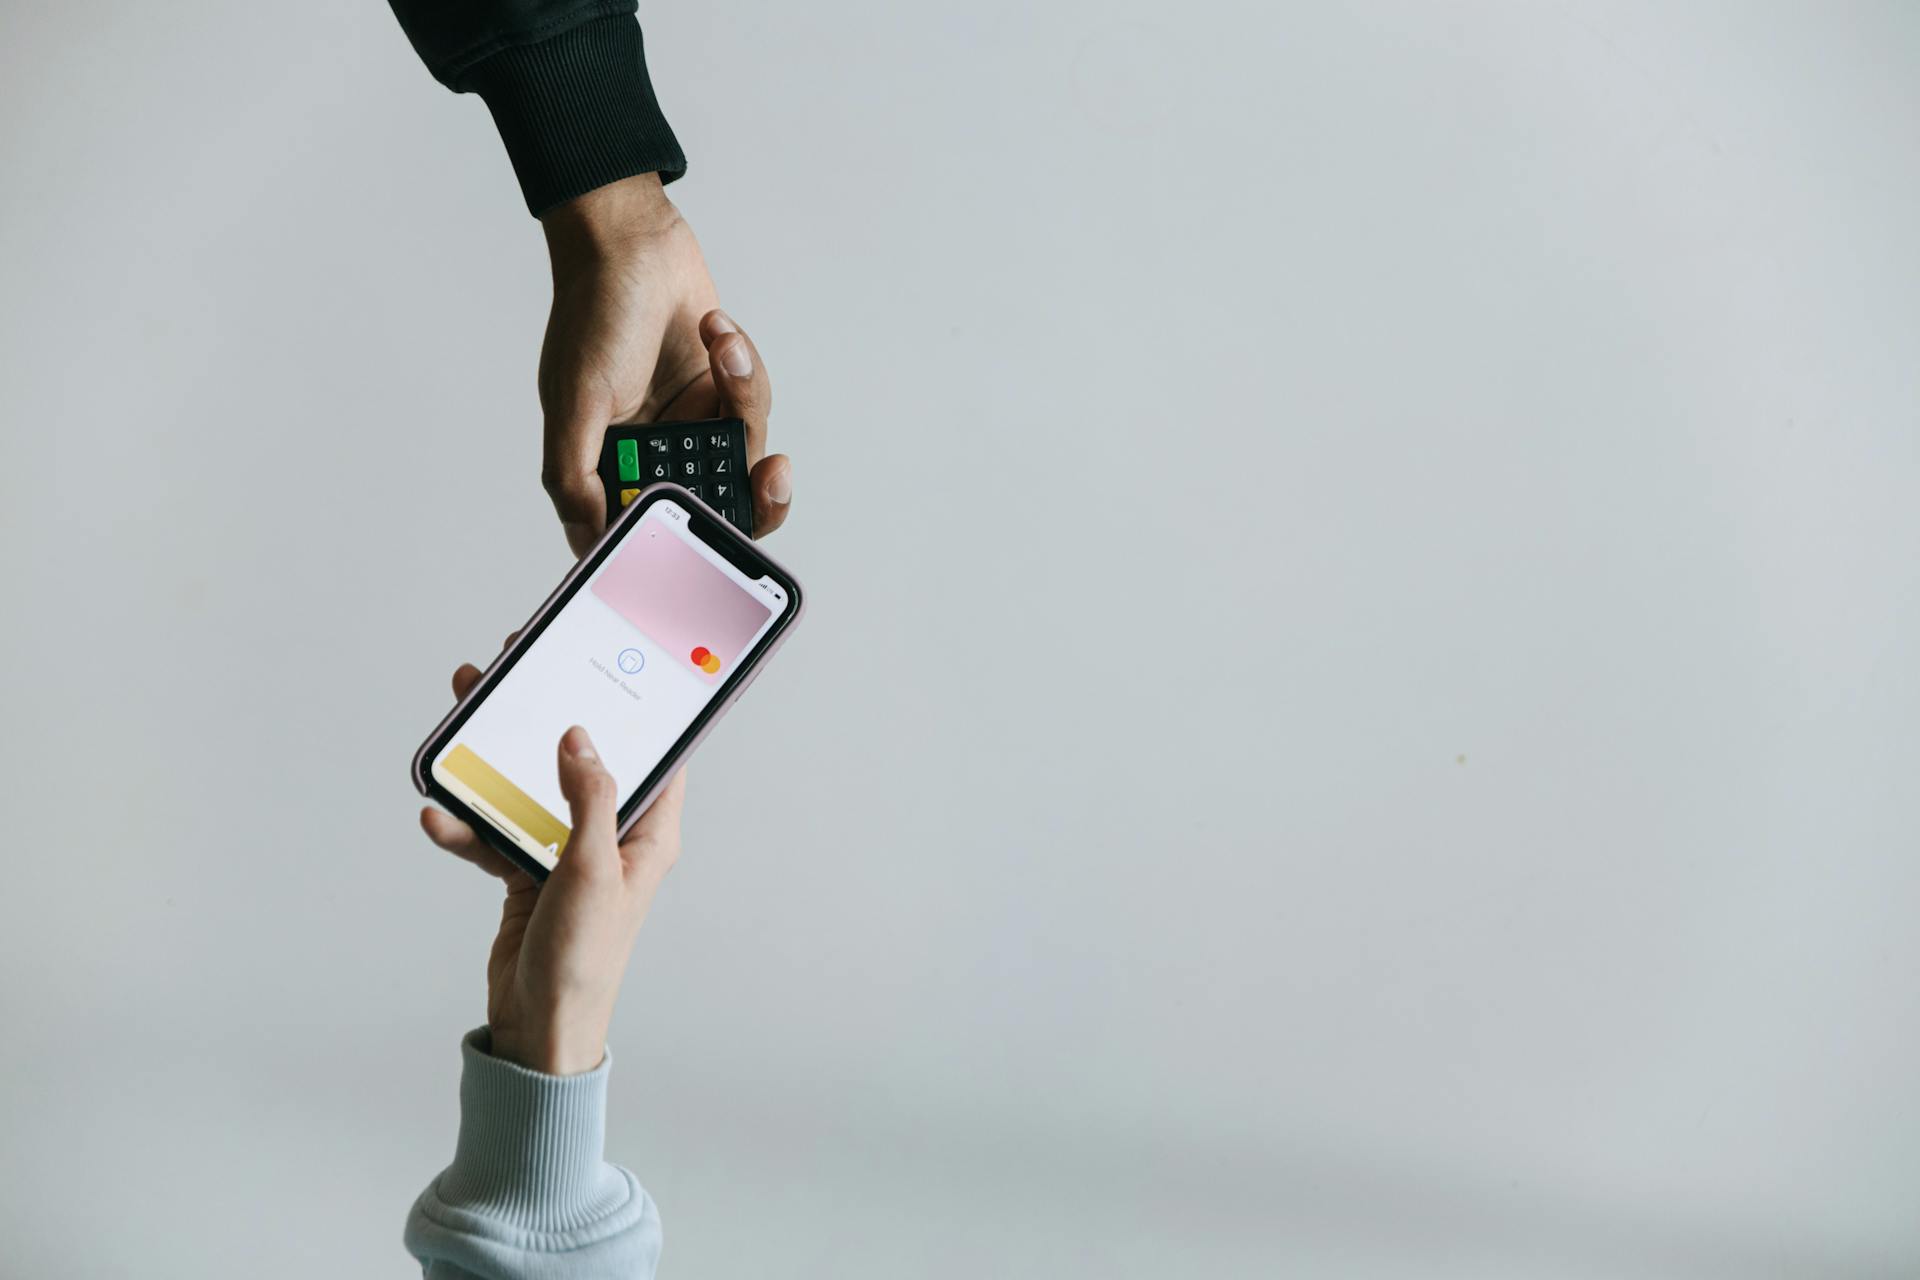
Mobile payments have become the norm, and people love the convenience of paying via apps they already use.
Integrating Venmo into your website caters to a tech-savvy audience that values speed, ease, and familiarity.
To make mobile payments work, payers on mobile devices must use Safari on iOS or Chrome on Android.
Here's a step-by-step guide to completing a mobile payment:
- Payer taps the Venmo button.
- Payer taps Continue.
- Payer is routed back to your website.
By adding a Venmo button to your WordPress site, you're offering a game-changing payment option that can boost your sales and customer satisfaction.
Configuring Venmo Button
To configure the Venmo button on your WordPress site, you'll need to install a payment gateway plugin. For WooCommerce users, this is as simple as installing the WooCommerce PayPal Payments plugin.
You can also use PayPal Buttons for WordPress or Simple PayPal Donations for non-e-commerce sites. These plugins will enable Venmo as a payment option, so choose the one that best fits your website's functionality.
To link your PayPal Business Account and enable Venmo payments, navigate to WooCommerce > Settings > Payments for WooCommerce users. For PayPal Buttons, go to the settings menu and configure your PayPal credentials.
Once your Venmo payment option is enabled, you can start customizing the button to match your website's design and functionality. Most plugins will offer a drag-and-drop feature to easily embed the button onto your WordPress site.
Here are the steps to follow:
- For WooCommerce: Enable PayPal and Venmo as accepted payment methods in WooCommerce > Settings > Payments.
- For PayPal Buttons: Configure your PayPal credentials in the settings menu and customize the button to include Venmo as a payment option.
Make sure to test the button to ensure it works properly across devices, particularly on mobile, where most Venmo users will likely be making payments.
Eligibility and Requirements
To use the Venmo payment option, you need to meet certain eligibility requirements.
US-based sellers and buyers are the only ones who can use this option.
The transaction must be in USD.
If you're testing the Venmo payment option on a mobile device, make sure you're using Safari on iOS or Chrome on Android. You'll also need to have the Venmo iOS or Android app installed.
Desktop buyers can use any major web browser to make a Venmo payment.
Related reading: Do You Need a Deposit Slip to Deposit a Check
Testing Your
Testing Your Venmo Button is crucial to ensure a smooth payment experience. Proper testing will help you avoid any hiccups during actual transactions.
You should test your Venmo button as soon as you set it up. The last thing you want is for a customer or donor to face issues while trying to make a payment.
Testing on mobile devices is essential, as Venmo is a mobile-first platform. Open your site on a mobile phone and simulate a payment using the Venmo app to ensure everything works smoothly.
If issues arise during testing, go back to the plugin settings and troubleshoot by reviewing your configuration or checking for plugin updates.
If this caught your attention, see: Truist Bank Problems
Allow for Placement
To allow for Venmo placement on your website, you'll want to make sure you have enough room on your page for the Venmo button. This means leaving some extra space for the button to render without being cut off or overlapping with other elements.
If you have an existing vertical button stack, the Venmo button will render underneath it, so plan accordingly. Don't forget to test the layout to ensure everything looks and works as expected.
Make sure the Venmo button is clearly visible on your checkout or donation page, ideally above the fold or near the top of the page. This will minimize the steps users need to take to make a payment and make the process as smooth as possible.
Intriguing read: I M B Bank Share Price Today
Payment Options and Workflow
To ensure a smooth payment process with your Venmo button, it's essential to understand the eligibility criteria and workflow. Here are some key facts to keep in mind:
Only US-based sellers and buyers can use the Venmo payment option.
To qualify for Venmo payments, transactions must be in USD.
If you're testing the Venmo payment option on a mobile device, use Safari on iOS or Chrome on Android, and ensure you have the Venmo app installed.
Buyers on desktop web browsers can use any major web browser.
You can only use the Venmo button for one-time payments, not recurring payments.
Here's a quick checklist to ensure a successful Venmo payment:
Boost Conversions and Build Trust
Adding a Venmo button to your WordPress site can make payments easier for your audience and build trust, resulting in more sales or donations.
Venmo, backed by PayPal, is a trusted platform with millions of active users. By offering a Venmo payment option, you not only make payments easier but also tap into that trust.
The transaction process is crucial, and with a Venmo button, you ensure it's as smooth and seamless as possible.
WordPress Integration
To optimize Venmo payments on WordPress, it's essential to ensure the process is user-friendly. This can be achieved by following best practices.
You can set up a Venmo button on WordPress, but it's crucial to make sure it works smoothly and effectively. This means following the tips outlined in the best practices section.
The Venmo payment button will appear amongst the PayPal checkout options within the popup window. This is after the customer clicks the 'Buy Now' button.
If you have chosen to disable 'Venmo Payments', the option will not appear in the popup window. Your customers will only have the standard PayPal options.
Setting up a Venmo button on WordPress requires careful consideration of the user experience. By following best practices, you can ensure a seamless payment process.
For your interest: E S a Payments
Frequently Asked Questions
Is there a downside to Venmo?
Yes, one potential downside to using Venmo is the risk of your money being stolen by a hacker who gains access to your account. This can happen if a hacker changes the associated bank account to their own, allowing them to transfer your money to their bank.
Where is the transfer button on Venmo?
To initiate a transfer on Venmo, tap the "Add or Transfer" button under "Wallet" in the Me tab. This button may also be labeled as "Manage" for some users.
Sources
- https://developer.paypal.com/docs/checkout/pay-with-venmo/
- https://developer.paypal.com/docs/checkout/pay-with-venmo/integrate/
- https://www.paypal-community.com/t5/PayPal-Upgrade-Community/Can-I-add-a-Venmo-button-to-my-PayPal-button-on-my-website-pages/td-p/3141273
- https://wp-express-checkout.com/venmo-payment-option-wp-express-checkout/
- https://reigntheme.com/how-to-set-up-venmo-button-wordpress/
Featured Images: pexels.com