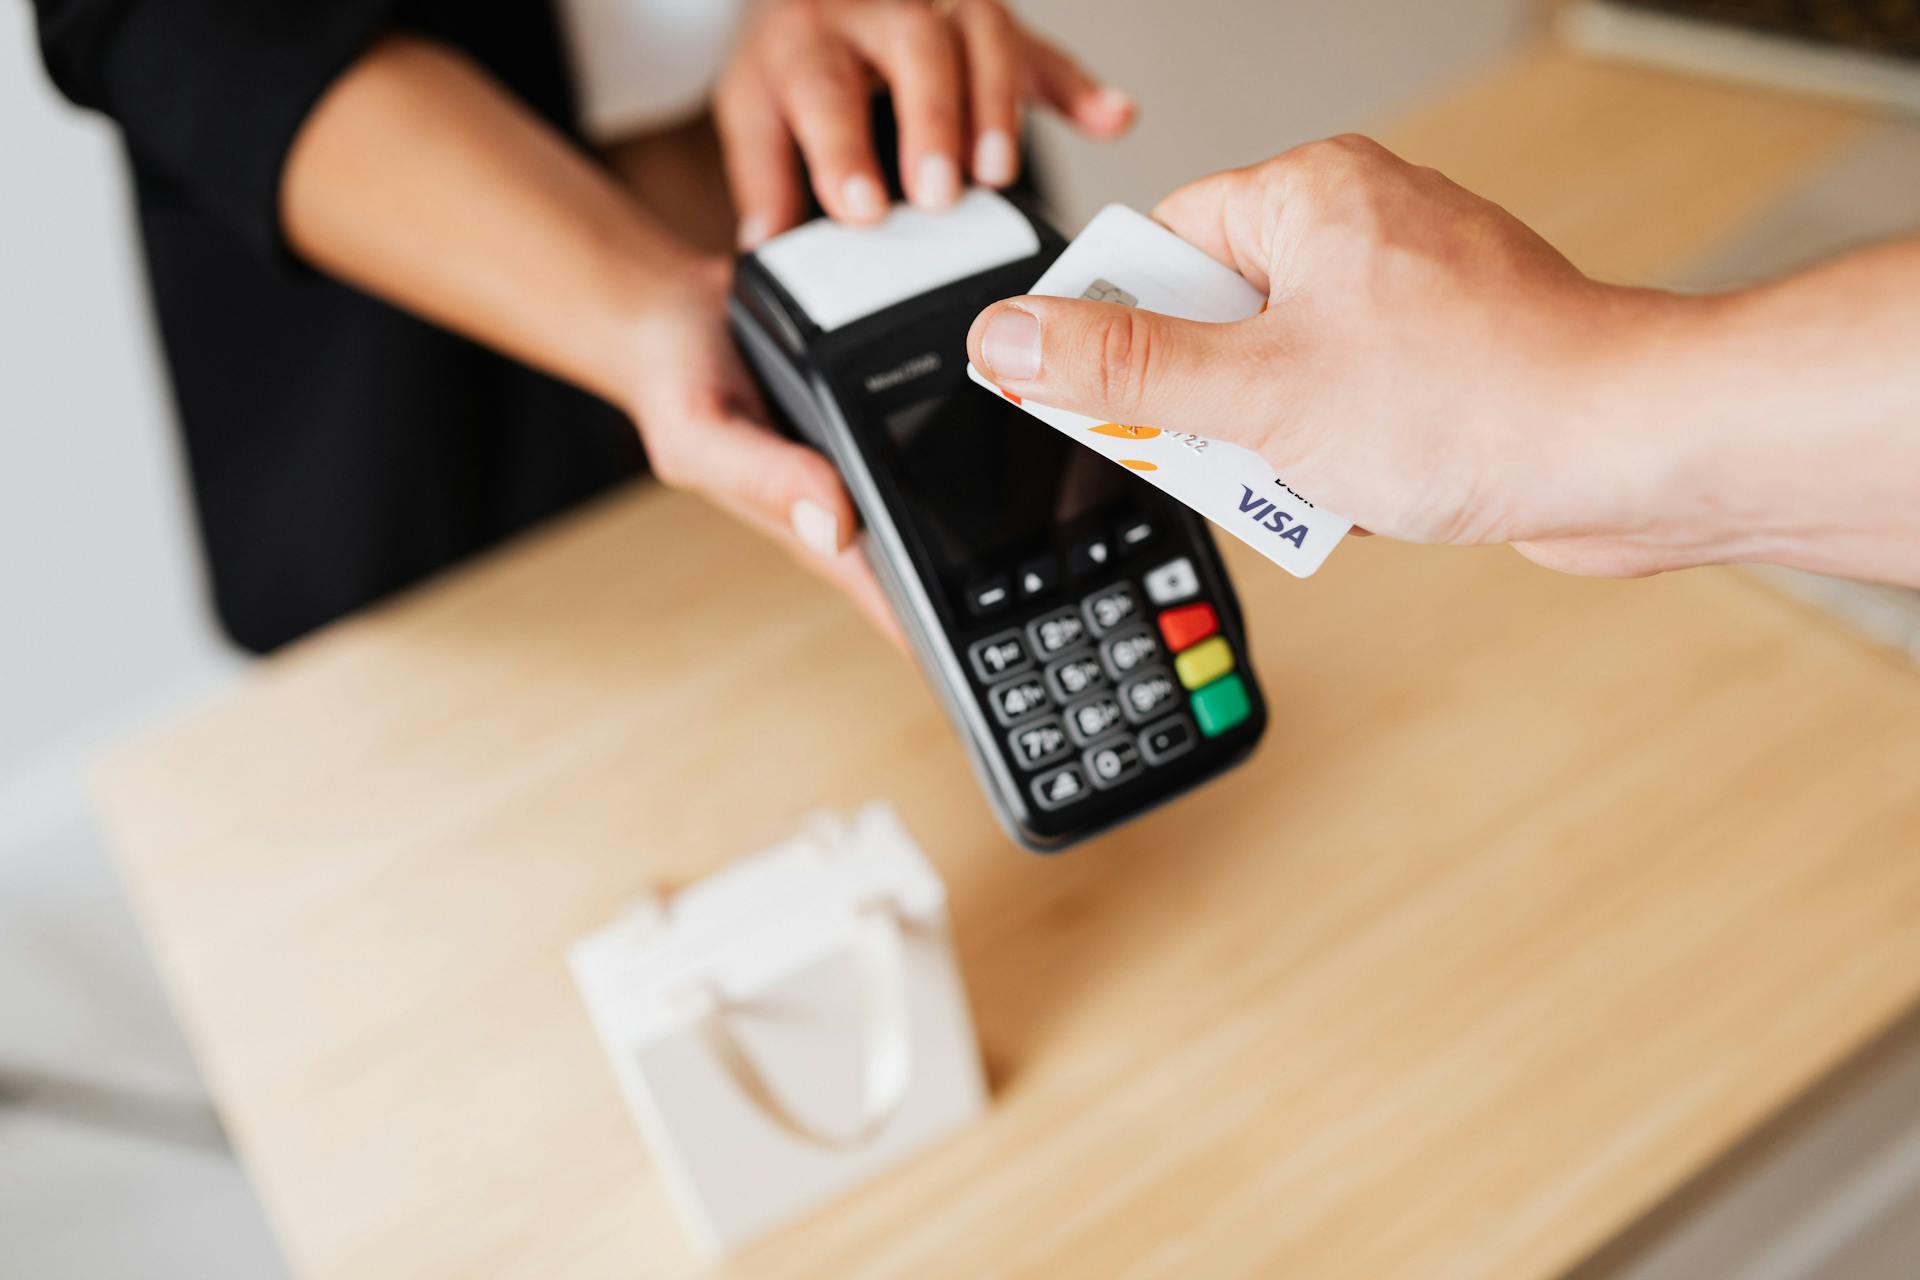
Streamlining your checkout process can make a huge difference in customer satisfaction and conversion rates. Amazon Pay Button simplifies this process by providing a secure and convenient payment option.
With Amazon Pay Button, customers can quickly and easily pay for their purchases without having to re-enter their payment information. This is especially helpful for customers who are already Amazon Prime members.
By using Amazon Pay Button, you can reduce the number of abandoned carts and increase the chances of making a sale. This is because customers can complete their purchases with just a few clicks.
Amazon Pay Button also offers additional benefits such as streamlined checkout, reduced cart abandonment, and increased sales.
You might like: Find Paypal Option on Shop Pay Checkout
Integration Steps
To integrate and display the Additional Payment Button (APB), you'll need to follow a slightly different process than the standard Amazon Pay button. The main differences lie in rendering and displaying the APB.
The key differences are:
- You'll skip creating a generic checkout session and button signature, instead submitting a Pre-/Authorization request and getting the APB Payload and signature in response.
- You'll set payment information, such as "checkout mode" and "product type", in your Pre-/Authorization request.
- You'll skip displaying shipping/payment info, as the buyer will complete checkout on the Amazon Pay hosted page after clicking the APB.
- You'll skip sending order/amount updates, as the buyer will complete checkout on the Amazon Pay hosted page.
- For physical goods transactions, you must provide the buyer's shipping address in the request, while for digital goods transactions, providing address information will result in an error.
Integration Guide
The integration guide is a crucial part of the Amazon Pay integration process. It's essential to follow the correct steps to ensure a smooth and seamless experience for both you and your customers.
Discover more: B of a Mobile Banking App

To integrate the Additional Payment Button (APB), you'll need to skip the generic payment for creating a checkout session and button signature. Instead, you'll directly submit a Pre-/Authorization request to get the APB Payload and signature in response.
The main differences when considering rendering and displaying APB are:
- You'll skip generic payment for creating checkout session & button signature.
- You'll directly submit Pre-/Authorization request and get APB Payload and signature in response.
- You'll set payment information ("checkout mode" and "product type") in your Pre-/Authorization request.
- You'll skip displaying shipping/payment info since the buyer will complete checkout on the Amazon Pay hosted page after clicking on the Amazon Pay button.
- You'll skip the step for sending order/amount updates.
- For physical goods transactions, you must provide the buyer's shipping address in the request.
The API requests and responses are slightly different from the standard Amazon Pay CV2 integration due to the Additional Payment Button being rendered at the last step of the checkout process.
The customer will be redirected to the Amazon Pay hosted page to complete the payment processing. You can set the standard successurl/errorurl/backurl on this page.
Create an Order
To create an order, start by creating an order from your server, which should be a Wallet order.
From the Request pane, you can find examples to follow, such as Amazon Pay direct.
Recommended read: Pre Order on Amazon When Do You Pay
Capture Session Data
To capture session data, you'll want to define a route for capturing the session, which should be the same route defined under checkoutReviewReturnUrl. This is where the session can be captured using the session id in the query.
The route should be used to capture the session, making it a crucial step in the integration process.
The Amazon Pay data can be used to capture the session, allowing you to retrieve the necessary information.
Button Functionality
The Amazon Pay button is designed to be user-friendly, and its functionality is tailored to make online payments as smooth as possible.
With a single click, users can securely access their stored payment methods, such as credit or debit cards, and make purchases without having to re-enter their payment information.
The button is easily recognizable and stands out on a webpage, making it hard to miss.
Amazon Pay button's functionality allows users to save their payment methods for future use, making repeat purchases a breeze.
It's also worth noting that the button is customizable, allowing merchants to tailor it to their brand's aesthetic.
Readers also liked: Shop Pay Payment Methods
Backend and Features
To use Amazon Pay, you'll need to set up the backend correctly. Make sure Amazon Pay payment method is enabled and available in your sales channel.
To integrate Amazon Pay into your application, you'll need to use the Amazon Pay plugin, which can be added to the DOM using a script. This plugin provides the AmazonPayButton.client.vue component for use in a Vue project.
Worth a look: Woocommerce Paypal Payments Plugin Apple Pay
Here are the key backend and feature requirements:
- Enable Amazon Pay payment method in your sales channel.
- Set up Client Credentials grant type for Admin API communication.
- Use the AmazonPayButton.client.vue component in your Vue project.
- Employ the useAmazonPayButton composable function to manage button mounting.
- Utilize the useAmazonPayCheckout composable function to process the checkout flow.
Features
The features of this integration are quite impressive, and I'm excited to share them with you. Let's start with the plugin - you can add the Amazon Pay script to the DOM using the Amazon Pay plugin.
You can use the AmazonPayButton.client.vue component in a Vue project, which is a great way to get started. The useAmazonPayButton composable function is also available to manage a button mounting, making it easy to integrate Amazon Pay into your application.
The useAmazonPayCheckout composable function is another powerful feature that allows you to process the checkout flow. This is a big step forward in terms of decoupling from the general Amazon Pay button.
Here's a summary of the features:
- ⛰ Amazon Pay plugin to add Amazon Pay script to the DOM
- 🚠 AmazonPayButton.client.vue component to use in a Vue project
- 🌅 useAmazonPayButton composable function to manage a button mounting
- 🛤️ useAmazonPayCheckout composable function to process the checkout flow
These features make it easy to integrate Amazon Pay into your application, and I'm excited to explore them further.
Backend
To set up your backend, make sure that Amazon Pay payment method is enabled and available in your sales channel. This is a crucial step to ensure seamless payments.

The Client Credentials grant type is also required for Admin API communication, specifically for read and update rights on order transactions. This grants your app the necessary permissions to access and modify order information.
Here's a quick rundown of the necessary steps:
- Enable Amazon Pay payment method in your sales channel.
- Set up Client Credentials grant type for Admin API communication.
Note that some server API routes may still be required to fully integrate Amazon Pay into your app, especially for headless approaches.
Amazon Pay
To integrate Amazon Pay, you'll need to prepare your setup by gathering specific information.
You'll need a store ID, public key ID, and a private key - make sure not to version your private key. A merchant ID is also required.
To complete the integration, you'll need to define return URLs like checkoutReviewReturnUrl and checkoutResultReturnUrl. These URLs should match the routes in your Nuxt application.
Here are the required information for Amazon Pay integration:
- storeId
- publicKeyId
- private key (do not version it!)
- merchantId
Sources
- https://master.d2xusml28dd32d.amplifyapp.com/en/integration/decoupling/
- https://docs.multisafepay.com/docs/amazon-pay-direct
- https://docs.payone.com/payment-methods/amazon-pay/amazon-pay-checkout-version-2-cv2/apb-additional-payment-button-v2
- https://developer.shopware.com/frontends/resources/integrations/payments/amazon-pay.html
- https://woocommerce.com/document/amazon-payments-advanced/
Featured Images: pexels.com