To set up Apple Pay on all your devices, you'll need to start with your iPhone or iPad. This is the device where you'll add your credit or debit card information.
Make sure your device is running iOS 8.1 or later, or iPadOS 13.2 or later. You can check your device's software version by going to Settings > General > Software Update.
Next, open the Wallet app on your iPhone or iPad, which is where you'll store your cards and other payment information. You can find the Wallet app on your home screen or in a folder labeled "Utilities".
A different take: Saving Account Information
Setting Up Apple Pay
Setting up Apple Pay is a straightforward process that can be completed in a few minutes. To get started, you'll need to open the Wallet app on your Apple device.
You can add a credit or debit card to Apple Pay by tapping the "+" icon in Wallet, selecting a card already on file with iTunes, or scanning one in with the camera. Some cards may require additional verification steps, such as a phone call or app download.
Up to eight cards can be registered with Apple Pay at one time, and you can manage them in the Settings app, located in the "Wallet and Apple Pay" section. Each card will be listed in this section, along with information like billing address, email, and phone number.
Here's a step-by-step guide to setting up Apple Pay on your Apple device:
- Open the Settings app and navigate to the "Wallet & Apple Pay" section
- Tap "Add Card" and follow the prompts to add a new card
- You can scan the front of your card with your device's camera or manually enter the card details
- Enter the card's expiration date and security code, and then tap "Next"
- Read and agree to the terms and conditions, and select a verification method
- Your bank or card issuer will verify your information, and once your card is verified, you'll be able to start using Apple Pay
Setting Up on Your iPad
Setting up Apple Pay on your iPad is a straightforward process. You'll need to open the Settings app and navigate to the "Wallet & Apple Pay" section.
First, tap on "Add Card" to begin the setup process. You can then choose to either scan the front of your card with your iPad's camera or manually enter the card details.
You can add up to eight cards to Apple Pay at one time, so don't worry if you have multiple cards you want to use. Each card will be verified in just a few seconds, but some cards may require a phone call, app download, or an email to verify before they can be added.
Expand your knowledge: Tap to Pay Ipad
Once a card is verified, it's immediately available for purchases both in stores and within apps. You can manage your cards in the Settings app, located in the "Wallet and Apple Pay" section.
Here's a step-by-step guide to setting up Apple Pay on your iPad:
- Open the Settings app on your iPad.
- Scroll to find and select "Wallet & Apple Pay" then "Add Card."
- Tap "Continue" on the Apple Pay set up screen.
- Follow the steps to add a new card in one of two ways: Scan the front of your card with your iPad's camera or manually enter the card details (name and card number). Then tap "Next."
- Enter the card's expiration date and security code, then tap "Next."
- Read and agree to the terms and conditions.
- Select a verification method, either by email, text or call and enter the verification code when prompted. Then click "Next."
- Your bank or card issuer will verify your information and once your card is verified, tap "Next" to start using Apple Pay.
Each card added to Wallet is listed in the "Wallet and Apple Pay" section, along with information like billing address, email, and phone number.
Setting Up on Your Watch
Setting up Apple Pay on your Apple Watch is a straightforward process. You'll need to open the Apple Watch app on your iPhone and navigate to the My Watch tab.
To get started, tap "Wallet & Apple Pay" then "Add Card." This will take you to the Apple Pay setup screen. From there, you can choose to add a new card by scanning the front of your card with your iPhone's camera or manually entering the card details.
You can enter the card's expiration date and security code, then tap "Next." Next, read and agree to the terms and conditions. After that, select a verification method, either by email, text or call and enter the verification code when prompted.
Here are the steps to add a card in more detail:
- Scan the front of your card with your iPhone's camera or manually enter the card details.
- Enter the card's expiration date and security code, then tap "Next."
- Read and agree to the terms and conditions.
- Select a verification method, either by email, text or call and enter the verification code when prompted.
- Your bank or card issuer will verify your information and once your card is verified, tap "Next" to start using Apple Pay.
Security
Security is a top priority when using Apple Pay.
Your card information is never stored on your device, and transactions are encrypted for added protection.
To add an extra layer of security, you can require a passcode or use Face ID or Touch ID to authenticate transactions.
Transactions made with Apple Pay are also protected by the same zero-liability policies as your physical credit or debit card.
You can also set up notifications to alert you to every transaction, helping you stay on top of your spending.
Related reading: Set Top Tech Thermostat
Loyalty Card Integration
Apple Pay Loyalty Card Integration is a convenient feature that lets you use your loyalty cards in-store.
In the fall of 2015, Apple Pay started working with store loyalty programs.
Walgreens was the first company to support the Apple Pay loyalty program, allowing customers to add their rewards cards to the Wallet app.
You can use your loyalty cards like any other credit or debit card during checkout to earn rewards points.
The process is a two-step one in most stores, requiring you to activate the rewards card with Touch ID and then make the payment.
Kohl's is an exception, offering one-touch rewards and payment integration, making it a bit faster.
You might like: Touch N Go Alipay
Does It All
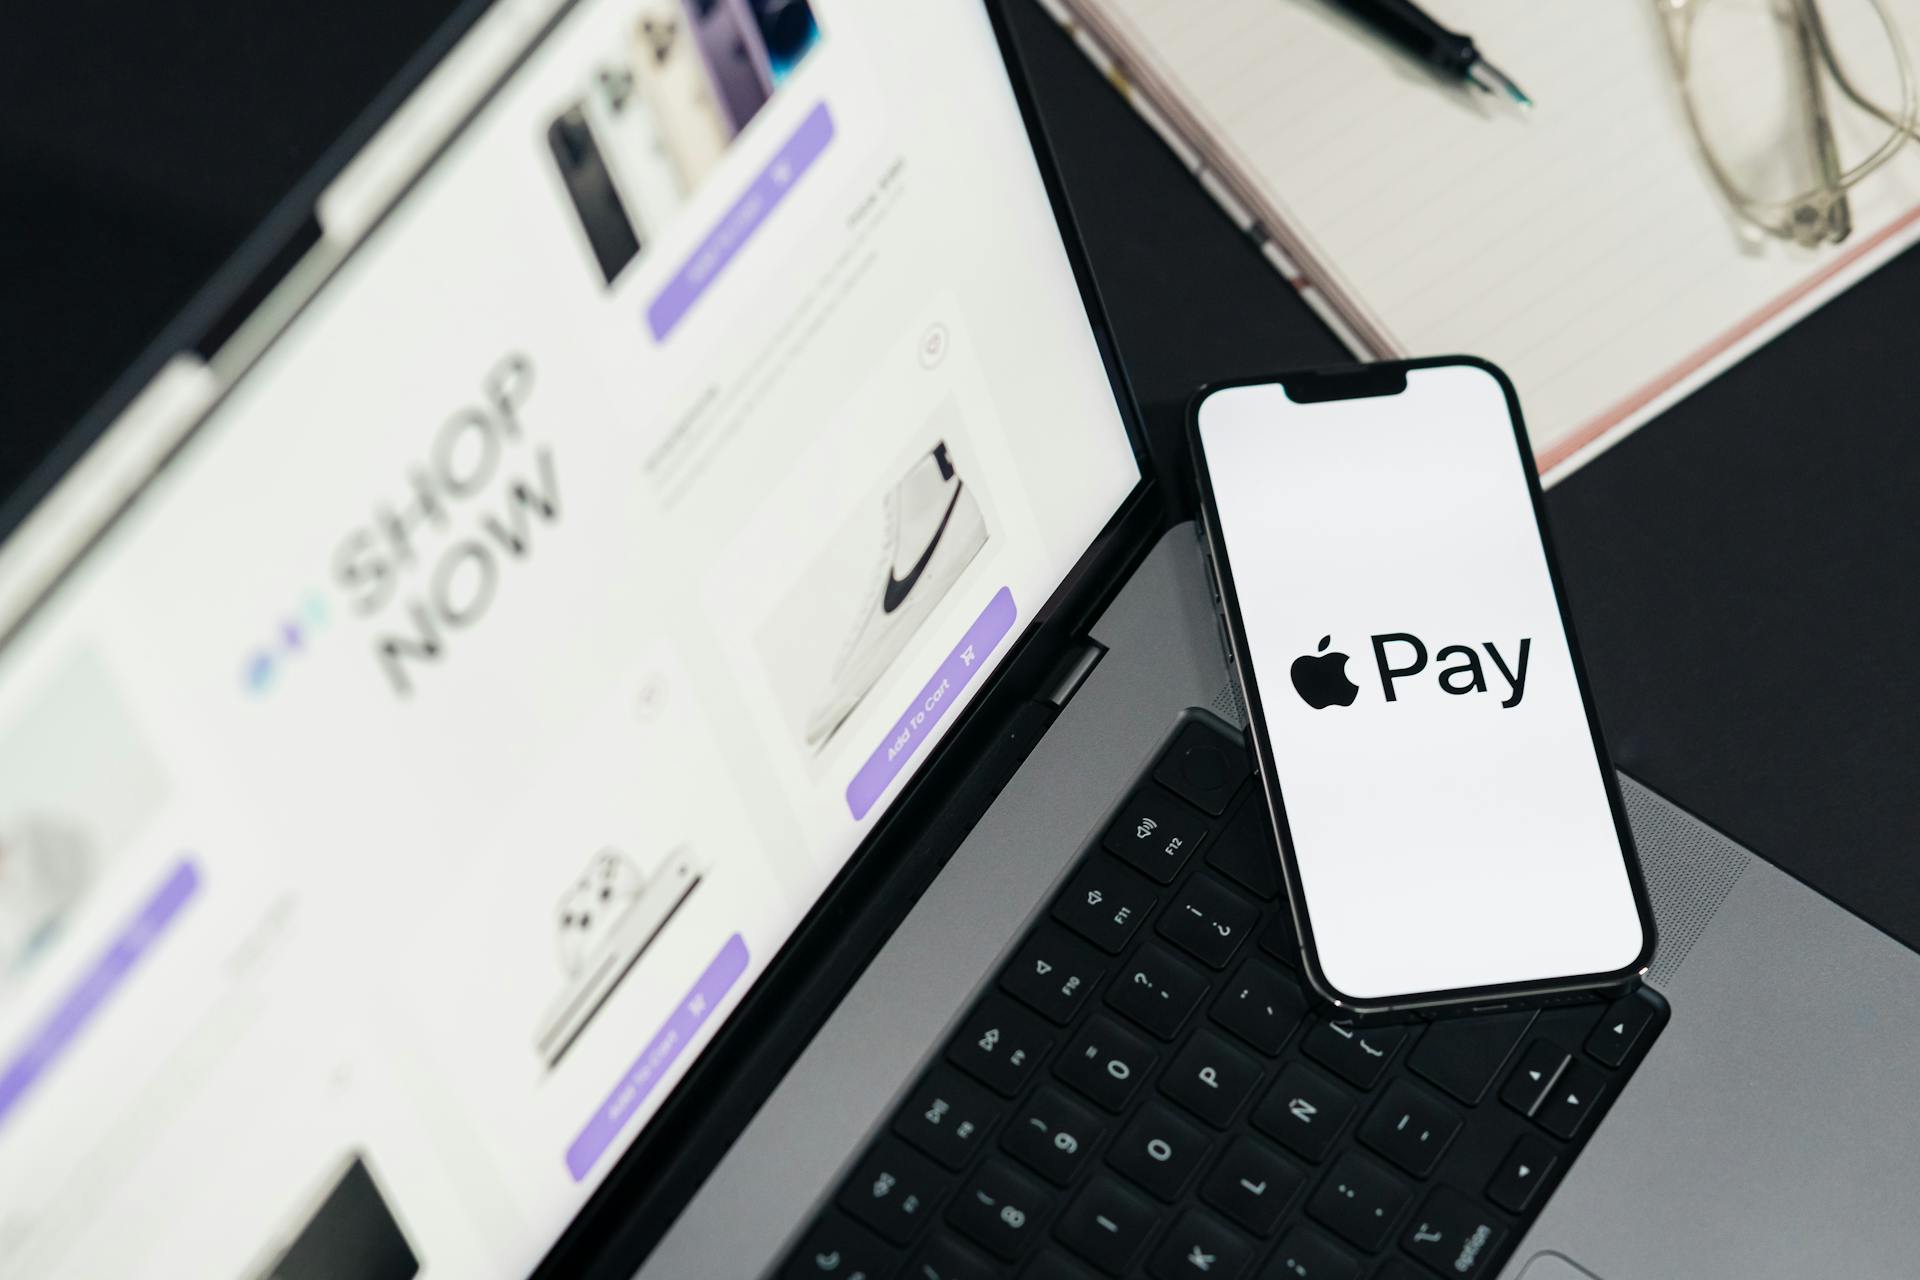
Apple Pay is accepted at over 85 percent of retailers in the U.S., so you can likely use it wherever and however you want.
You can use Apple Pay to grab a coffee from the corner cafe, load up your app, order a new online, have it delivered, subscribe to services, and even get cash from a vending machine or supermarket. Just look for the Apple Pay logo when you check out.
In addition to being widely accepted, Apple Pay also works anywhere that takes contactless payments, from vending machines and grocery stores to taxis and subway stations.
Related reading: Credit Cards Accepted in Switzerland
How to Use Apple Pay
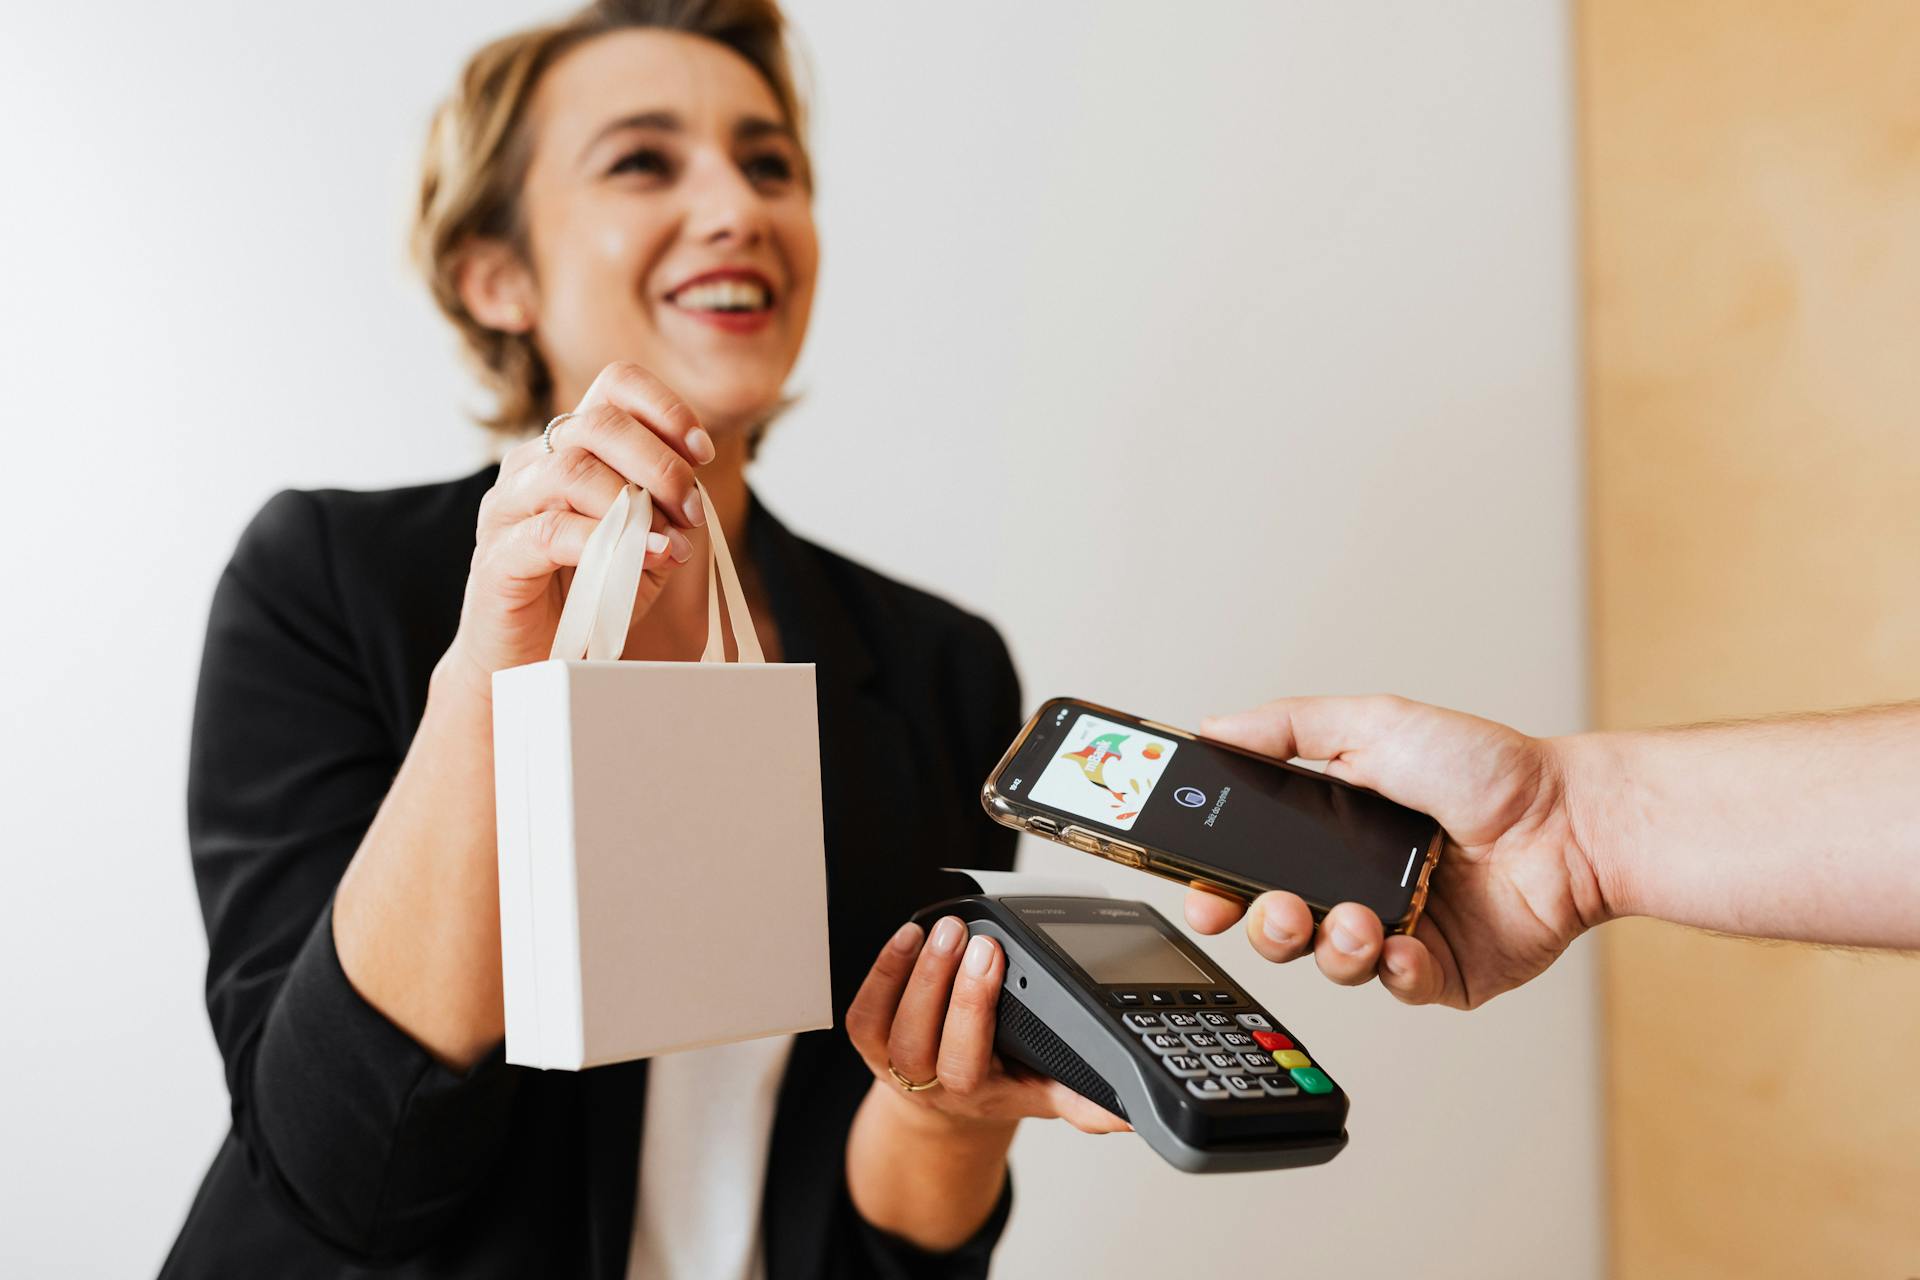
To use Apple Pay, you'll need to follow a few simple steps. You can make purchases with Apple Pay by double-clicking the side button on your iPhone or iPad with Face ID, then using Face ID or your passcode.
For those without Face ID, you can use Touch ID or your passcode. If you're using an Apple Watch, double-clicking the side button is all you need to do. If you're on a Mac with Touch ID, simply follow the prompts on the Touch Bar and place your finger on Touch ID.
If you're on a Mac without Touch ID, you'll need to have your iPhone or Apple Watch nearby to receive a prompt. Then, follow the same method as above.
A unique perspective: Do You Need a Deposit Slip to Deposit a Check
Using Apple Pay with Cash
You can use Apple Pay to send money to friends and family using Apple Cash, a peer-to-peer payment option that lets you send money via Messages on your iPhone, iPad, or Apple Watch.
If this caught your attention, see: One - Mobile Banking
Sending money is free when you use a debit card, and you can add money to Apple Cash via a debit card. Apple partnered with prepaid card provider Green Dot for the Apple Cash card.
Funds received are available in a new Apple Cash card that's located in Wallet, and you can use it to make Apple Pay purchases where Apple Pay is accepted.
Apple Cash is limited to the United States, and you can only add money to it via a debit card, not a credit card.
The Tap to Cash feature allows you to exchange Apple Cash in person by tapping two iPhones or Apple Watches together, making it ideal for quick in-person purchases.
Here's an interesting read: Enable Nfc to Pay via Tap
Business and Acceptance
Accepting Apple Pay at your business is a relatively straightforward process. You'll need to get a new NFC-enabled payment terminal that accepts contactless payments like Apple Pay.
There are several options available, including Square Reader for contactless and chip, Square Stand, Square Terminal, and Square Register. These devices all accept contactless payments, making it easy for customers to use Apple Pay.
Expand your knowledge: Take Contactless Payments on Phone
To set up your new reader, simply connect it to your device wirelessly using a compatible iOS device. Make sure Bluetooth is enabled on your mobile device, and then open the Square app to connect the reader. It's a good idea to place the reader in a visible location, such as on a counter or near the register, so customers can easily make Apple Pay payments.
Here are some steps to follow when setting up your reader:
- Get a new NFC-enabled payment terminal that accepts contactless payments like Apple Pay.
- Set up your new reader by connecting it to your device wirelessly using a compatible iOS device.
- Place the reader in a visible location, such as on a counter or near the register, so customers can easily make Apple Pay payments.
Letting your customers know that you accept Apple Pay is also important. You can use the free Apple Pay decals included in your Apple Pay marketing kit to place throughout your store. These decals are a simple and effective way to get the message out.
Accepting Business
Accepting Apple Pay at your business is a breeze. You just need to get a new NFC-enabled payment terminal that accepts contactless payments like Apple Pay.
Square Reader for contactless and chip, Square Stand, Square Terminal, and Square Register all accept contactless payments. This means you can choose the one that best fits your business needs.
Additional reading: Contactless Credit Card Security
To set up your reader, make sure Bluetooth is enabled on your mobile device. Then open the Square app and connect the reader. Ensure the reader is facing your customers and is within their reach.
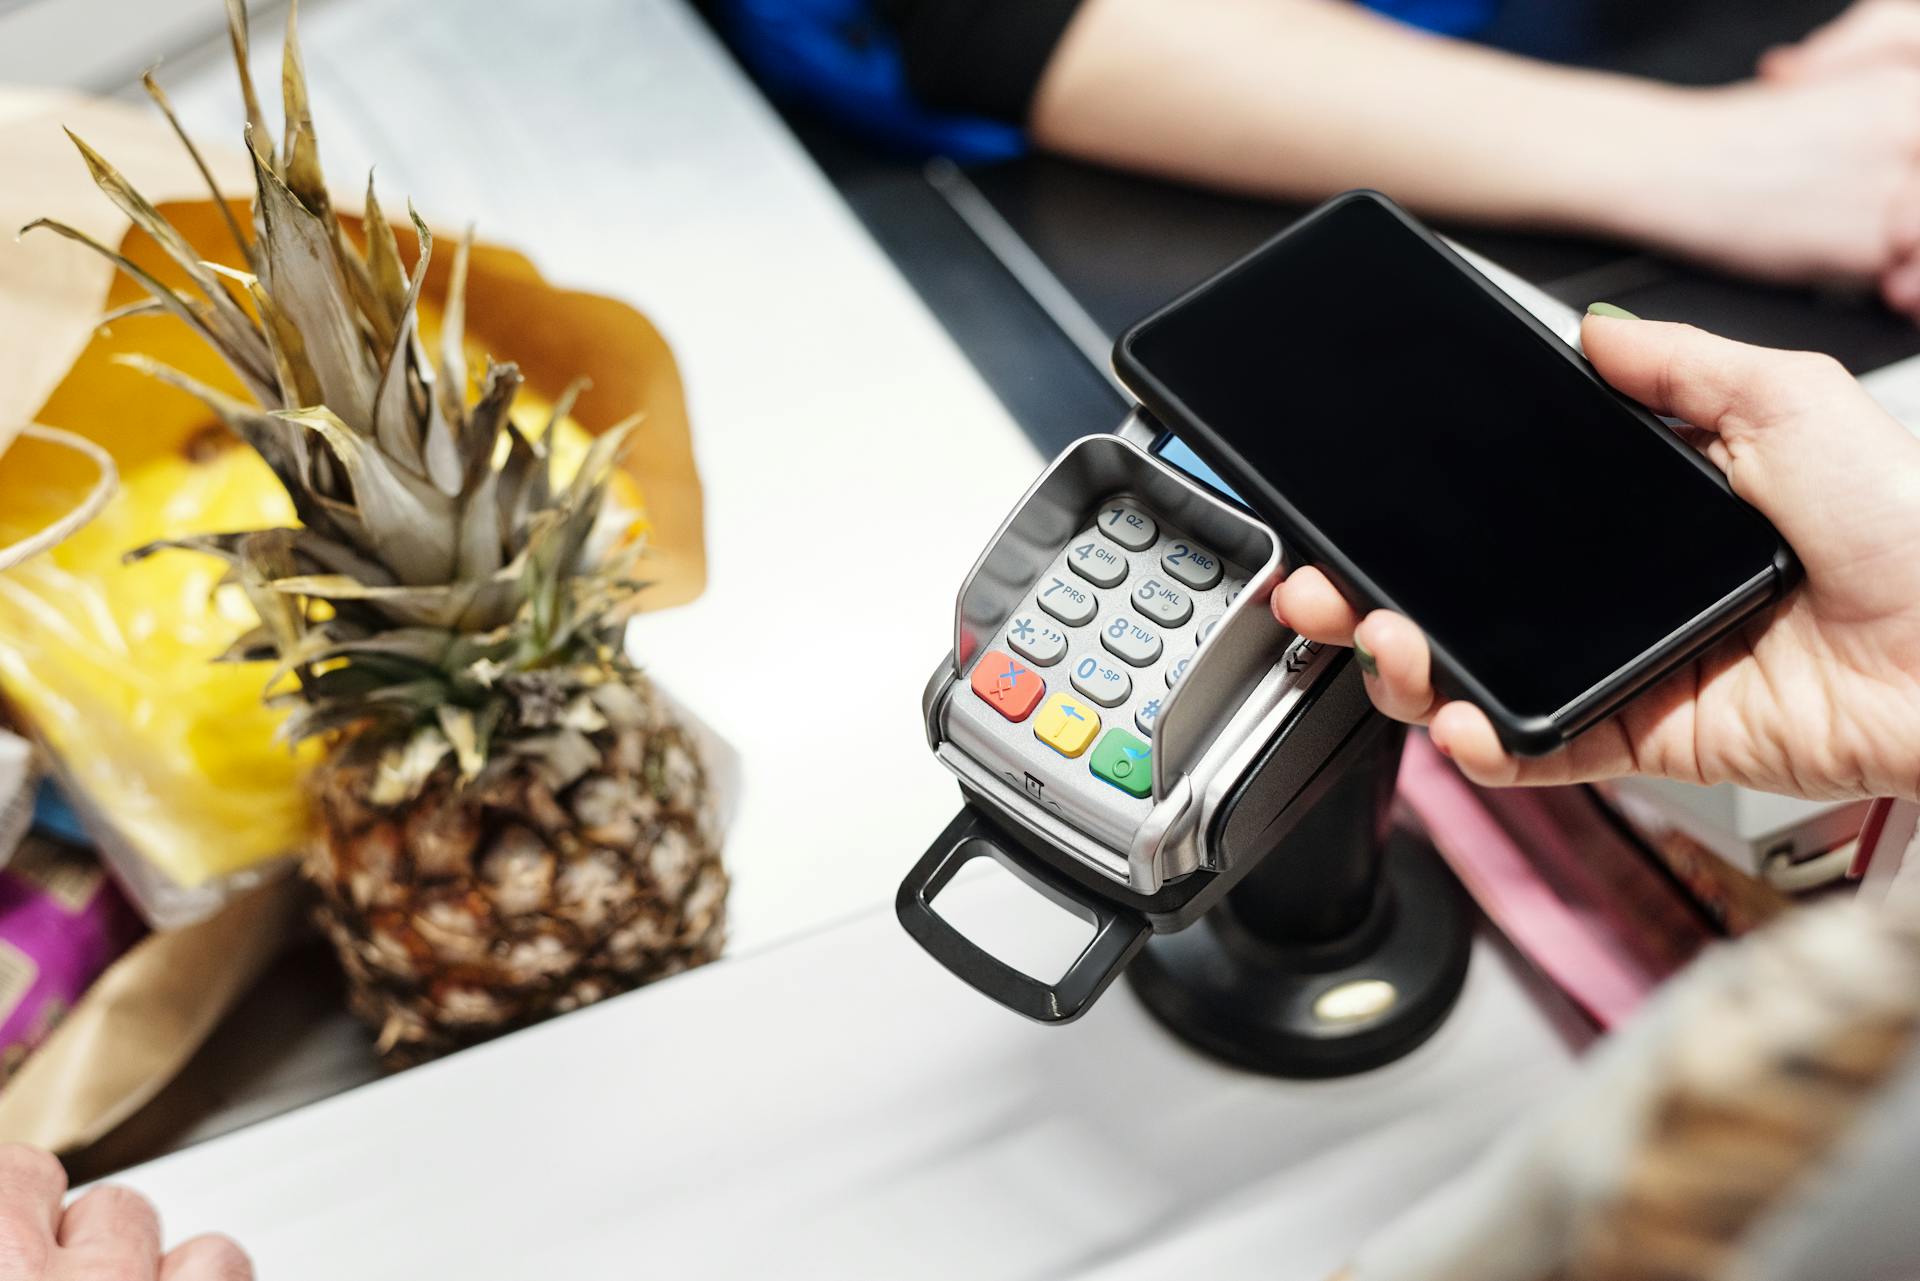
To accept payments, have customers hold their iPhone, iPad, or Apple Watch near the reader until four green lights appear and a chime sounds. When you see the check mark on your screen, the transaction is complete.
Here are the steps to set up your Square Reader and Apple Pay marketing kit:
- Get a new NFC-enabled payment terminal that accepts contactless payments like Apple Pay.
- Set up your new reader by connecting it to your device wirelessly or via Bluetooth LE.
- To accept payments, have customers hold their device near the reader until they see the check mark on your screen.
Training Staff to Use
Training your staff to use Apple Pay is crucial for a seamless customer experience. The more knowledgeable your employees are about Apple Pay, the more likely they are to recommend it to your customers.
Use the materials provided with your Apple Pay marketing kit to train your staff. It includes a training sheet that explains how to accept Apple Pay payments.
The kit also includes stickers that are cheat sheets for your staff – in case they need a reminder about how to accept Apple Pay or tell a customer how to set it up. Put the stickers near your point of sale so they’re easy to access during transactions.
You might like: Card Data Covered by Pci Dss Includes
Notify Customers of Acceptance
Placing Apple Pay decals throughout your store is an easy way to let customers know that you accept Apple Pay.
These decals are included free in your Apple Pay marketing kit, which also includes a window decal, two register decals, and six POS terminal decals.
You can order a maximum of one kit per business, making it a low-cost and effective way to get the message out.
Posting on your social media accounts is another way to let customers know you accept Apple Pay, especially those who haven't been in your store lately.
You can post a picture of your new Square Reader for contactless and chip to show your tech-savvy customers that you're ready for mobile payments.
Using Square's email marketing software is also a great way to inform your regular customers of the update, and you can even mention new items or services.
Square has created a template you can send to your customers right away, and you can also incentivize shoppers who use Apple Pay at your business when they buy something in the next week.
Take a look at this: Apple Cash Won't Let Me Add Debit Card
Featured Images: pexels.com