Receiving payments in QuickBooks Online is a breeze once you know the steps. To get started, make sure you've set up your customers and their invoices in QuickBooks.
First, navigate to the "Customers" tab and select the customer who needs to make a payment. You can filter by name or date to find the right customer quickly.
From the customer's profile, click on the "Receive Payment" button to initiate the payment process. QuickBooks will automatically pull in any outstanding invoices for that customer.
To receive a payment, you'll need to enter the payment amount and any fees that may apply. You can choose to apply the payment to a specific invoice or leave it as a general credit.
For another approach, see: How to Receive Payments Online for Free
Get Started
To start receiving payments in QuickBooks Online, click the Settings gear icon on the top right side of the QuickBooks Online toolbar. This will open the Settings menu.
You'll need to choose Accounts and Settings, then Payments to start the process. Not every small business that applies is accepted for QuickBooks Payments.
Intriguing read: Can Quickbooks Online Payments Work with Simple Start
You may already have a merchant account with Intuit's Merchant Services or GoPayment, but you'll still need to follow this process to connect it with QuickBooks. Intuit Merchant Services is the payment processor, acting as a virtual terminal for your online store.
To verify your business, Intuit will use the business and owner information you provide. You'll enter this information on the Business and Owner/Proprietor screens.
You'll also need to connect to your bank account by entering your bank username and bank password. QuickBooks will ask you to enter the bank account into which payments will be deposited.
By selecting Next, you'll authorize Intuit to debit your bank account on file for payments services fees on a daily basis. You can cancel this at any time in your QuickBooks account settings.
If you agree to the terms, press the Activate Payments button to complete the process. You'll receive an email within about two days when you're approved for using the service.
Additional reading: Payment Bank
Setting Up
To set up payment options in QuickBooks Online, navigate to the 'Company Settings' and select 'Payment Methods'. This is where you configure the various payment options you want to offer, such as credit cards, bank transfers, or digital wallets.
You can expand the range of payment methods by integrating third-party payment processors like PayPal or Stripe. This will give you more flexibility in how customers can pay you.
Enabling online invoice payments and recurring billing further enhances the customer experience, leading to improved cash flow and business efficiency.
Customer Menu Sequence
To receive a payment through the Customer Menu Sequence in QuickBooks Online, start by opening the ‘Receive Payment’ Screen by clicking on the + New button at the top of the left menu bar and then selecting Receive payment in the first column under Customers.
You'll then see a list of outstanding invoices for the customer you've selected, which is where you can receive a payment against an outstanding invoice.
Intriguing read: Receive Zakat
To complete the process, you need to enter the amount of the partial payment in the Payment box instead of the full invoice amount if you're making a partial payment.
If the invoice is not already deposited, choose a temporary Undeposited funds account until the single deposit or batch bank deposit of multiple invoice payments is made.
To check for accuracy, you can run a Customer Balance Summary report from the Reports menu to check the open accounts receivable balance for a customer.
You might enjoy: Bacs Payment Status Check Trace Payment
Setup
Setting up your QuickBooks Online account is a crucial step in getting your business up and running. You'll want to navigate to the 'Company Settings' and select 'Payment Methods' to configure the various payment options you want to offer.
You can set up payment options like credit cards, bank transfers, or digital wallets. Enabling online invoice payments and recurring billing will also help streamline the payment process.
Integrating third-party payment processors like PayPal or Stripe will expand the range of payment methods you can offer. This will give your customers more flexibility when it comes to making payments.
Screenshots

Screenshots can be super helpful when setting up QuickBooks Payments. The tutorial on How to Set Up QuickBooks Payments | QuickBooks Online features screenshots from a November 6, 2019 QuickBooks Online YouTube video.
You'll need to follow these screenshot steps to apply for and use QuickBooks Payments with QuickBooks Online. The screenshots are taken from a YouTube video created by QuickBooks Online.
QuickBooks Payments can change how your business receives and accepts customer payments. These changes are different from what happens when QuickBooks Payments isn't being used.
You'll see an Intuit notice near the bottom of the Bank screen. This notice is also visible on another screen.
Locating and Confirming
To find the open invoice, select the customer from whom you received a payment, such as John Davis. Ensure that you apply the payment to the correct customer invoice to avoid any issues with your customer.
The payment method, reference number, and amount received should be accurately recorded. You can choose to deposit the payment directly to the bank account or record it in Undeposited Funds, which allows you to group multiple checks and cash into a single deposit.
Here's an interesting read: Venmo Transaction Not Showing up
To confirm the payment was applied correctly, verify that the invoice is marked as "Paid" and the payment is marked as "Closed" in the customer transaction details. This can be done by hovering over Sales and selecting Customers, then locating the customer and clicking on their name or the grayed entry line.
Here's a quick checklist to ensure the payment was applied correctly:
Step 2: Locate
Locating the open invoice is a crucial step in confirming payments in QuickBooks Online. You need to select the customer from whom you received the payment, such as John Davis.
To find the correct customer, click on the customer's name in the top-right corner of the receive payment screen. This will display a list of outstanding invoices for that customer.
You should ensure that you apply the payment to the correct customer invoice, as your customer may get upset if they find their invoice still appears as unpaid. Verify that the payment method matches the way the customer paid you, such as cash, check, or bank transfer.
You might like: How to Find Cash Payments in Quickbooks Online

If the customer paid by credit card, you can refer to the tutorial on how to manage credit card sales in QuickBooks Online. Enter the check number or leave it blank if cash was received.
You can choose to deposit the payment to the appropriate bank account, or record it in Undeposited Funds if it will be combined with other checks or cash. Undeposited Funds allows you to group multiple checks and cash into a single deposit in your check register.
The amount received should be input into the receive payment screen, and the invoice detail will automatically appear for each outstanding invoice. You can then enter the portion of the amount received to apply to each invoice listed.
Here's a summary of the key fields to fill out:
About Checks
Money from payments you've received sometimes goes into the Undeposited Funds account. This account holds any payments that have come in but not yet been physically deposited in the bank.
QuickBooks Online assumes you'll deposit a single check on its own, so when you have multiple checks to combine, you should deposit them to the Undeposited Funds account.
You should look at this account occasionally to make sure you don't have money just sitting there.
Here's an interesting read: Quickbooks Deposit Slip
Recording Payments
Recording payments in QuickBooks Online is a straightforward process that involves entering the payment amount, date, customer details, and invoice number into the payment recording feature.
You can record partial payments by selecting the customer and invoice you want to apply the payment to and entering the amount of the partial payment in the Payment column on the Receive payment screen.
To maintain accurate financial records, it's essential to record payments accurately in QuickBooks Online. This includes entering the payment amount and date, as well as updating the accounts receivable and bank account balance accordingly.
The payment recording feature in QuickBooks Online seamlessly integrates with accounting processes, ensuring that recorded payments are reflected in financial statements.
For your interest: Online Invoice Payments
Entering Payments
Entering payments in QuickBooks Online is essential for maintaining transparent and up-to-date financial records. This process ensures that all financial transactions are accurately reflected in the system, providing a clear picture of the company’s cash flow and profitability.
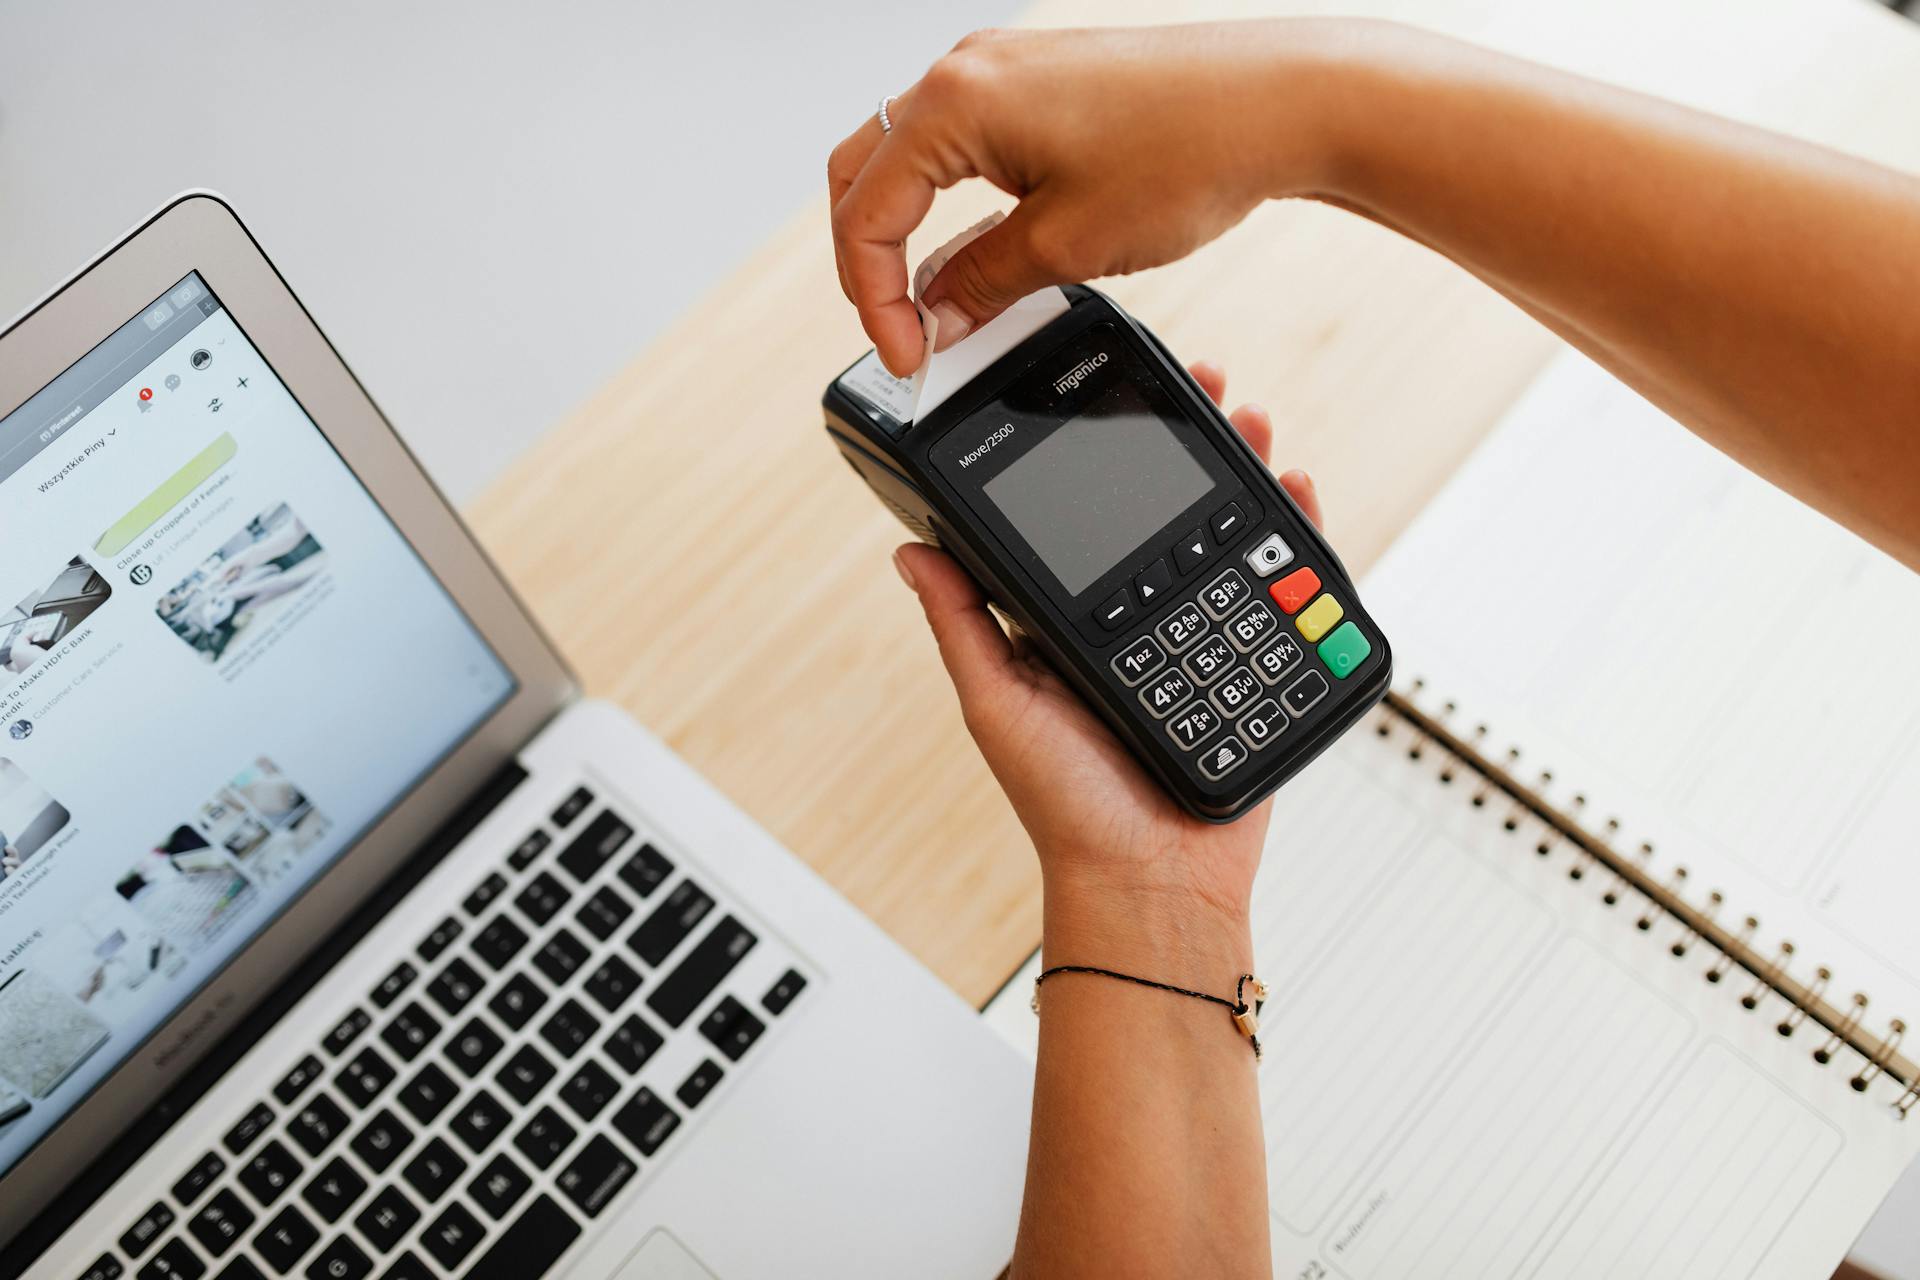
Manual entry of payments offers flexibility and control, enabling businesses to accurately record payments received and maintain precise financial records for comprehensive reporting and analysis.
To record a payment, you need to enter the payment amount, date, customer details, and invoice number into QuickBooks Online’s payment recording feature. By doing so, the system updates the accounts receivable and bank account balance accordingly, providing a clear reflection of the business’s financial status.
Accurate payment recording facilitates the generation of financial reports, making it easier to analyze the business’s financial health and make informed decisions. This integrated approach to financial data management helps businesses maintain a strong financial footing and comply with accounting standards.
You can record partial payments by selecting the customer and invoice you want to apply the payment to and entering the amount of the partial payment in the Payment column on the Receive payment screen.
Ways to Accept
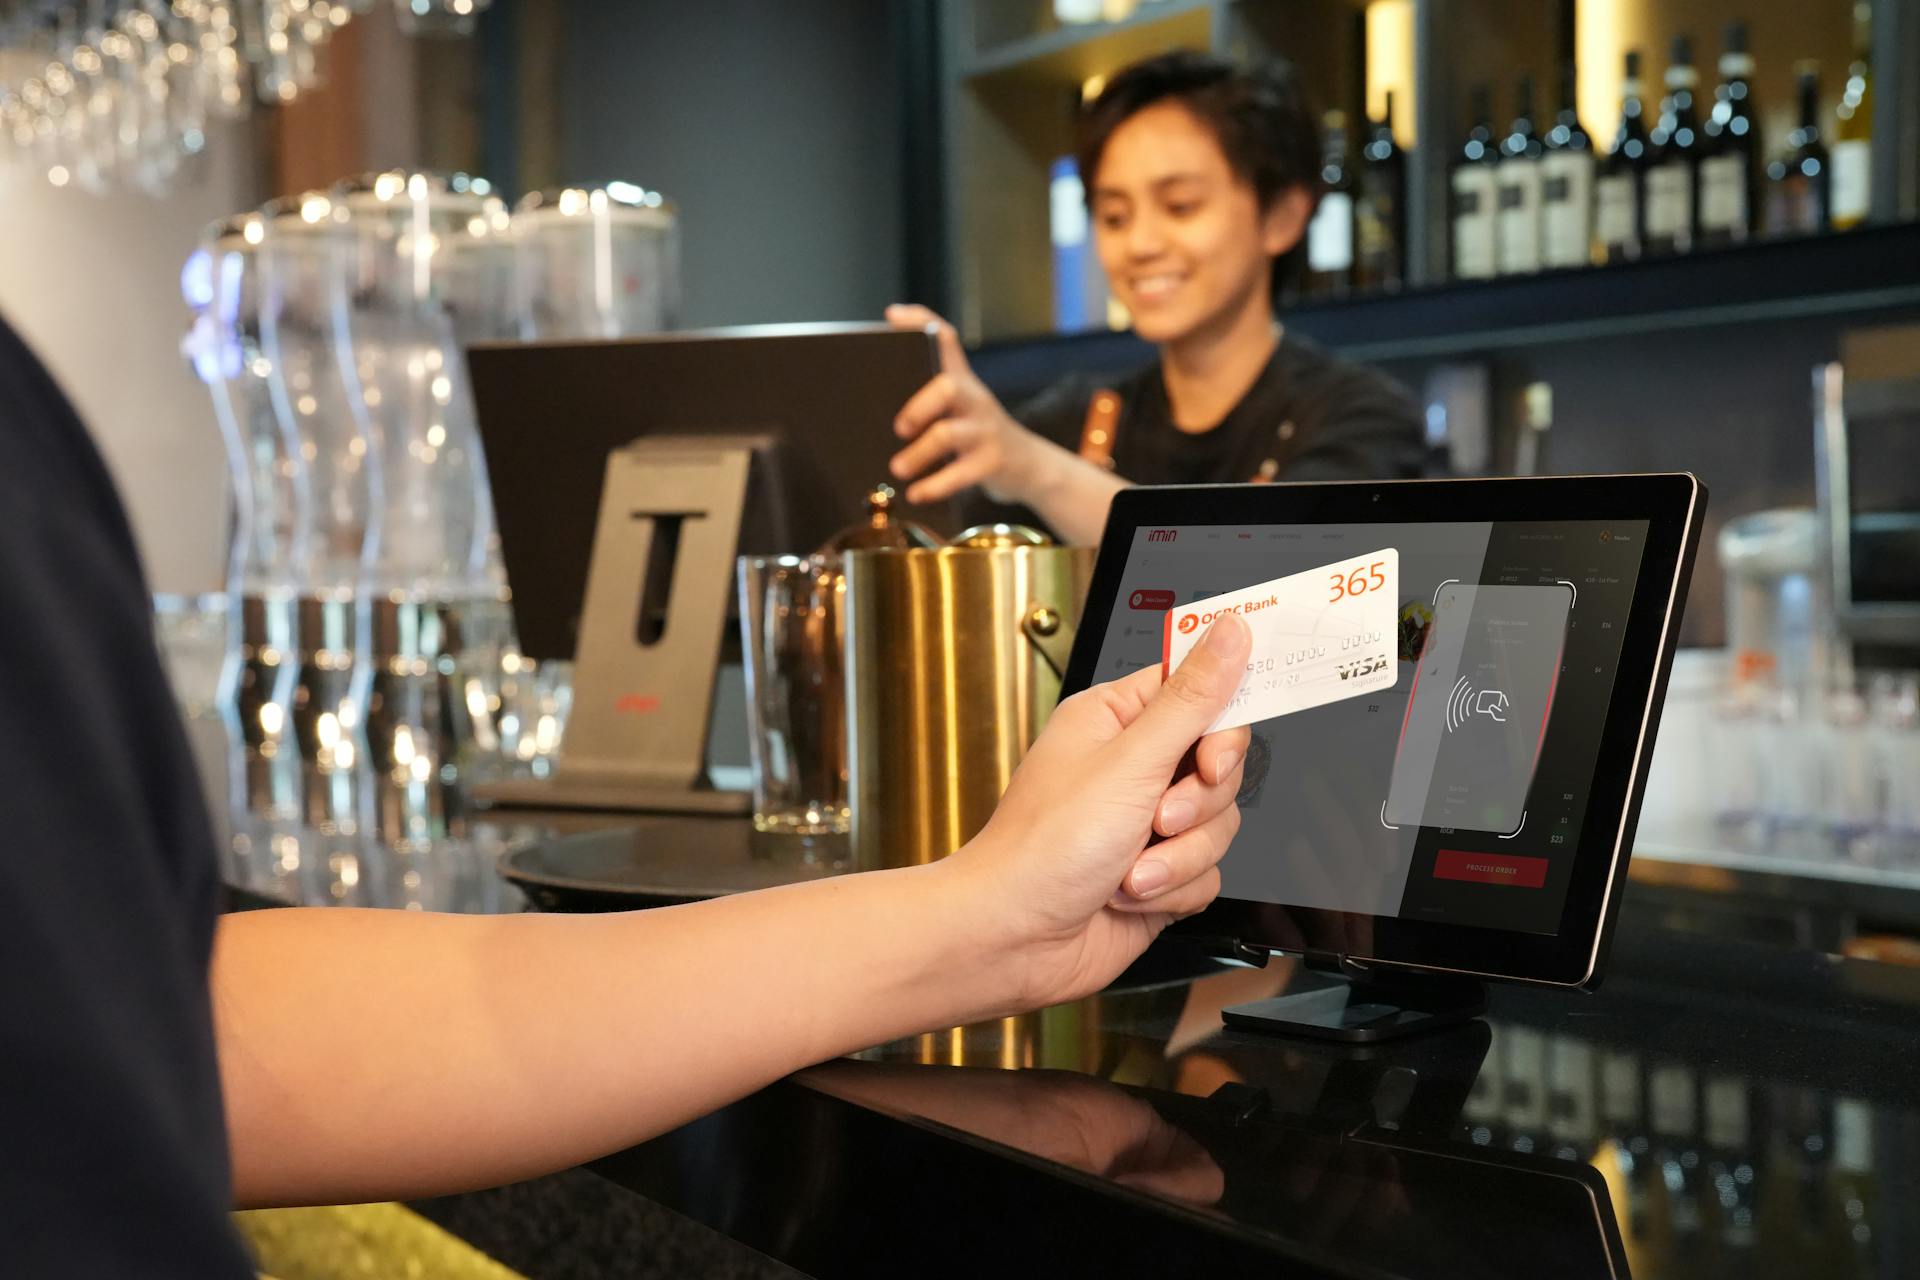
You can accept payments in QuickBooks Online through various methods, including online invoices with a Pay Now button, recurring invoices, and recurring sales receipts.
If this caught your attention, see: Set up Recurring Payments in Quickbooks Online
QuickBooks Payments allows you to send online invoices to your customers with a Pay Now button, making it easy for them to make payments.
You can also accept PayPal payments by issuing eInvoices with QuickBooks Online, giving your customers more options for making payments.
To accept card payments, you can choose between credit and debit card options through QuickBooks Online.
QuickBooks card payments options include Visa, Mastercard, Discover, American Express, Apple Pay, and Bank cards.
You can also accept ACH payments to receive payments from customers that you've invoiced.
Here are the payment methods available through QuickBooks Online:
By setting up automatic payment reminders, you can ensure timely collections and maintain accurate records of all transactions.
Frequently Asked Questions
Is there two ways to receive a payment in QuickBooks Online?
Yes, you can receive payments in QuickBooks Online through two methods: changing the payment amount and adding a new payment method, such as a check, if it's not already listed.
Sources
- https://fitsmallbusiness.com/how-to-receive-payments-in-quickbooks-online/
- https://www.process.st/how-to/receive-payments-in-quickbooks-online/
- https://tipalti.com/blog/accepting-payments-through-quickbooks/
- https://www.whizconsulting.net/us/blog/a-complete-guide-to-receive-payments-in-quickbooks-online/
- https://reconciledsolutions.net/how-to-receive-payments-in-quickbooks-online/
Featured Images: pexels.com
