To set up a deposit slip in QuickBooks, you'll need to access the "Banking" menu and select "Deposit Slip." This is where you'll create a new deposit slip for your business.
QuickBooks allows you to customize your deposit slip to meet your business's specific needs. You can add a deposit slip template and adjust the layout to fit your requirements.
To create a deposit slip, you'll need to enter the date, deposit amount, and payment method. You can also add a memo or description to the deposit slip for reference.
Once you've set up your deposit slip, you can use it to record deposits made into your business bank account. This helps keep your QuickBooks records accurate and up-to-date.
See what others are reading: Do You Need a Deposit Slip to Deposit a Check
What is a QuickBooks Deposit Slip?
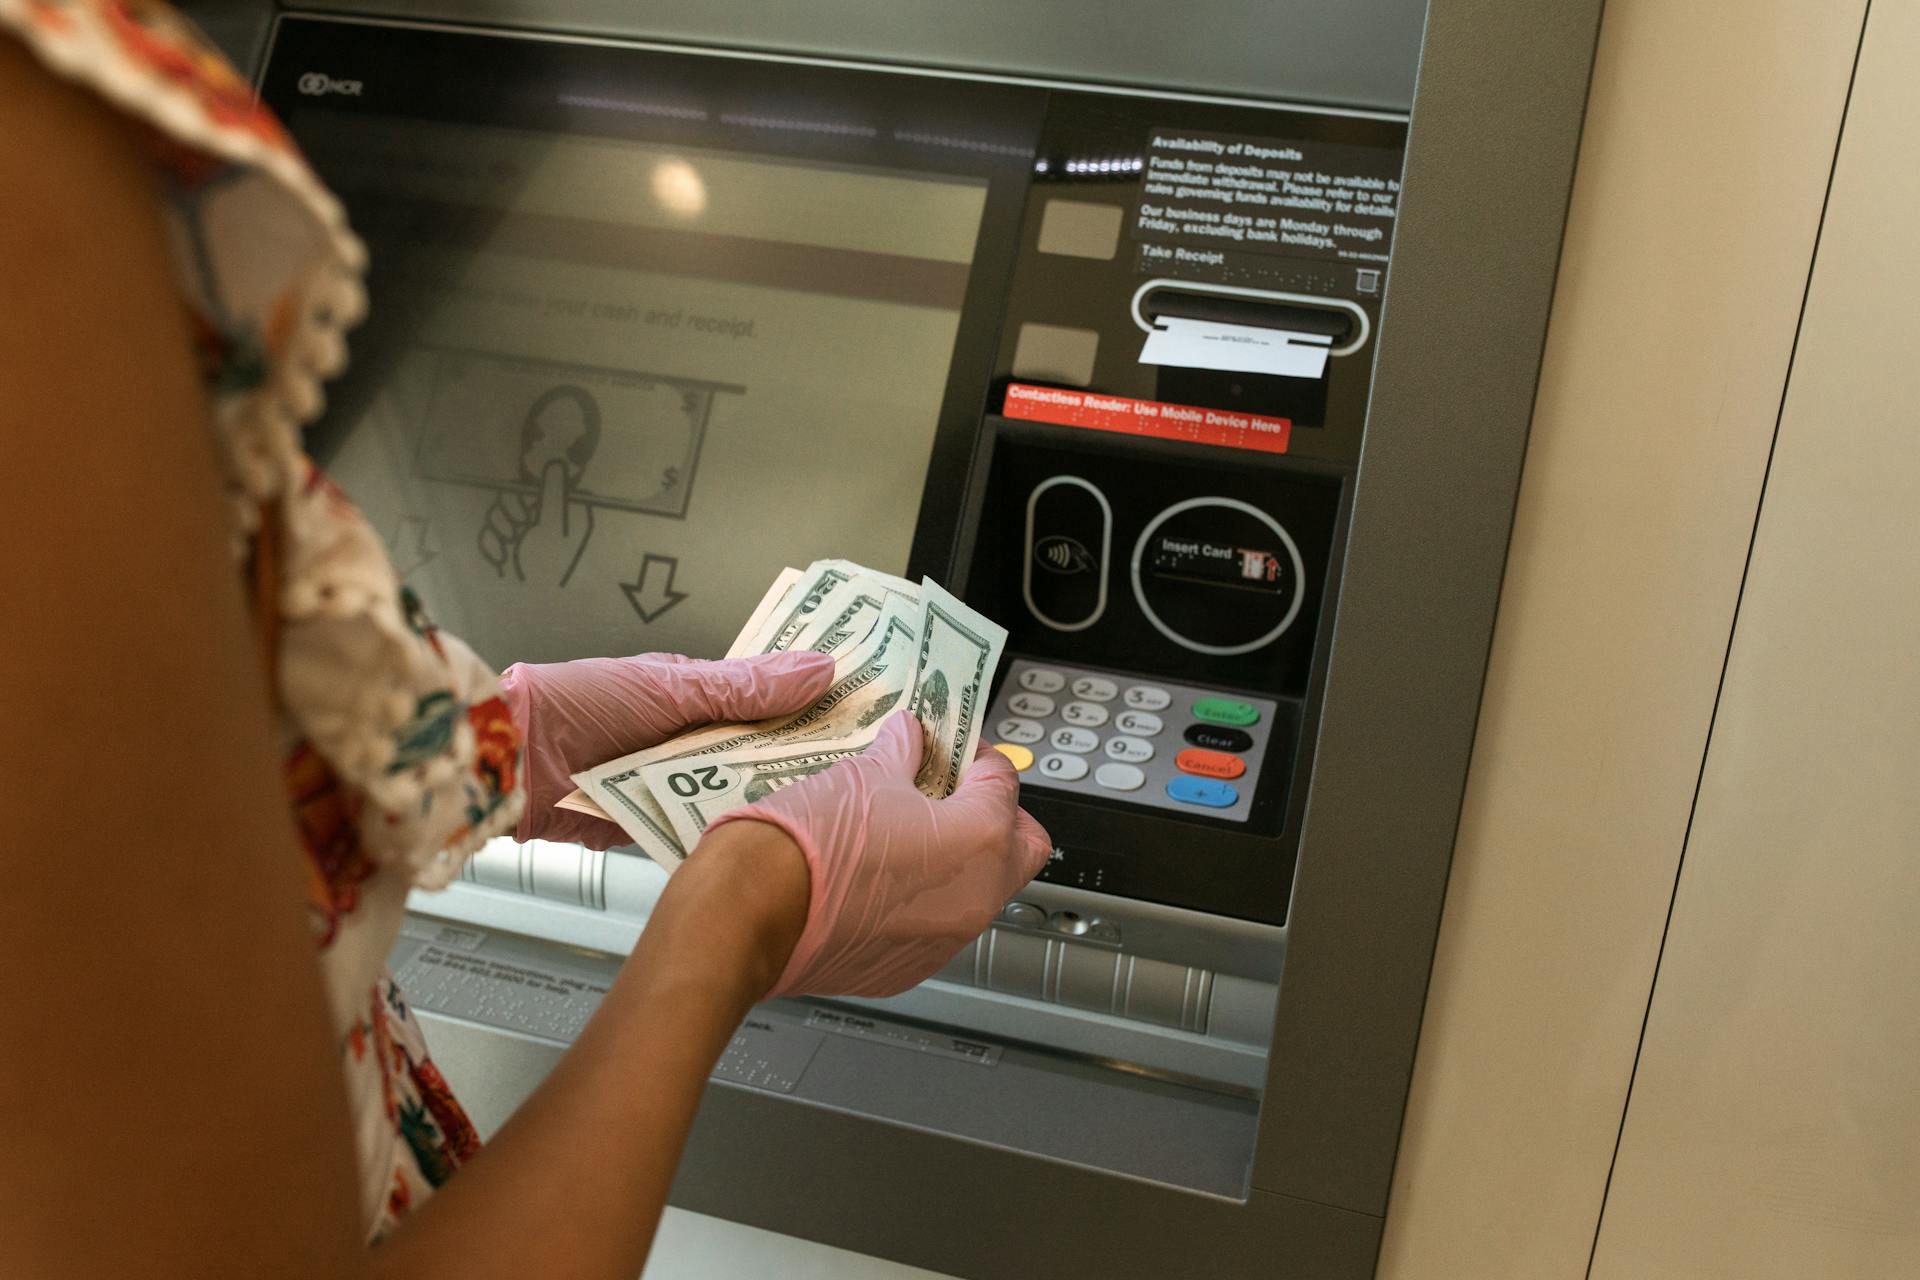
A QuickBooks deposit slip is a pre-printed form that helps you record deposits made to a bank account in QuickBooks.
These slips typically contain fields for the date of the deposit, the name of the account being deposited into, the amount of the deposit, and any notes or memos associated with the deposit.
To use QuickBooks deposit slips, you would enter the deposit information into the software, print out the slip, and attach any checks or cash that are being deposited.
This helps ensure that all deposit information is accurately recorded in the software, making it easier to track and manage your finances.
It's essential to ensure that the information on the deposit slip matches the information on your bank statement to avoid errors or discrepancies.
If this caught your attention, see: Ai Billing Software
Setup Process
To set up your QuickBooks deposit slip, you need to follow a few steps to ensure the data prints correctly on your pre-printed forms. This involves setting up the print deposit slips in QuickBooks.
First, you'll need to connect your bank account to QuickBooks, which allows for direct bank transfers. This makes it easy to move money in and out of your account.
To get started with the setup process, follow the steps outlined in the "Print Deposit Slips Setup" section. This will guide you through the process of setting up your deposit slips correctly.
Explore further: Do You Need a Deposit to Remortgage
You can use merchant services like Square or PayPal to accept payments and deposits directly into your QuickBooks account. This is another option for depositing money into your account.
To effectively handle deposit procedures, you can use third-party payment processors. This is an alternative to direct bank transfers and merchant services.
Here are some common ways to deposit money into your QuickBooks account:
Creating a New Deposit Slip
To create a new deposit slip, you need to create a new bank deposit in QuickBooks. This is done by clicking the +New button above the left menu bar and selecting Bank deposit from the far-right column, Other.
When creating a new bank deposit, you need to choose a bank account and input the date of the deposit from the top portion of the Bank Deposit screen. You should select the bank account where you'll be depositing the funds.
Here's a step-by-step guide to creating a new bank deposit:
- Choose a bank account and input the date of the deposit.
- Select the customer checks that will be included in the deposit.
- Enter the deposit amount and any other relevant details.
Once you've completed the bank deposit form, you can print a sample deposit slip to check the alignment of the printed information. To do this, select the Print option and then select the Setup and alignment option.
Sample
To print a sample deposit slip in QuickBooks Online, you need to select +New and then Bank Deposit under Other. Select Print, and then select Setup and Alignment to access the Print deposit slip setup page.
You can print a sample deposit slip on regular blank paper to correctly align the information without wasting pre-printed forms. This is especially recommended if you're printing your first deposit slip.
To print a sample deposit slip, you'll need to select View preview and Print sample, and then select Print. This will allow you to see how the information is filled in the form by default settings.
You'll then need to put the printed sample on top of the pre-printed form and hold them against a light source. If the printed information perfectly lies in the correct area of the form, you can click on the "Yes, I am finished with the setup" option in the Print window.
Expand your knowledge: Cash Deposit Slip Sample
If not, you can continue to fine-tune the alignment until it matches. You may also need to set up your Adobe Reader if the sample printed page is not still aligned with the pre-printed form.
Here are the steps to print a sample deposit slip:
- Select +New and then Bank Deposit under Other
- Select Print and then Setup and Alignment
- Select View preview and Print sample
- Select Print
- Put the printed sample on top of the pre-printed form and hold them against a light source
- Click on "Yes, I am finished with the setup" if the alignment is correct, or "No, continue with the setup" if not
How to?
To create a new deposit slip, you need to create a new bank deposit in QuickBooks Online. Click the +New button above the left menu bar and select Bank Deposit from the far-right column, Other.
To complete the bank deposit form, you'll need to choose a bank account and input the date of the deposit from the top portion of the Bank Deposit screen. In our case, we selected ABC Bank – Checking.
You can choose current asset accounts, such as prepaid expenses, but it would be unusual to do so. Be sure to select the bank account where you'll be depositing the funds. Then, scroll down to the next section, which allows you to choose the customer checks that will be included in the deposit.
Explore further: In a Fractional Reserve Banking System Banks Create Money Because
To print a sample deposit slip, select +New, then Bank Deposit under Other, and select Print. You can also select Setup and Alignment to access the Print deposit slip setup page.
To align the printed information with the correct parts of the form, place the blank pre-printed form and your printed sample deposit slip on top of each other and hold them to the light. If the printed information lines up correctly, select Yes, I’m finished with setup in the Print window.
If the printed page is not aligned with your form, you may need to configure Adobe Reader. To do this, select View Preview and Print Sample, and then click Print. Once the sample lines up with the pre-printed form, click Finish Set up.
Here are the steps to print a sample deposit slip in QuickBooks Online:
- From the left side navigational panel, click on the +New icon.
- Then, under Other, select the Bank Deposit option.
- After that, select the Print option.
- Next, to open the Print Deposit Slip Setup window you need to select the Setup and alignment option.
- Then, select the View preview and Print sample option.
- Again, select the Print option.
- Once the sample is printed on the blank paper, you need to put it on top of the Pre-printed form and hold both against a light source.
- If all the printed information perfectly lies in the correct area of the form then click on the “Yes, I am finished with the setup” option in the Print window and if you are not satisfied with the results then select “No, continue with the setup”.
To Combine Payments
To combine payments, you'll need to record the bank deposits in QuickBooks. This process involves transferring transactions to the Undeposited Funds account and then registering a bank deposit to merge them.
First, place the transactions you wish to merge into the Undeposited Funds account. According to QuickBooks, every bank deposit is an individual record, so make sure to deposit one at a time for every deposit slip.
To access the Undeposited Funds account, press the + New button and select the Receive Payment option. From the Customer drop-down, select the targeted Customer, and for the invoice you are getting paid for, check the box.
Here are the steps to combine payments:
- Press Select and New together and select Bank Deposit.
- Under the Account ▼ dropdown menu, select the account to which you wish to deposit the money.
- Check the box for each transaction that you wish to combine.
- Ensure the total number of chosen transactions matches your deposit slip.
If your bank adds service charges and processing fees, don't make changes to the initial transactions. Instead, add the fee while working on the bank deposit window. To do this, scroll down to access the Add funds to this deposit area and create a line item for the fee.
When adding a bank fee, decide who paid the fee (for example, the bank charging you), and choose Bank Charges in the Account ▼ dropdown. Enter a negative number for the fee amount, and review the bank fee and the deposit total.
Once you've completed the bank deposit, choose Save and new or Save and close to record the transaction.
Intriguing read: Unavailable Funds Fee
Frequently Asked Questions
How should a deposit be recorded in QuickBooks?
To record a deposit in QuickBooks, create a deposit transaction and select the check and cash amounts separately, such as a $987 check and a $75 cash payment. This will accurately reflect the total deposit amount and ensure accurate financial reporting.
Sources
- https://www.dancingnumbers.com/set-up-and-print-deposit-slip-in-quickbooks/
- https://www.wizxpert.com/set-up-and-print-deposit-slips-in-quickbooks-online/
- https://www.dancingnumbers.com/how-to-record/deposits-in-quickbooks/
- https://www.gentlefrog.com/how-to-record-bank-deposits-in-quickbooks-online/
- https://fitsmallbusiness.com/bank-deposits-quickbooks-online/
Featured Images: pexels.com