To get an employment authorization, you'll need to go through the USCIS E-Verify check process. This involves verifying the identity and work eligibility of your employees.
The E-Verify system is a web-based service that checks employee information against government databases. It's used by employers to ensure they're hiring people who are eligible to work in the United States.
The process starts with creating an E-Verify account, which is free and can be done online. You'll need to provide some basic information about your business and employees.
Once you've created your account, you can start the verification process by entering your employee's information. The system will then check this information against government databases, such as the Social Security Administration and the Department of Homeland Security.
See what others are reading: How to Take Card Payments
Identity and Employment Authorization
Identity and Employment Authorization is a crucial aspect of the USCIS E-Verify check process.
E-Verify is a free online system that verifies the employment eligibility of new hires by checking their Social Security number against government records.
Explore further: E Verify Employment Verification Check
The system checks the new hire's information against three databases: the Social Security Administration, the Department of Homeland Security, and the Department of State.
The database checks are designed to prevent identity theft and ensure that only eligible workers are employed in the United States.
Employers must enroll in E-Verify and create an account to begin the process.
Once enrolled, employers can create a case for each new hire and input their information into the system.
The E-Verify system will then check the new hire's information against the three databases and provide a result, which can be either "Employment Authorized" or "Tentative Nonconfirmation."
A unique perspective: Questions Employers
Enrollment Process
To enroll in E-Verify, you'll need to complete the enrollment process within a single session. This involves providing your company's legal name, employer identification number, and primary physical address, among other details.
You'll need to have all the necessary information before starting the enrollment process. This includes your company's NAICS code and contact information for your Memorandum of Understanding (MOU) Signatory and Program Administrator.
For another approach, see: Audit Risk Assessment Process
The E-Verify website provides a detailed checklist to help you with the enrollment process. This checklist includes the following items:
- Company legal name
- Employer identification number (also called a Federal Tax ID Number or FEIN)
- Primary physical address from which your company will access E-Verify
- Mailing address (if different from the physical address)
- Hiring sites that will participate in E-Verify in each state
- Total number of current employees
- Your company’s North American Industry Classification System (NAICS) code
- Contact information (name, phone number, email addresses) for your company’s Memorandum of Understanding (MOU) Signatory and Program Administrator
Once you have all the necessary information, you can begin the enrollment process. This involves visiting the E-Verify website and accepting the terms, setting up the enrollment point of contact for the account, and determining your account access.
Here's a step-by-step guide to the E-Verify enrollment process:
- Visit Enrollment website and accept terms
- Set up the enrollment point of contact for the account
- Determine your account access
- Select your employer category
- Enter your company information
- Provide hiring site information
- Register E-Verify Program Administrators and MOU Signatory
- Review your information
- Review and agree to the Memorandum of Understanding (MOU)
- Print the signed Memorandum of Understanding (MOU)
If you're unsure that an E-Verify enrollment has been submitted, you can check if your company is already a participating employer.
I-9 and Case Information
An E-Verify case is generated every time you submit an employee's information as part of the E-Verify process.
There are two types of E-Verify case results: Employment Authorized and DHS or SSA Tentative Nonconfirmation (mismatch). If a mismatch result occurs, the employer may terminate the employee if they decide not to take action or receive a Final Nonconfirmation result.
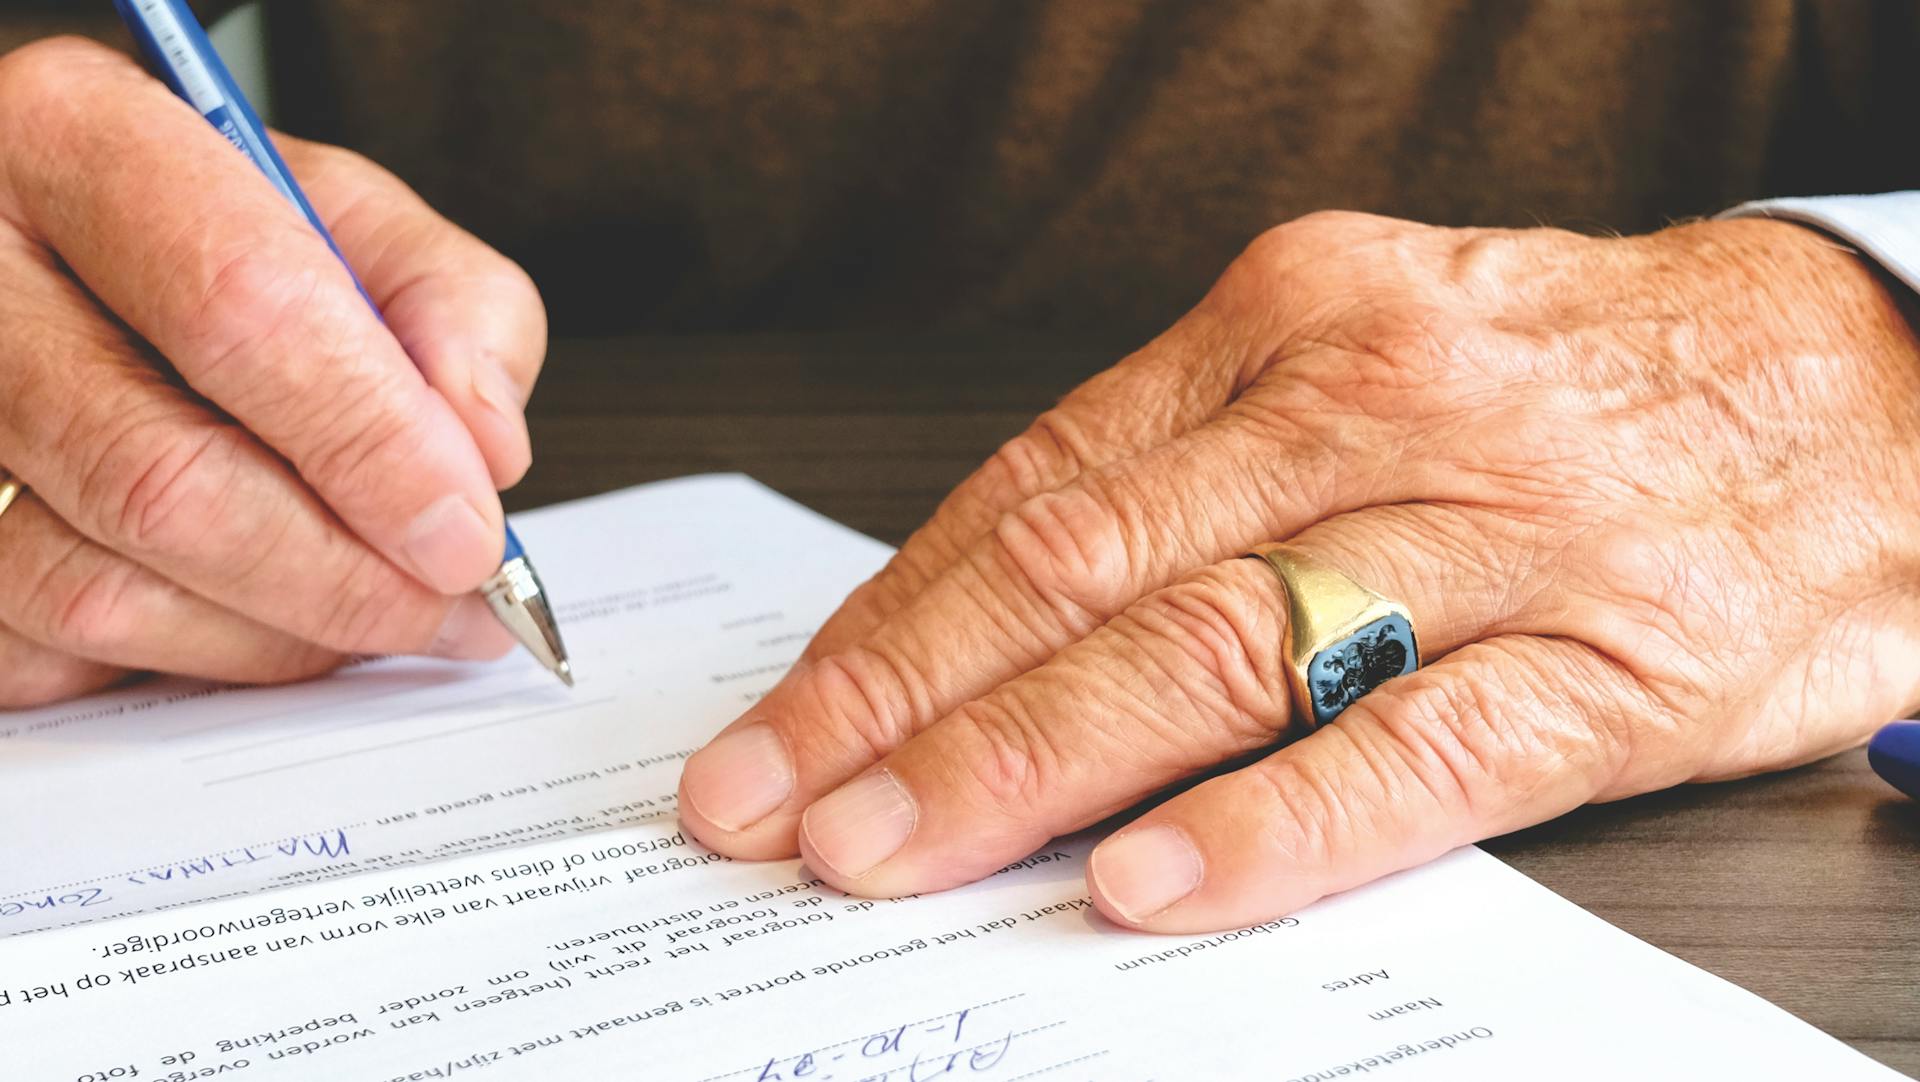
Employers may participate in E-Verify on a voluntary basis, but employees must complete the Form I-9. The Form I-9 has different requirements, such as allowing employees without an SSN to complete the form.
If your I-9 data doesn't match the government's records, you may have to meet with your employer and contact the federal government to clear up the discrepancy. You'll have eight government work days to contact the government, during which time your employer must allow you to continue to work.
Here are the key differences between E-Verify and Form I-9 requirements:
Alternative Procedures
If you're looking to verify an employee's I-9 documents remotely, there's a DHS-approved alternative procedure you can use. This procedure allows you to verify documents through a live video chat.
To set up a live video chat, you'll need to see the employee show their I-9 documents on camera for your review.
You'll also need to keep a record of the completed I-9, including any copies of the employee's documents provided from Lists A, B, and C.
For another approach, see: Is Google Chat Hipaa Compliant
Here are the steps to follow:
- Set up a live video chat with the employee.
- Complete Section 2 of Form I-9, confirming that an alternative procedure authorized by DHS to examine documents was used.
- Keep the completed I-9, including any copies you made of the employee’s I-9 documents provided from Lists A, B and C, for your records.
- Create an E-Verify case.
State Requirements
State Requirements can be a bit confusing, but I'm here to break it down for you.
Some states have made E-Verify participation mandatory for certain employers. For example, Alabama and Mississippi require all private sector employers to use E-Verify.
In Arizona, it's also mandatory for all private sector employers to participate. Florida takes it a step further, requiring private sector employers with 25 or more employees to use E-Verify.
Georgia is similar, requiring private sector employers with 11 or more employees to use E-Verify. Colorado only requires employers awarded state contracts to participate in E-Verify.
Here's a breakdown of some states with E-Verify requirements:
Missouri requires employers awarded state contracts over $5,000 to use E-Verify, while Nebraska only requires public contractors that receive tax incentives to participate.
In North Carolina, private sector employers with 25 or more employees must use E-Verify, as do employers awarded state contracts. Pennsylvania requires employers awarded state contracts over $25,000 to participate in E-Verify.
South Carolina takes it a step further, requiring all employers to use E-Verify. Tennessee requires private sector employers with 35 or more employees to participate.
Utah requires private sector employers with 25 or more employees to use E-Verify, while Virginia requires contractors with an average of 50 employees over the previous 12 months to participate in E-Verify.
Expand your knowledge: When Do Employers Drug Test
Understanding the Process
To enroll in E-Verify, you'll need to follow a series of steps, which can be found on the E-Verify website. The process starts with visiting the enrollment website and accepting the terms.
Here's a breakdown of the enrollment process:
- Visit Enrollment website and accept terms
- Set up the enrollment point of contact for the account
- Determine your account access
- Select your employer category
- Enter your company information
- Provide hiring site information
- Register E-Verify Program Administrators and MOU Signatory
- Review your information
- Review and agree to the Memorandum of Understanding (MOU)
- Print the signed Memorandum of Understanding (MOU)
E-Verify is a system used by employers to confirm the employment authorization of new hires. If the federal government can match the data from your Form I-9 to its records, you may never hear a word about E-Verify from your employer.
What Is?

E-Verify is a system provided by the federal government to confirm the employment authorization of new hires.
Your employer will electronically submit data from your Form I-9, including your name, Social Security number, date of birth, citizenship status, and document information, to the federal government.
You'll be required to provide your Social Security number on the Form I-9, but only if your employer uses E-Verify.
If the federal government can match the data from your Form I-9 to its records, you'll likely never hear a word about E-Verify from your employer.
Expand your knowledge: Security Metrics Pci Compliance Cost
What's the Difference Between a Background Check?
A background check is used to assess a candidate's fit for a particular role and identify red flags. Employers use background checks to ensure the safety of their workplace.
A background check might involve looking at a person's employment history, credit history, arrest record, criminal record, or other relevant information.
For another approach, see: How to Record Sales Tax Payments in Quickbooks Online
Frequently Asked Questions
Does USCIS use E-Verify?
USCIS operates E-Verify in partnership with the SSA and DHS, making it a key component of their immigration services. E-Verify is a free and easy-to-use online system.
How long does it take to get approved for E-Verify?
Approval for E-Verify typically takes 3 weeks after submitting company information. You'll receive a temporary username and password to access your account once the approval process is complete
Featured Images: pexels.com