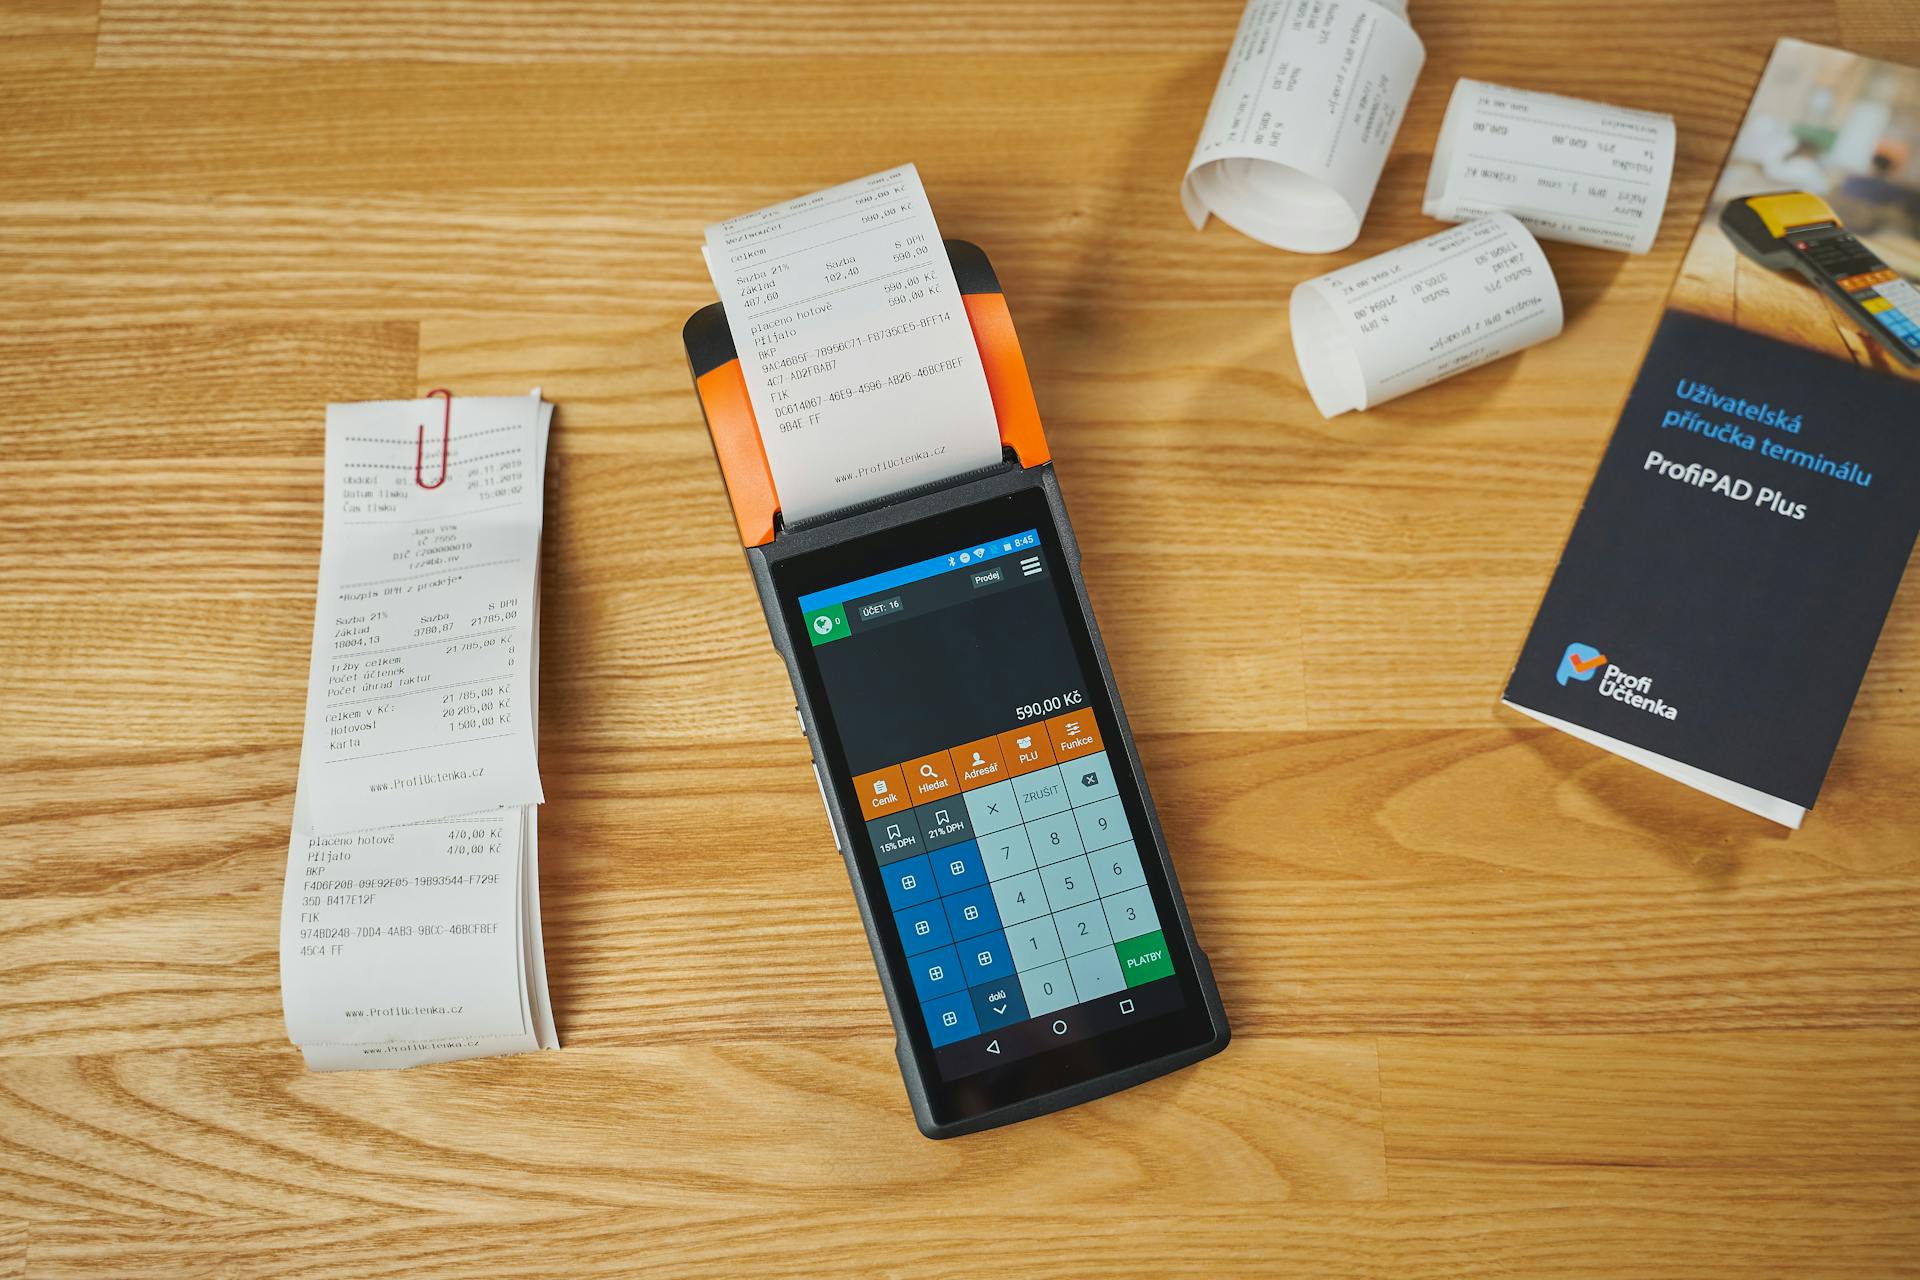
Pos preauth and terminal interaction is a crucial aspect of point of sale transactions. It's the process of verifying the customer's payment method before processing the transaction.
In a typical pos preauth, the merchant's terminal sends a request to the bank's server to verify the customer's card information. This is done to ensure the card is valid and has sufficient funds.
The customer's card information is checked against the bank's database, and if everything checks out, the terminal receives an authorization code. This code is then used to complete the transaction.
The customer's card is essentially "held" for a short period, usually a few days, to ensure the transaction is legitimate and not a case of card skimming or other forms of fraud.
On a similar theme: Stripe Preauth
Pre-Auth Setup
To set up pre-auth in your point of sale system, you'll need to navigate to the Payment Methods screen and create a new payment method. Give it a name, such as "Credit Pre-Auth", and select the "Credit Terminal" payment service.
For the processing type, choose "Pre Auth/Post Auth." You can also set up other options as desired. When finished, click Save at the top of the screen.
To use this payment method at the point of sale terminal, you'll need to create a payment method button. This is done by following the instructions in our Create POS Buttons/ Button Configuration manual page.
To enable pre-authorization, go to Manager > Settings > Business and select the Advanced tab at the top. Toggle Allow Pre-Authorization to the right.
Set the Standard Pre-auth Amount to at least $1.00. Pressing Save after activating pre-authorization will display a warning about what a pre-authorization is and what may occur if this feature is used. Press Accept to close the dialog box and commit the changes.
To pre-authorize a payment, open a new ticket and add items to the ticket. Then, select the Add Pre-Auth button. Dip the card to Pre-Auth for the current order amount. If the default amount is higher than the total of the items on the ticket, it will pre-auth for the default amount.
Pre-Auth Process
To set up a pre-auth payment method, you need to navigate to the Payment Methods screen and create a new payment method called "Credit Pre-Auth." This involves selecting the "Credit Terminal" payment service and choosing the "Pre Auth/Post Auth" processing type.
You'll also need to create a payment method button to use this pre-auth payment method at the point of sale terminal. For more information on creating and assigning buttons, check out our manual page on Create POS Buttons / Button Configuration.
The process of creating a pre-auth payment method using a point of sale (POS) system and microservices involves several steps, but the first step is to create a preauth create using an integrated approach with the POS system and microservices.
To initiate the pre-auth process, the terminal will process the preauth, and this is where the subsequent stages of the payment process come into play. For example, you may need to capture the preauthorized funds to complete the transaction or cancel the preauthorization if needed.
For another approach, see: Pre Authorization Hold
Pre-Auth at the Terminal
To set up pre-auth at the terminal, you'll need to create a payment method called "Credit Pre-Auth" with a processing type of "Pre Auth/Post Auth." This will allow you to hold funds on a customer's card until you're ready to finalize the transaction.
To use this payment method, you'll need to create a payment method button on your point of sale terminal. This button will allow you to easily select the pre-auth payment method at the point of sale.
To finalize a pre-auth transaction, you'll need to go into the receipt archive, reopen the receipt, and add any additional payments. If the customer didn't leave a tip, you'll need to enter "0" to close out the receipt. If an open receipt isn't closed before running the end of day function, it won't be approved, and the card won't be charged for any payment.
Here are the steps to follow to finalize a pre-auth receipt:
Pre-Auth at Terminal
To set up pre-auth at the terminal, you'll need to create a payment method called "Credit Pre-Auth" and select the processing type as "Pre Auth/Post Auth." This will allow you to charge the customer's card before processing the payment.
You'll also need to create a payment method button, which can be done by locating the payment layout and clicking a space to create your button. Name it "Credit Pre-Auth" and assign it to the payment method you just created.
Once you've set up the payment method and button, you can use them to take pre-auth at the terminal. To do this, select the "Credit Pre-Auth" button and add the amount you wish to charge, then hit Enter. The card will be run through the credit card terminal, and two receipts will print, allowing the customer to leave a tip if they wish.
Pre-auth receipts won't be closed until they're finalized at the terminal, even if the customer hasn't left a tip or additional payment. To finalize the receipt, you'll need to go into the receipt archive, reopen the receipt, and add any additional payments. If the customer didn't leave a tip, you'll need to enter "0" to close out the receipt.
For more insights, see: Echeck Payment Processing Time
Here's a step-by-step guide to finalizing a pre-auth receipt:
- Go into the receipt archive
- Reopen the receipt
- Add any additional payments
- If the customer didn't leave a tip, enter "0" to close out the receipt
Remember to Retrieve Master Data and restart the POS after adding your button and setting up pre-auth at the terminal. This will ensure that your new payment method has been added to the terminal and is working correctly.
Bar Tabs
Bar Tabs are a game-changer for fast-paced bar and nightclub scenarios. They allow customers to open a tab and still retain physical possession of their card, preventing the use of expired or canceled cards and "walkouts" on open tabs.
This feature is designed to streamline the payment process and reduce the risk of card-related issues. The customer is prompted to confirm the pre-authorization amount on their card for the selected ticket before proceeding.
The pre-authorization process typically involves a dialog box that asks the customer to confirm the pre-authorize amount on their card. Pressing OK continues the process.
Check this out: How Can I Take Card Payments
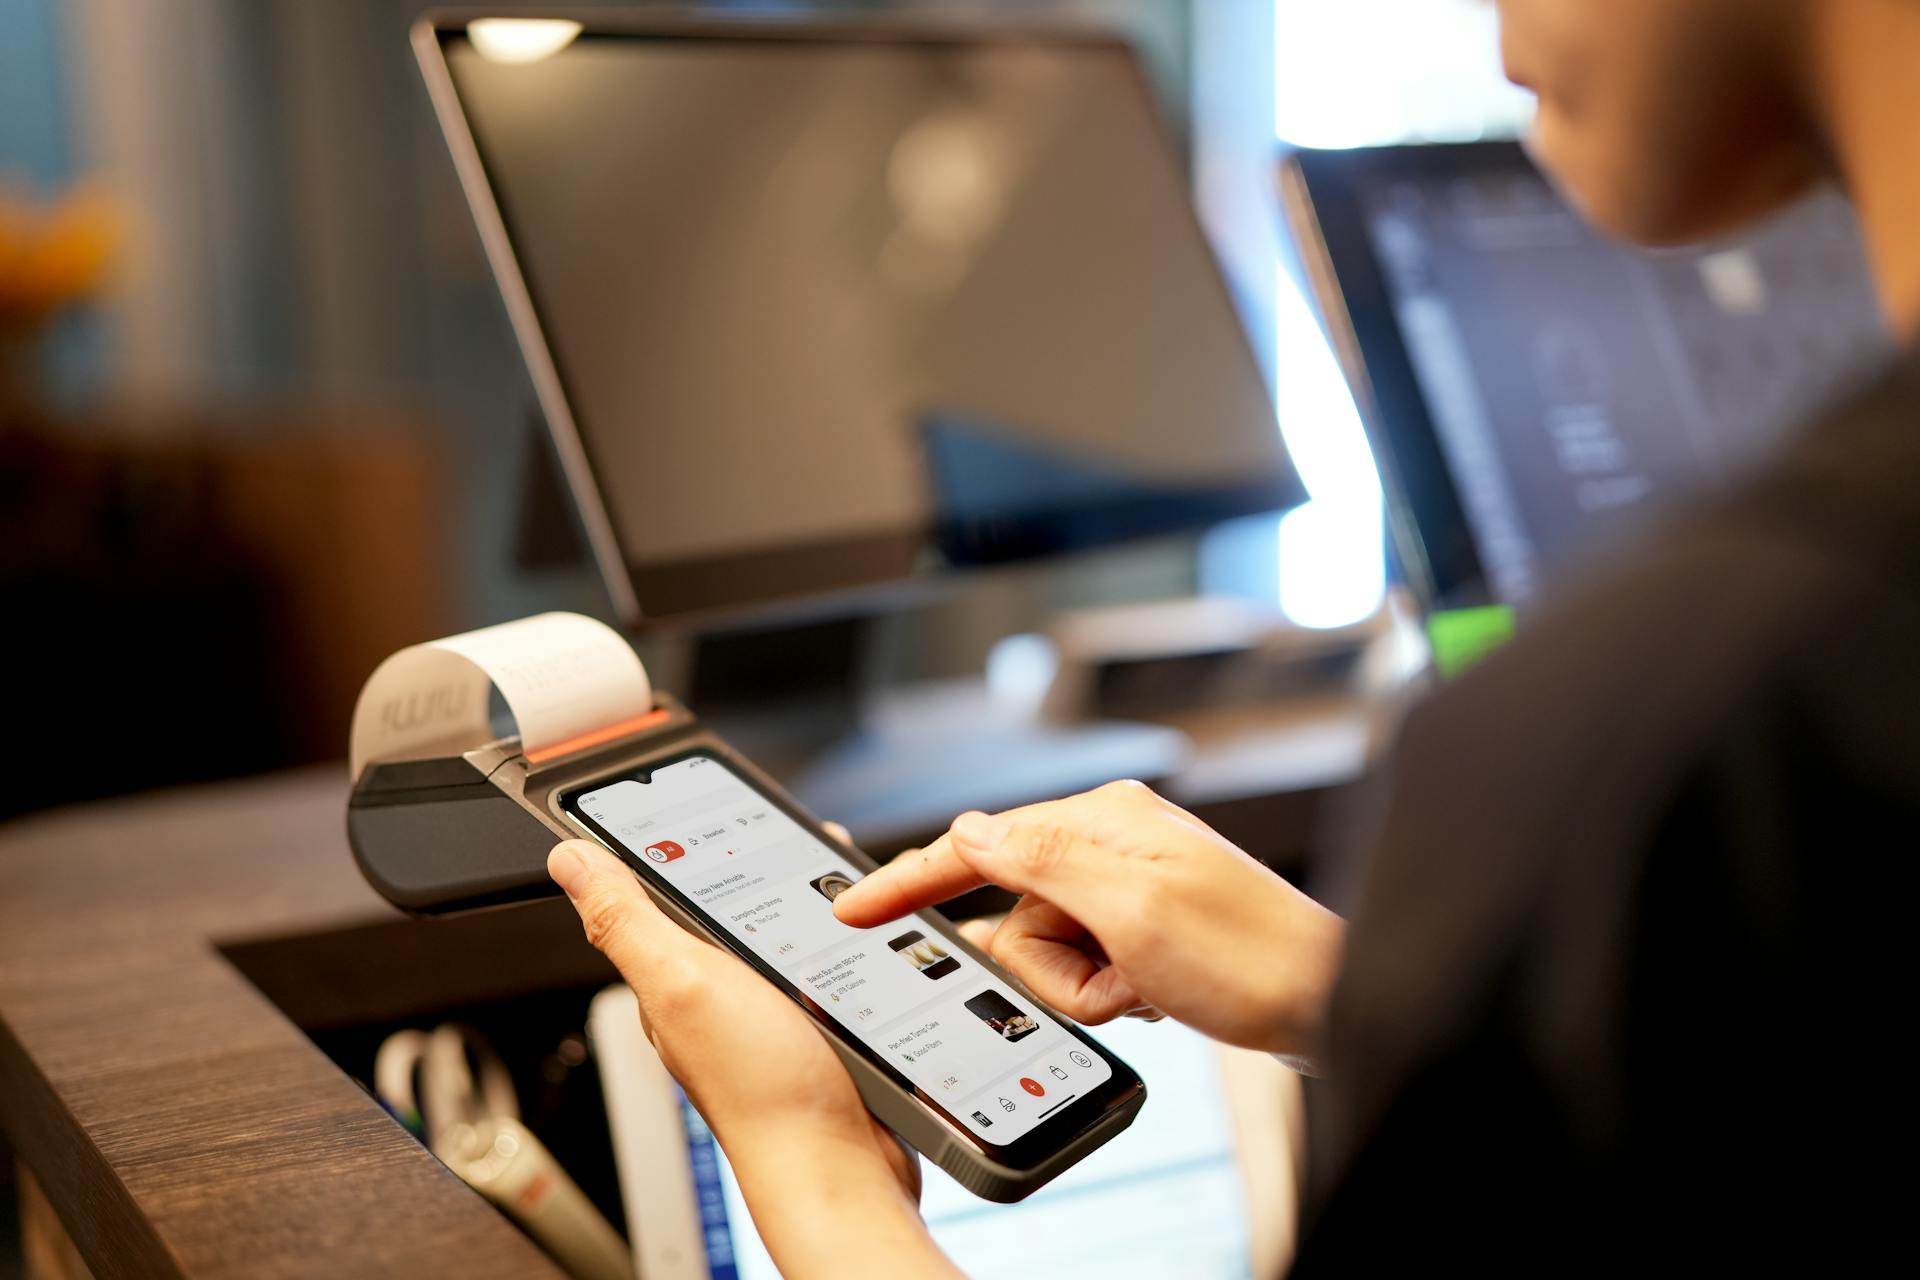
Pre-Auth with SkyTab Mobile
The SkyTab Mobile allows you to see tickets that were started with Pre-Authorizations on the SkyTab POS.
You can add items to those tickets using the SkyTab Mobile.
This feature is particularly useful for businesses that need to manage large orders or multiple items on a single ticket.
The SkyTab Mobile streamlines the process of adding items to pre-authenticated tickets.
Related reading: Stripe Mobile Ach Payments
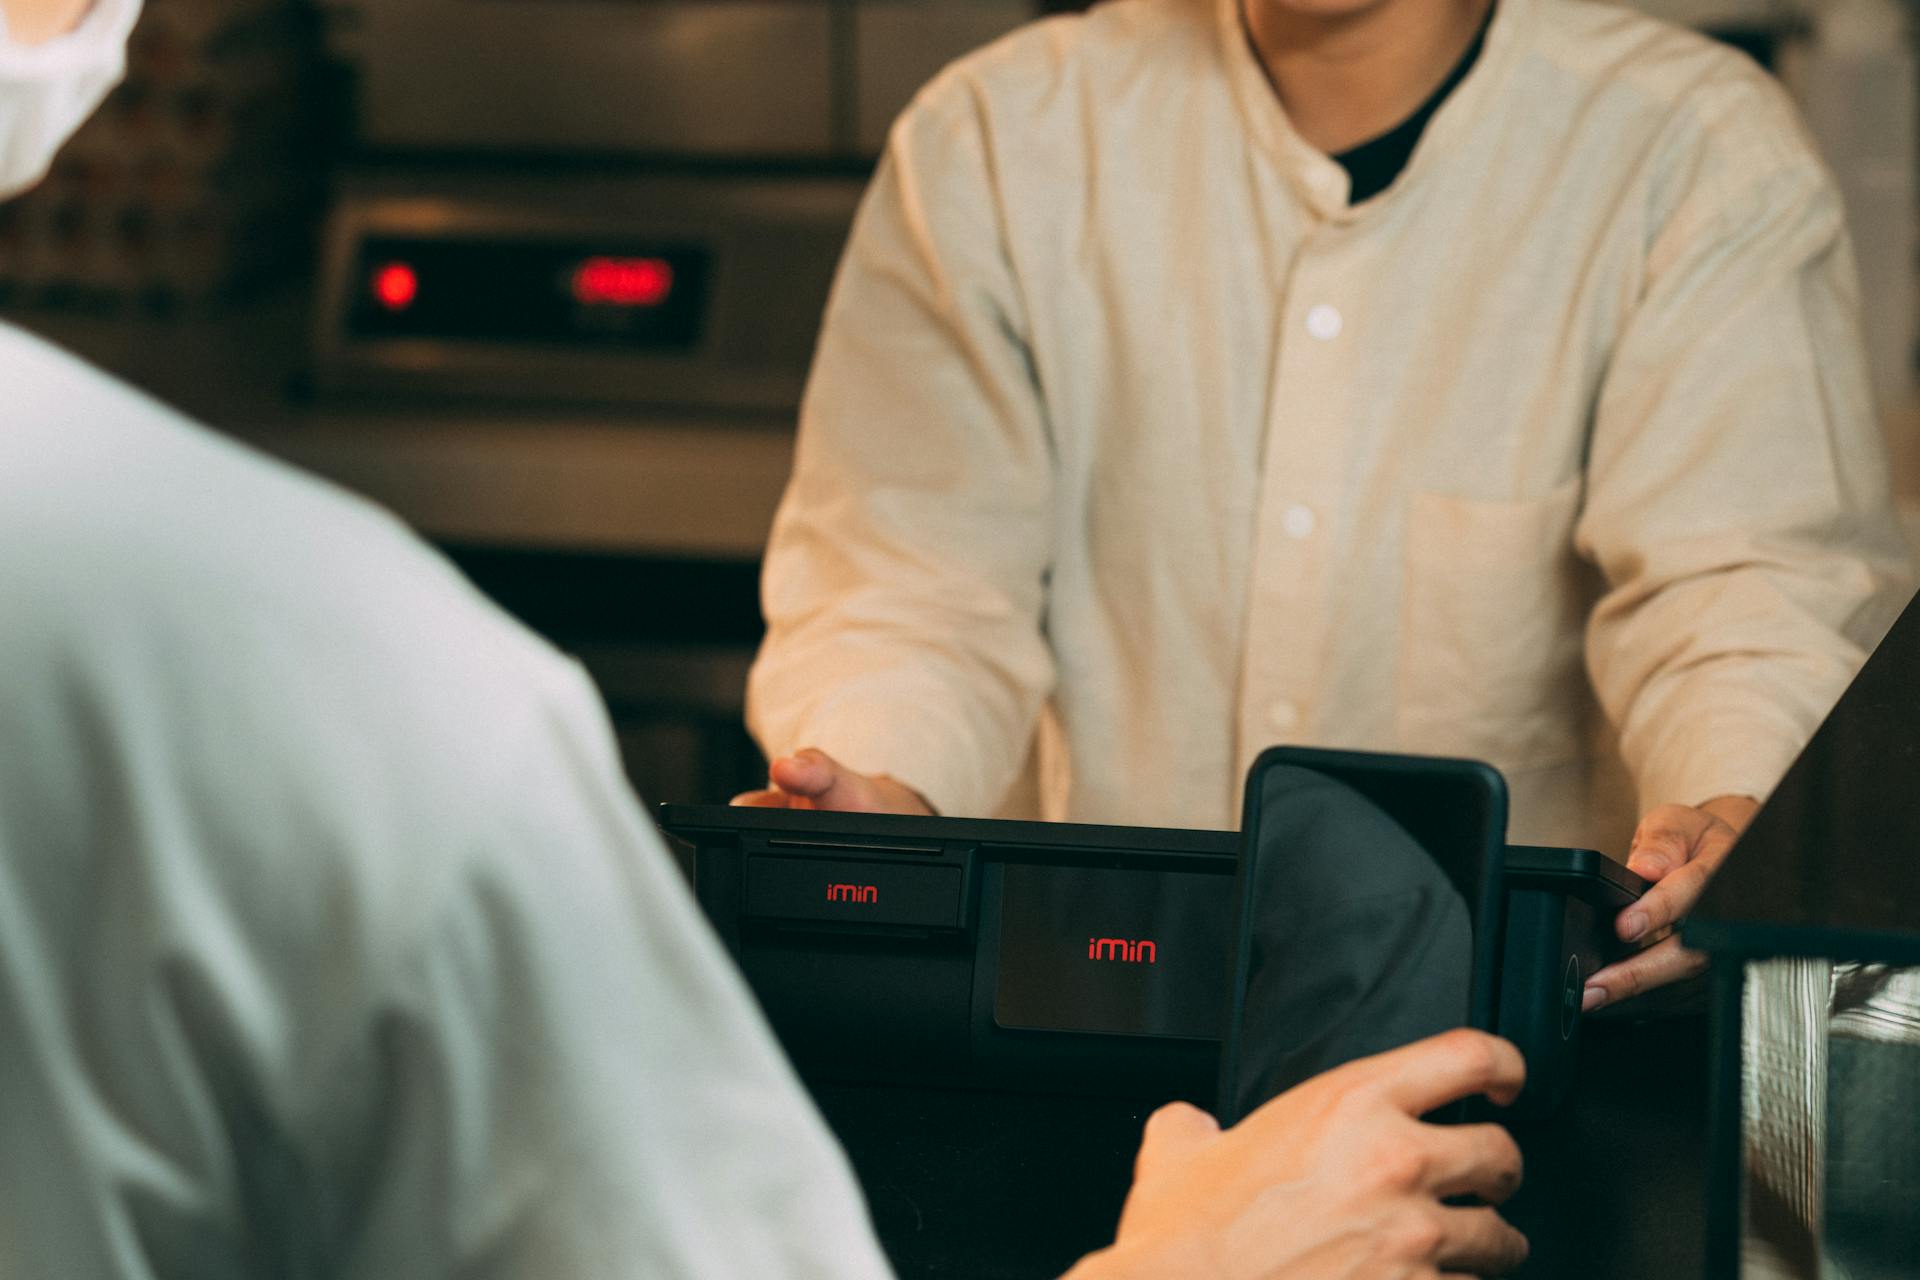
Terminal and API Interaction
To set up pre-charged transactions, you need to select the Credit Pre-Auth button created earlier and add the amount you wish to charge.
The payment terminal will run the card through the credit card terminal, resulting in two receipts printing along with the itemized receipt. These tickets allow the customer to provide a tip.
To finalize the receipt, you must go into the receipt archive, reopen the receipt, and add any additional payments, including entering "0" if the customer did not leave a tip.
Here are the steps involved in sending a pre-authorization request to the terminal:
- Validated Request: The microservice sends the pre-authorization request to the payment terminal device once the preauthorization intent is validated.
- Request Details: This request includes comprehensive details about the preauthorization, including the total amount, reference to the original transaction, and any other relevant information.
Initiates Preauth Request Using API
The process of initiating a preauth request using an API is a crucial step in the payment process. A customer approaches the Point of Sale (POS) terminal, and the POS system sends a POST request via an API to the payment processing service.
This API request includes the Merchant Id, also referred to as mid, and a valid API key associated with the mid. The request is a key part of the preauth create process.
Here's an interesting read: Preauth
The POS terminal sends a pre-authorization request message to the payment processing service. This message includes various parameters such as the Terminal ID, Cash register ID, and Pre-authorization transaction amount.
Here's a breakdown of the pre-authorization request message:
Response from Terminal
The terminal plays a crucial role in the payment process, and its response is essential for a smooth transaction. This section will break down the response from the terminal, highlighting key details and formats.
The terminal response message typically includes the terminal ID, which is an 8-digit number, ranging from 00000000 to 99999999. This is the first piece of information in the response message.
The message code is also a vital part of the terminal response. It can be either a numeric (N) or alphanumeric (A) value, indicating the type of message being sent. For example, a message code of 'e' (0x65) indicates a pre-authorization response.
The transaction result is another crucial piece of information in the terminal response. It is usually a 2-digit numeric value that indicates the outcome of the pre-authorization request.
Here's a breakdown of the terminal response message format:
The transaction result can be followed by additional information, such as the amount or currency exchange data, depending on the specific transaction.
Explore further: Amazon Transaction Pay
Pre-Auth Microservices
For the processing type, choose "Pre Auth/Post Auth." You can set up other options as desired, then click "Save" at the top of the screen.
To use this payment method at the point of sale terminal, you'll need to create a payment method button. For detailed information on creating and assigning buttons, visit the "Create POS Buttons / Button Configuration" manual page.
Once you've set up pre-auth microservices, the terminal will process the preauth. This is the first stage of the payment process, and it's essential to understand how it works.
Here are the next stages of the payment process:
- Preauth Capture: Learn how to capture the preauthorized funds to complete the transaction.
- Preauth Cancel: Discover how to cancel a preauthorization if needed.
Terminal Processing
To process a preauth, the terminal plays a crucial role. You can start by showing only open pre-auth receipts at the terminal, which helps you focus on the transactions that require attention.
To do this, you'll need to select the "Show Open Pre-Authorizations" button, which filters out the receipts you don't need. This will display receipts awaiting a post-auth transaction.
Here's a breakdown of the pre-authorization response message from the terminal:
By understanding the structure of this message, you can better comprehend the terminal's response to a preauth request.
Re-Open Receipt and Show Open Buttons
To re-open a receipt and apply additional charges or tips, you'll need to set up two buttons on the terminal. These buttons are essential for running pre-authorized transactions at the point of sale.
The "Re-Open Receipt" button allows you to reopen a receipt that has already been closed out, enabling you to add more charges or tips as needed. This is a convenient feature that streamlines the process of managing pre-authorized transactions.
To use the "Re-Open Receipt" button, make sure you have already set up the ability to run pre-authorized transactions at the terminal. If not, you'll need to follow the steps outlined in the previous section to enable this feature.
Step 4: Terminal Processes Preauth
At this stage, the terminal processes the preauth and prepares it for capture. Two receipts are printed along with the itemized receipt, allowing the customer to provide a tip if desired.
The preauth receipt will not be closed until it's finalized at the terminal, even if the customer hasn't left a tip or additional payment. To finalize the receipt, you need to go into the receipt archive, reopen the receipt, and add any additional payments.
If the customer didn't leave a tip, you must still enter "0" to close out the receipt. This ensures that the receipt is properly closed and the card is charged for any payment.
Here's a quick rundown of what to do next:
- Capture the preauthorized funds to complete the transaction.
- Cancel the preauthorization if needed.
Closure and Error Handling
Closure and Error Handling is a critical aspect of POS preauth. A pre-authorization closure response message without currency exchange data from the terminal is 8 bytes long, starting with the Terminal ID.
The Terminal ID is a 16-digit number, ranging from 00000000-99999999. It's essential to note that the first byte is reserved and always fixed to '0' (0x30). The message code is 'c' (0x63), indicating a closure response.
The transaction result is a 2-byte field that provides information about the outcome of the pre-authorization.
Related reading: Merchant Bank Id Credit Card Authorization
ECR Closure Request
The ECR Closure Request is a crucial part of the closure and error handling process. It's a message sent from the Electronic Cash Register (ECR) to the Host, requesting closure of a pre-authorized transaction.
The message contains several key fields, including the Terminal ID, which is an 8-digit number that uniquely identifies the ECR. The Terminal ID is located in position 1 of the message.
A reserved field in position 9 is always fixed to '0' (0x30). This field is not used for any specific purpose.
The Message code is 'i' (0x63) in position 10, indicating that this is an ECR Closure Request message.
The Cash register ID is an 8-digit number located in position 11. This field is used to identify the specific cash register that performed the transaction.
The presence of message with additional data for the GT is indicated by a single character in position 19. If this field is present, it means that the message contains additional data for the GT.
A reserved field in position 20 is always fixed to '0' (0x30). This field is not used for any specific purpose.
The Authorization transaction amount is a 4-byte field located in positions 24-27. The amount is always expressed in cents and is right-aligned, with '0' (0x30) on the left.
The text to be printed at the end of the payment receipt is a 128-character field located in positions 32-159. This field is right-aligned and filled with ' ' (0x20) on the left. The terminal should only print valid characters, skipping the blanks.
You might like: Why Does Cash App Say Invalid Card Number
The Unique identifier of the pre-authorization is a 9-byte field located in positions 160-168. This field is used to identify the specific pre-authorization and is printed on the pre-authorization receipt issued by the terminal.
A reserved field in position 169 is always fixed to '0' (0x30). This field is not used for any specific purpose.
Closure Response Message (From Terminal)
The closure response message from the terminal is a crucial part of the payment process. It indicates whether a pre-authorization request has been successfully closed or not.
The message starts with the terminal ID, which is a unique identifier for the terminal. This is followed by a reserved field that is fixed to '0' (0x30). The message code is the next field, and it indicates the type of response being sent. For a pre-authorization closure response message, the message code is either 'c' (0x63) or 'v' (0x76).
The transaction result is indicated by a two-character field, which is usually followed by additional information such as the card type, acquirer ID, STAN, ID online, action code, currency exchange transaction flag, exchange rate, and transaction amount.
For another approach, see: Account Funding Transaction
Here's a breakdown of the fields that appear in a pre-authorization closure response message with currency exchange data:
If Transaction Result Is Negative
If transaction result is negative, the system provides a reason for the denial. This reason is reported in the field at position 13, which is 24 characters long and contains only ASCII characters.
The field is left aligned and filled with blank characters on the right. In other words, if the reason for the denial is shorter than 24 characters, the field will be padded with spaces.
The reserved field at position 37 is fixed to '0' (0x30), meaning it always contains this specific value.
The transaction sequence number, also known as STAN, is a 6-digit code that can be found at position 60. This number is unique to each transaction and is used for tracking and auditing purposes.
Online operation progressive number is another field that can be found at position 66. This number is also 6 digits long and is used to keep track of online operations.
In some cases, an Action Code may be provided to indicate the reason for the denial. This code can be found at position 72 and is 3 characters long.
Check this out: Authorisation Number Credit Card
Overview and Understanding

Preauthorization is an essential process in many industries, but it can be confusing if you don't understand how it works.
It's the initial step in a two-step payment process that involves checking with the card-issuing bank to ensure the cardholder has sufficient funds or credit available to cover a purchase.
Preauthorization is commonly employed in scenarios where the final transaction amount is uncertain, such as hotel reservations, car rentals, or restaurant bills.
During preauthorization, a hold is placed on the funds, reserving them for the pending transaction, but the funds are not immediately transferred from the cardholder's account to the merchant's account.
This means that the funds are temporarily unavailable for the cardholder to use for other purchases until the preauthorized amount is released.
Curious to learn more? Check out: Processing Credit Cards
Frequently Asked Questions
What does preauth mean on a bank statement?
A preauth on your bank statement is a temporary hold on your available balance to verify your card's validity and available funds. This holds a specific amount, but doesn't transfer it to the business, and is usually released within a few days.
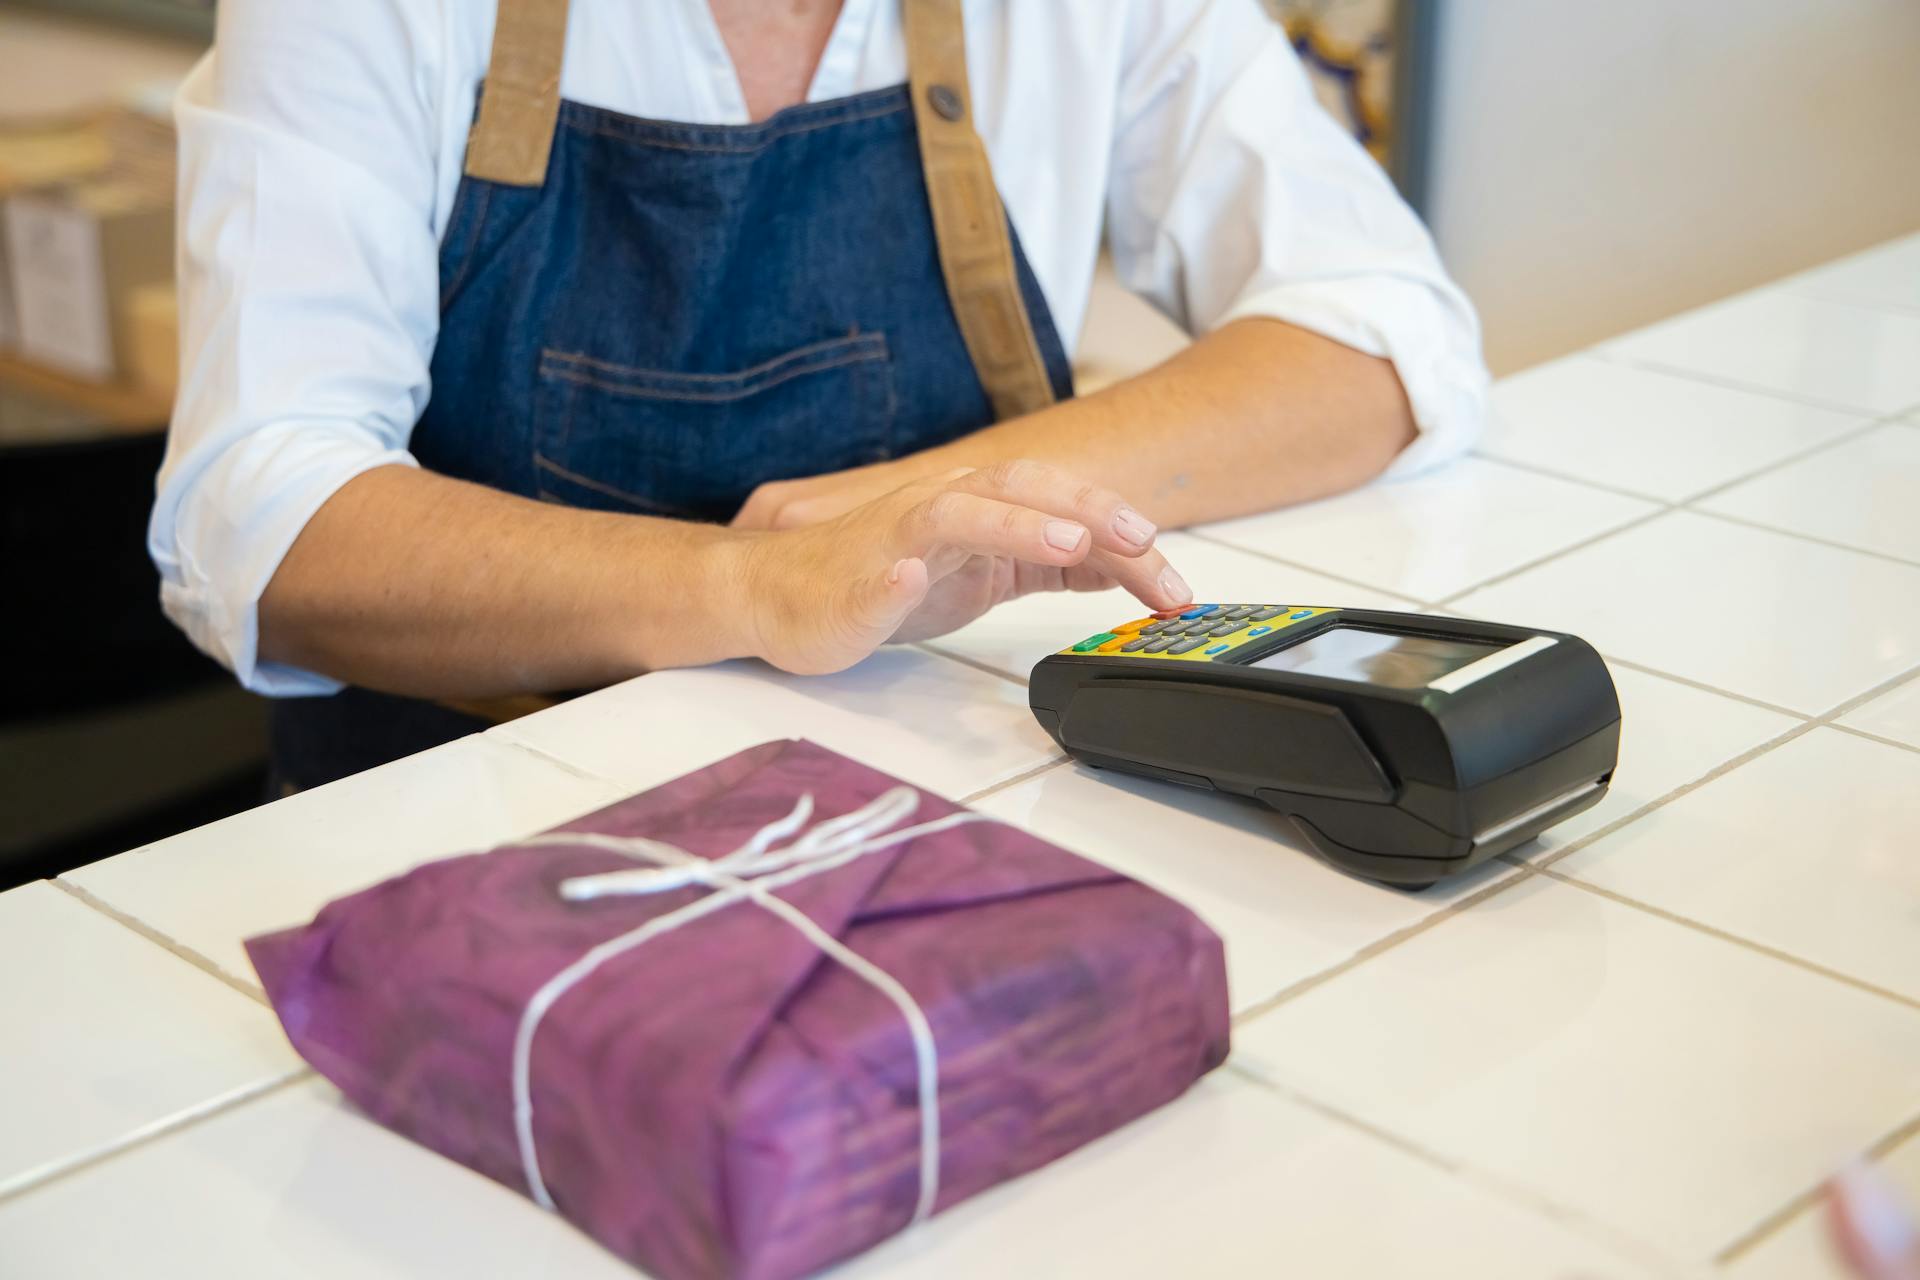
What is a POS authorization?
POS authorization is the process of verifying a payment card transaction through a request sent to the payment processor or acquirer. This automated process ensures the transaction is legitimate and the card is valid for payment.
Sources
- https://manual.koronapos.com/pre-authorization-and-post-authorization/
- https://shift4.zendesk.com/hc/en-us/articles/6821343653651-Pre-Authorizations-and-Bar-Tabs-on-SkyTab-POS-and-SkyTab-Mobile
- https://developer.nexigroup.com/traditionalpos/en-EU/docs/pre-authorization-request/
- https://docs.tillpayments.com/guides/use-cases/preauth-create/
- https://developer.nexigroup.com/traditionalpos/en-EU/docs/pre-authorization-closure/
Featured Images: pexels.com