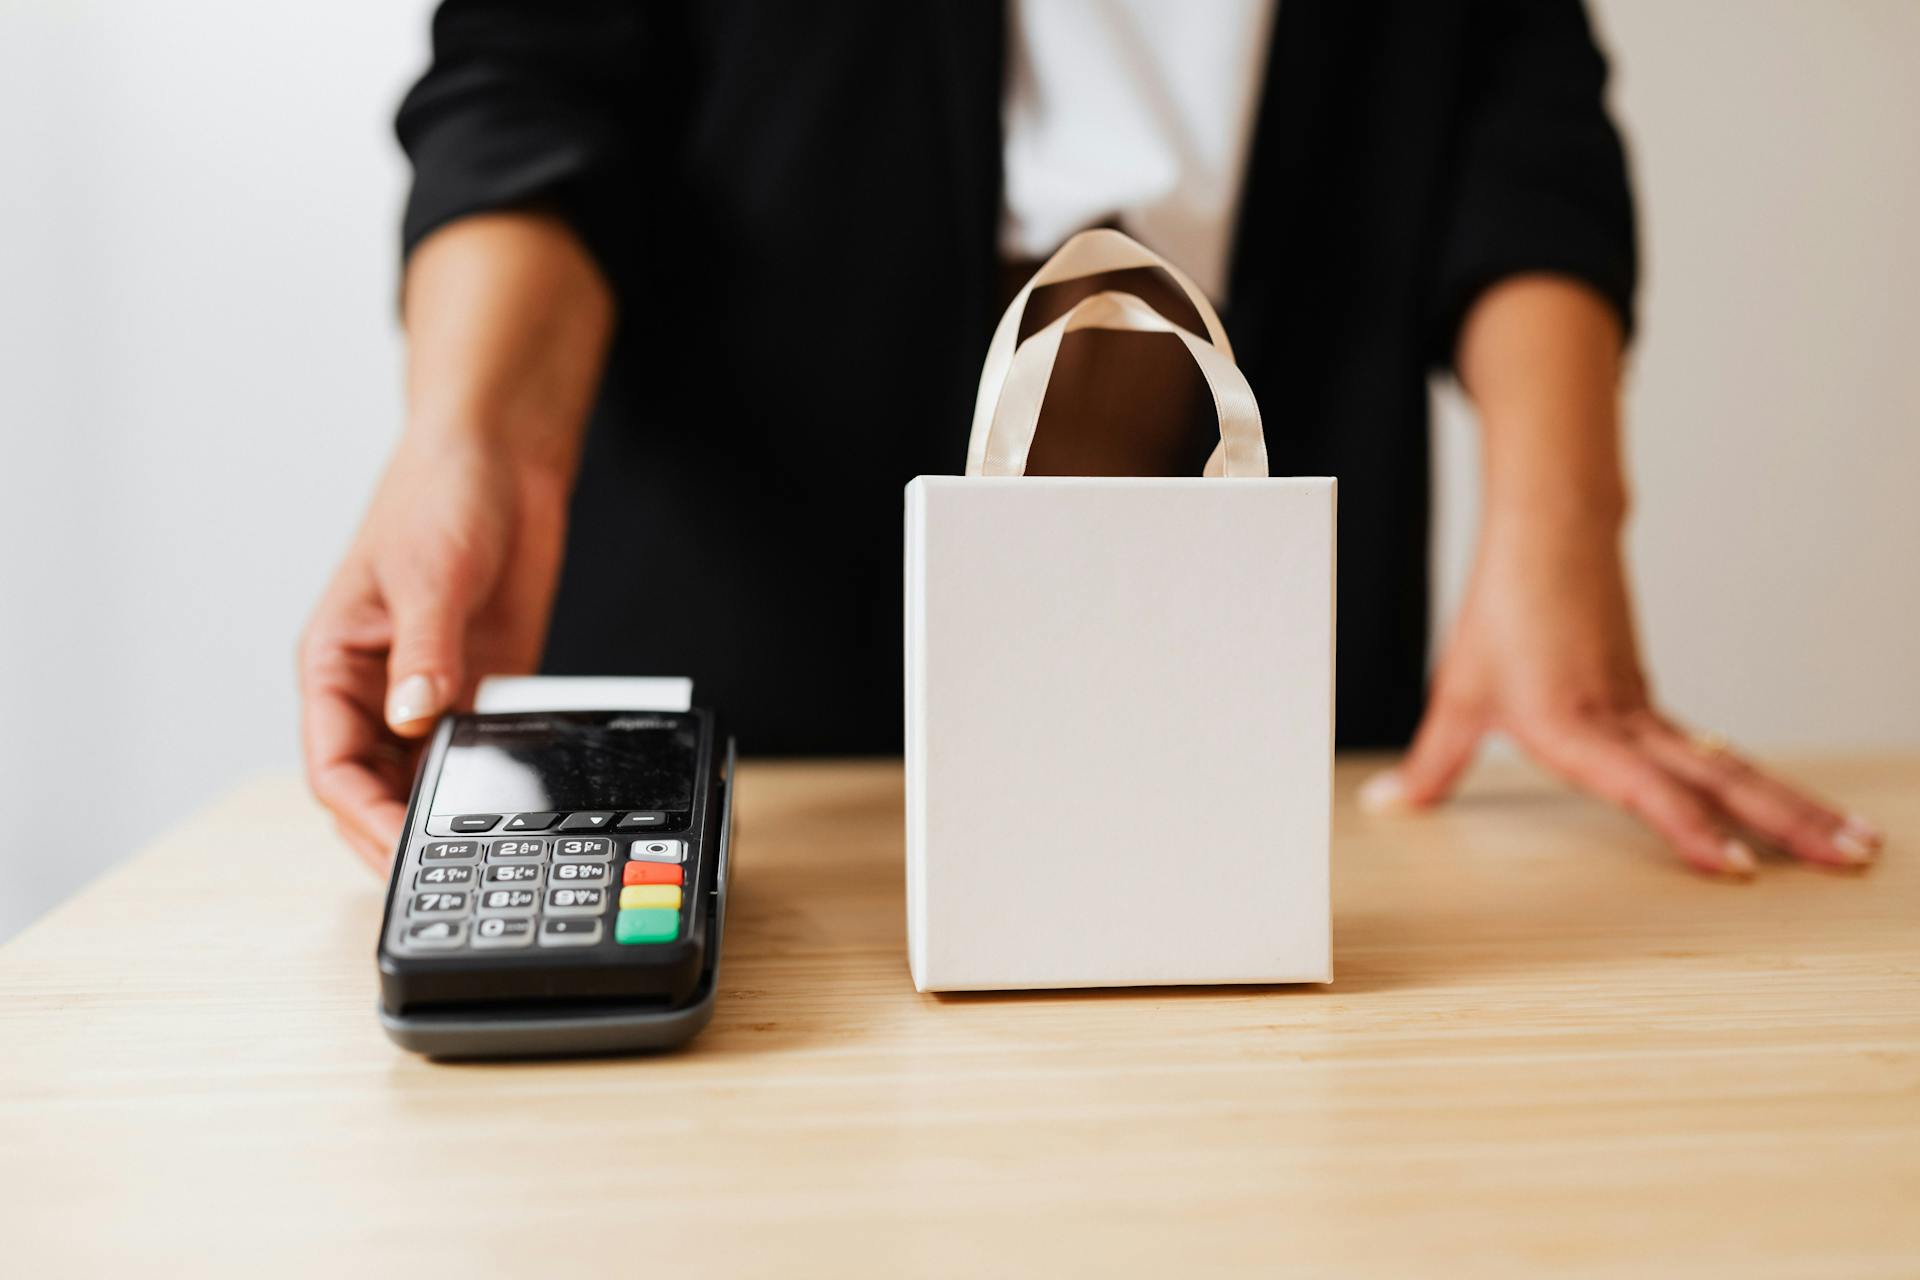
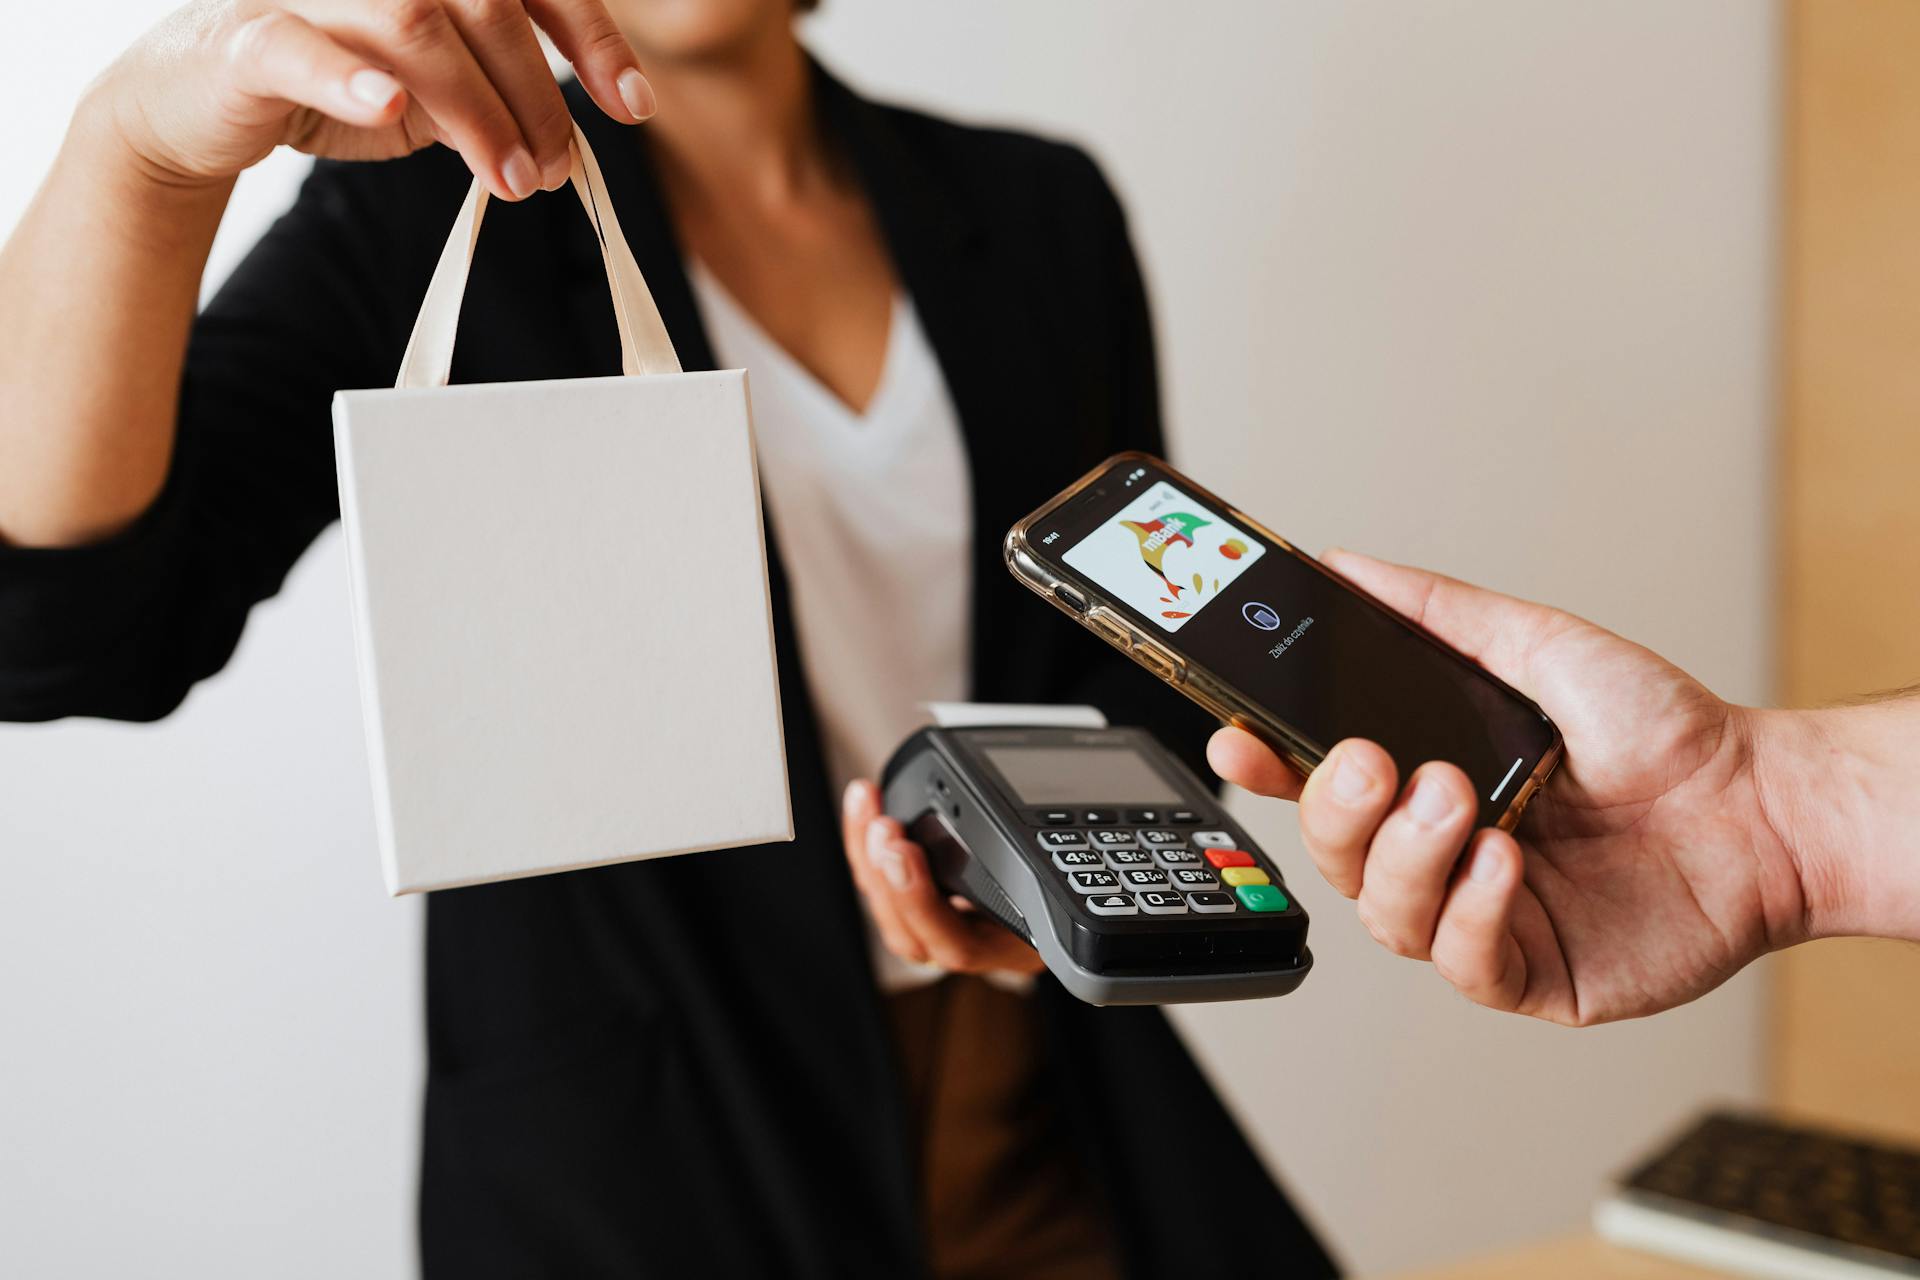
Integrating the GCash API into your online payment system can be a game-changer for your business. The GCash API provides a secure and convenient way for customers to make payments online.
The GCash API is built on a robust security framework that ensures the protection of sensitive customer information. This includes encryption, tokenization, and compliance with industry-standard security protocols.
By integrating the GCash API, you can reduce the risk of payment failures and chargebacks, which can save you time and money in the long run.
You might like: One - Mobile Banking
Getting Started
To get started with the GCash API, first make sure you've built an API-only integration. This is a crucial step to ensure a smooth setup process.
You'll need to add GCash in your test Customer Area before beginning. This will allow you to test your integration without any issues.
To show available payment methods to the shopper, you'll need to specify the following parameters: countryCode (PH), amount.currency (PHP), amount.value (the value of the payment), and channel (Web, iOS, or Android).
Here's a quick rundown of the required parameters:
Finally, don't forget to create a shopper token and use it to make future payments for the shopper.
Requirements
To get started, you'll need to meet some basic requirements. You must have built an API-only integration, making sure to add GCash in your test Customer Area beforehand.
Before proceeding, ensure you've added the necessary details to show available payment methods to the shopper. This includes specifying the country code as PH, amount currency as PHP, and amount value for the payment. You'll also need to specify the channel as Web, iOS, or Android.
To create a shopper token, follow these steps: create a shopper token, and use the token to make future payments for the shopper.
For more insights, see: Do You Need a Deposit Slip to Deposit a Check
Create a Source
To create a source, you need to specify the type as gcash.
The type of source is gcash, which is a requirement for authorizing an amount with GCash.
You'll need to specify the amount to authorize.
The GCash checkout URL should be rendered on your page.
This URL will be used to redirect the customer once the authorization is successful or if the customer failed to authorize the amount.
Consider reading: How to Tell What Type of Credit Card by Number
Payment Flow
To complete a payment with the Gcash API, you'll need to handle the redirect correctly. The shopper should be redirected to the action.url returned in the /payments response.
After the shopper is redirected back to your website, you'll need to check the payment result by making a POST /payments/details request. This request should specify the necessary details.
The payment result will be noted in the response, which you should carefully review to determine the outcome of the payment.
If this caught your attention, see: Paypal Account Details for Payment
Purchases via Payment Page
To process a purchase through Payment Page by using the GCash method, your web service needs to send a request with all required parameters and signature to the ecommpay URL and receive a callback with the result.
The full sequence of purchase processing is as follows: a customer initiates a purchase in the web service, the web service sends the request for opening Payment Page to the specified ecommpay URL, the request is sent to the payment platform, and the payment platform receives the request and validates the required parameters and signature.
You might enjoy: Do I Need Pci Compliance
Payment Page is generated based on the project and request parameters, and it's displayed to the customer. The customer selects the GCash method, and the payment platform receives the request for processing the payment by using the GCash method.
Here is a step-by-step breakdown of the process:
- A customer initiates a purchase in the web service.
- The web service sends the request for opening Payment Page to the specified ecommpay URL.
- The request is sent to the payment platform.
- The payment platform receives the request and validates the required parameters and signature.
- Payment Page is generated based on the project and request parameters.
- Payment Page is displayed to the customer.
- The customer selects the GCash method.
- The payment platform receives the request for processing the payment by using the GCash method.
- The payment platform processes the request and sends it to the GCash service.
- The request is processed on the GCash service side.
- The data for redirecting the customer to the GCash service is sent from the GCash service to the payment platform.
- The data for redirecting the customer is sent from the payment platform to Payment Page.
- The customer is redirected to the GCash service.
- The customer completes all required payment steps.
- The purchase is processed in the GCash service.
- The information on the payment result is sent from the GCash side to the specified customer email address.
- The customer is redirected to Payment Page.
- The GCash service sends a notification about the result to the payment platform.
- The payment platform sends the payment result callback to the web service.
- The payment platform sends the result information to Payment Page.
- The result information is displayed to the customer on Payment Page.
Purchases via Gate
To process a purchase through Gate by using the GCash method, the merchant's web service must send a request with all the required parameters and signature to the ecommpay URL.
This involves a sequence of steps, including sending the request, receiving an intermediate callback, and receiving the final callback from the payment platform.
The full sequence of purchase processing is as follows:
1. A customer initiates a purchase by using the GCash method in the web service.
2. The web service sends the request for processing the purchase by using Gate to the specified ecommpay URL.
3. The payment platform receives the request and validates the required parameters and signature.
You might enjoy: White Label Banking Platform
4. The payment platform sends the response to the web service with information about the receipt of the request and its validity.
5. The payment platform performs further processing of the request and sends it to the GCash service.
To initiate each purchase, you'll need to send a separate POST request to the v2/payment/wallet/gcash/sale endpoint, which belongs to the group /v2/payment/wallet/{payment_method}/sale.
A correct purchase request by using the GCash method must contain the project identifier, basic payment information (identifier, amount, and currency code), customer information, and URL for redirection, as well as signature.
Here is a summary of the required parameters for a purchase request:
API Interaction
API Interaction is a crucial aspect of using the GCash API.
The interaction diagram shows that payment processing involves several components, including the merchant's web service, ecommpay interfaces, the ecommpay payment platform, and technical facilities of the GCash service.
To initiate a payment, you'll need to specify the required parameters, such as project_id, payment_id, payment_currency, payment_amount, and customer_id.
Here are the key parameters to include in your request:
- project_id
- payment_id
- payment_currency
- payment_amount
- customer_id
It's also a good idea to include the customer's email address in the customer_email parameter, as this will allow you to display a pre-filled field on the Payment Page.
A different take: E S a Payments
Interaction Diagram
When interacting with APIs, understanding the interaction diagram is crucial. It helps you visualize the flow of data between systems.
The interaction diagram for payment processing using the GCash method involves multiple components, including the merchant's web service, one of ecommpay interfaces, the ecommpay payment platform, and the technical facilities of the GCash service.
Each component plays a vital role in facilitating the payment process. For example, the merchant's web service initiates the payment request, which is then forwarded to ecommpay's interface.
Worth a look: I M B Bank Share Price Today
Callback Format
The GCash method uses the standard format for callbacks to deliver purchase results. This format is crucial for ensuring that purchase information is accurately conveyed.
The callback format is used to inform merchants about the outcome of a purchase. This can include information such as the purchase amount and the project ID.
For example, a callback with information about a 10.00 PHP purchase made in the 239 project might look like this. The callback will include details about the purchase, including the amount and project ID.
A fresh viewpoint: Ny Mobile Id to Google Google Wallet
The callback format is also used to inform merchants about declined purchases. In this case, the callback will include information about why the purchase was declined.
Merchants can use the callback format to track the status of purchases and make necessary adjustments. This can be particularly useful for managing large volumes of transactions.
Here are some key concepts related to callbacks:
- Interaction concepts
- Signature generation and verification
- Payment models and statuses
- One-time one-step purchase
- Information of operations performing
Request and Response
The Gcash API supports multiple request methods, including GET, POST, PUT, and DELETE, allowing developers to interact with the API in a variety of ways.
To send a request, you'll need to specify the endpoint URL, which is the address of the specific resource you want to access. For example, the endpoint URL for the Gcash API's wallet balance retrieval is /v1/wallets/{wallet_id}/balance.
The Gcash API expects requests to be in JSON format, which is a lightweight data interchange format that's easy to read and write. This is because the API uses JSON to serialize and deserialize data.
Recommended read: Does Sim Card Store Data
Each request must include a unique identifier, such as a customer ID or wallet ID, to associate the request with the correct account. For instance, the customer ID is required for the /v1/customers endpoint.
The Gcash API returns responses in JSON format as well, which makes it easy to parse and process the data. The response will typically include a status code, a message, and the requested data.
The status code in the response indicates whether the request was successful or not. A 200 status code means the request was successful, while a 400 status code indicates an error occurred.
Related reading: Digital Wallet Data Cloud
Payouts
To process a payout through Gate by using the GCash method, you need to send a request with all required parameters and signature to the ecommpay URL and receive a callback with the result.
The full sequence of payout processing via Gate involves several steps. The web service sends the request for processing the payout to the specified ecommpay URL, and the payment platform receives the request. The payment platform validates the required parameters and signature in the request, and then sends the response to the web service with information about the receipt of the request and its validity.
Expand your knowledge: Recurring Credit Card Payments
The payment platform performs further processing of the request, checks for parameter consistency, and sends it to the GCash service. The payout is then processed on the side of the GCash service, and the GCash service sends the result notification to the payment platform.
The payment platform sends the result callback to the web service, and the customer receives the payout result information from the web service.
To initiate each payout, you need to send a separate POST request to the /v2/payment/wallet/gcash/payout endpoint, which belongs to the group /v2/payment/wallet/{payment_method}/payout.
The correct payout request by using the GCash method must contain the project identifier, basic payment information (identifier, amount, and currency code), customer and account information, as well as signature.
Here is a summary of the required parameters for the payout request:
The currency of payout can only be PHP, and any other parameters included in the specification can be used.
Frequently Asked Questions
Does GCash have API?
Yes, GCash offers API integration for easy customer onboarding, allowing you to register customers quickly and accurately. This API leverages a vast network of over 35M identities that have completed KYC processes.
What banks can be linked to GCash?
To link a bank account to GCash, you can use a BPI or UnionBank savings/checking account. Linking one of these accounts can also increase your GCash wallet and transaction limit.
Featured Images: pexels.com