To turn on Apple Cash, you'll need to have the latest version of the Wallet app installed on your iPhone or iPad.
To start, open the Wallet app and tap on the "Apple Cash" tab.
You'll need to have a debit card or bank account linked to your Apple ID to use Apple Cash.
Tap on the "Add Debit Card or Bank Account" option to link a payment method.
Next, you'll need to set up a PIN or Touch ID to secure your Apple Cash account.
Set a four-digit PIN or use Touch ID to verify your identity.
This will help prevent unauthorized access to your Apple Cash account.
Once you've set up your PIN or Touch ID, you can start sending and receiving money with Apple Cash.
You might enjoy: How to Set up Apple Cash Family
Set Up
To set up Apple Cash, you'll need to have your driver's license or other government-issued ID handy, along with your Social Security Number (SSN), as you'll need to scan your ID with your device's camera and enter your SSN to verify your identity.
For more insights, see: How to Use Apple Cash without Ssn
You can set up Apple Cash from your iPhone, iPad, or even your Vision Pro. First, make sure you have the necessary documents ready.
To begin, select your Apple Cash payment card. You'll then be prompted to set up Apple Cash. Follow the onscreen instructions.
You have 7 days to accept the payment if someone sends you money in Messages and you don't have Apple Cash set up. This will prompt you to set up Apple Cash.
To enable Apple Cash, go to Settings > Wallet & Apple Pay and look for the Apple Cash toggle at the top of the screen. If you don’t see an Apple Pay Cash card in Wallet, make sure it’s enabled in Settings.
You can also set up Apple Cash by tapping on the Apple Cash card in the Wallet app, then tapping on Set Up Apple Cash. Agree to the terms and conditions, and you're done!
Broaden your view: Carrier Billing T Mobile
Sending Money
Sending money with Apple Cash is easy and convenient. You can do it right from the Messages app on your iPhone or iPad.
To send money, you'll need to have Apple Cash set up and a debit card added to the Wallet app. If you haven't added a debit card, you won't be able to send money.
Once you have everything set up, you can send money to anyone who has Apple Cash and is at least 18 years old and a resident of the United States.
You can initiate a payment from the Messages app by tapping the plus icon and selecting Apple Cash. You can then enter the amount you want to send and tap Pay.
If you don't have enough money in your Apple Cash balance to send the payment, you can pay the remainder with your debit card.
To review and confirm the payment, you'll need to double-click the side button and use Face ID, Touch ID, or your passcode.
For another approach, see: Card Not Added Contact Issuer Apple Pay
Here are the steps to send money with Apple Cash:
- Open the Messages app and start a new conversation or tap an existing one
- Tap the plus icon and select Apple Cash
- Enter the amount you want to send and tap Pay
- Review and confirm the payment with Face ID, Touch ID, or your passcode
Note: If the person you're sending money to can't receive Apple Cash payments, you'll see a message saying so.
Payment Options
To turn on Apple Cash, you'll need to link a debit card or bank account to your iPhone. This allows you to receive and send money using your Apple Cash account.
You can link a debit card or bank account by going to the Wallet app, tapping on the Apple Cash card, and following the prompts. This will also allow you to set up a daily spending limit for your Apple Cash account.
Intriguing read: B of a Mobile Banking App
Tap to Pay
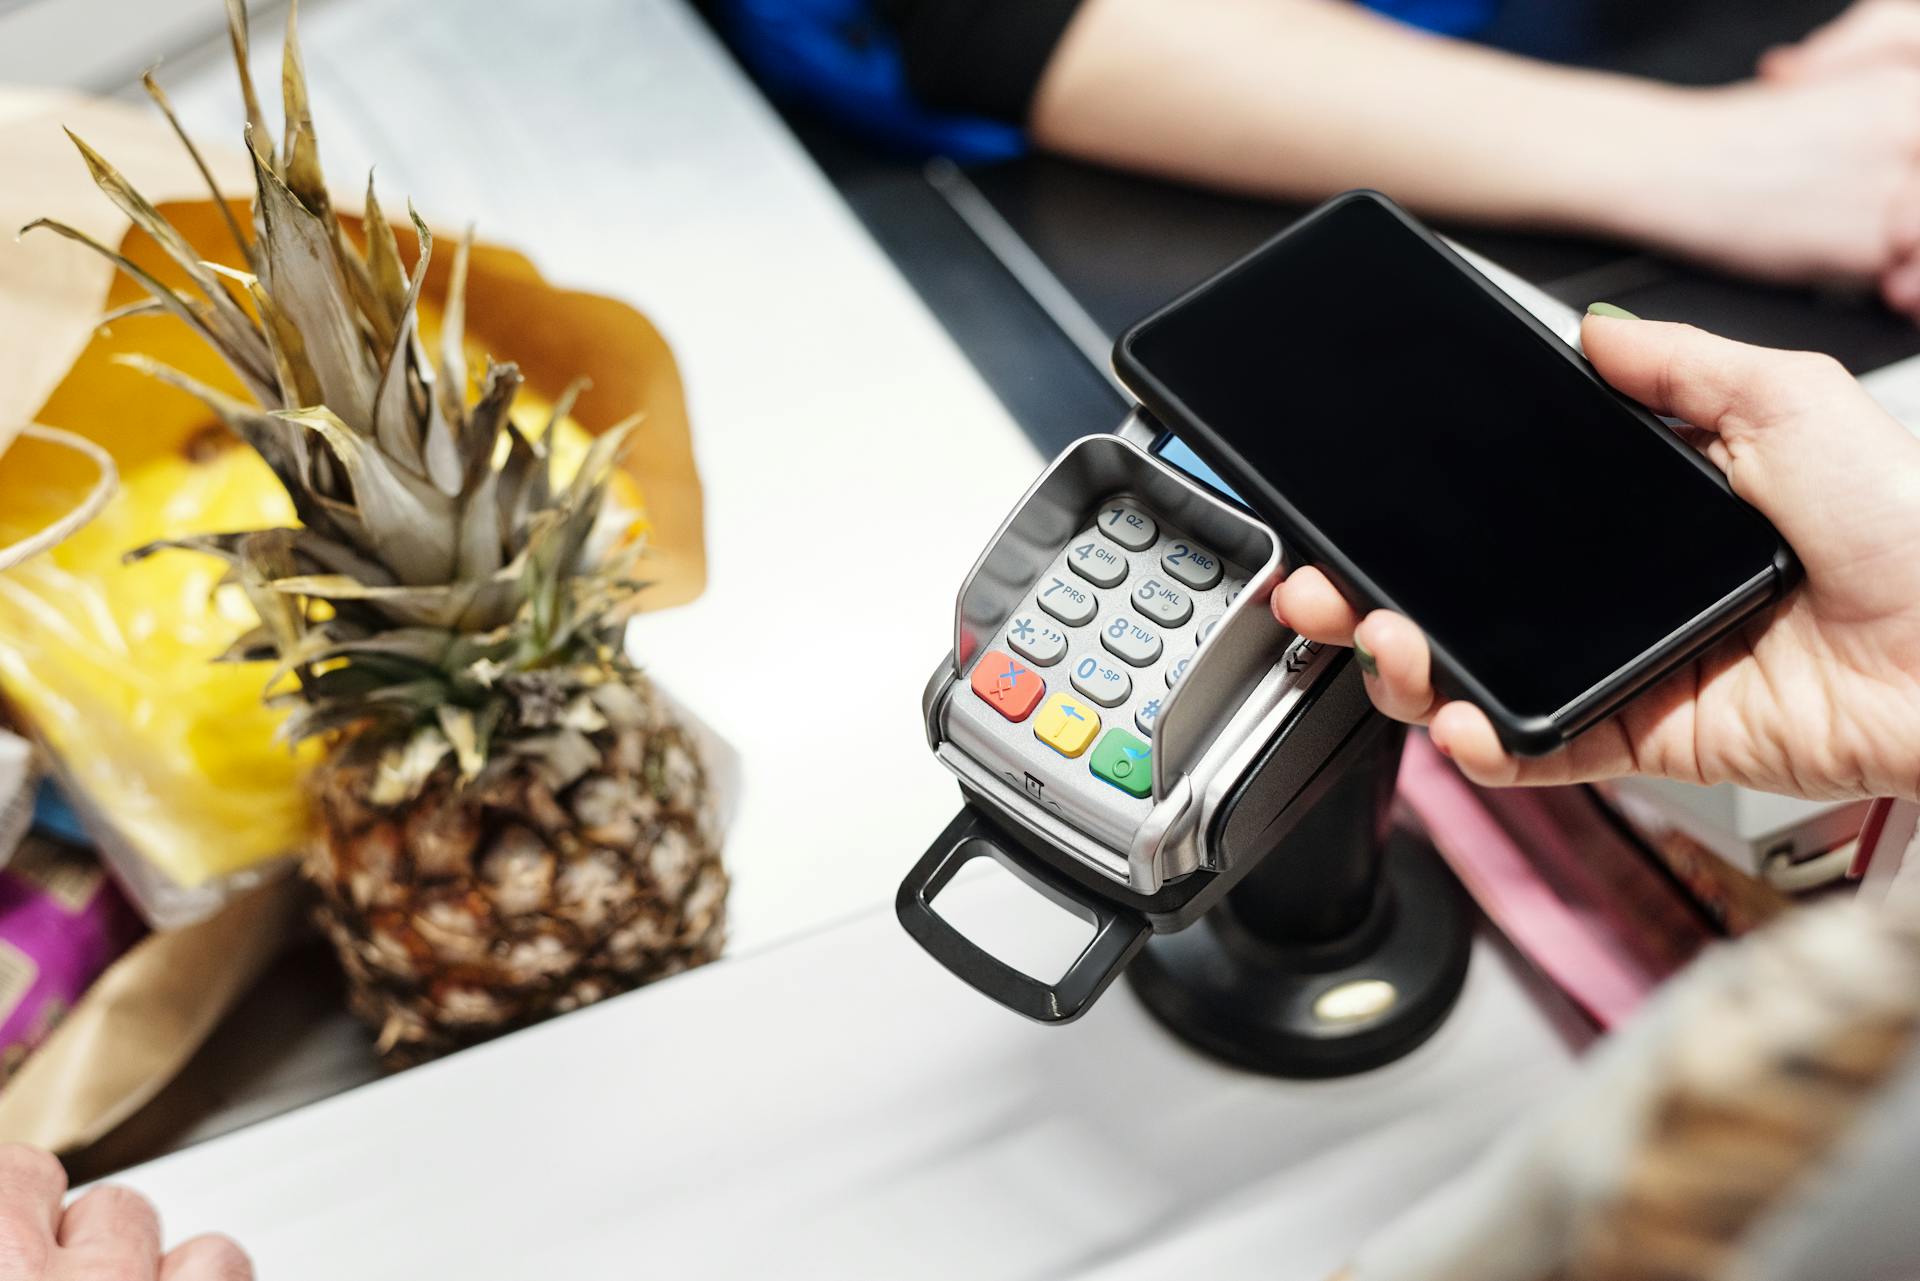
Tap to Pay is a convenient way to send and receive money. You can use it to send Apple Cash to someone nearby without sharing your phone number or email.
Accept Payments Automatically
Accepting payments automatically is a convenient option in the Wallet app. You can enable this feature by tapping the More button, then Card Details, and finally Automatically Accept Payments.
To receive money sent to you, you don't need to do anything manually. The payment will be automatically accepted and you can access it in the Wallet app.
You have 7 days to accept payments, either manually or automatically. If you've enabled automatic payments, you'll still receive a notification to confirm the payment.
You can change the method of accepting payments at any time and it will update on all your devices.
Automatically Reload Balance
Automatically reloading your Apple Cash balance can be a game-changer for consistent spending. You can set up auto reload to add money from your bank account when your Apple Cash account falls below a minimum balance.
To start, choose Set Up Auto Reload. This will allow you to select the amount you want to automatically add from your bank account, which ranges from $25 to $200.
The minimum balance threshold can be set to $10, $15, or $25. This means you can choose when you want the auto reload to kick in, giving you more control over your spending.
By setting up auto reload, you can ensure there's always a bit of spending money available on your Apple Cash card, making it easier to manage your finances.
Related reading: Apple Cash Balance Not Updating
Bank Account Transfer
You can transfer money from Apple Cash to your bank account using standard automated clearinghouse (ACH) transfers or via an eligible debit card. An ACH transfer will typically take 1 to 3 business days.
There's no charge for ACH transfers, but if you want to use your debit card to get the funds into your bank account right away, you'll need to pay a fee of 1.5% of the money you're transferring, with a minimum fee of 25 cents and a maximum of $15.
To use ACH transfers, you'll need to have added a bank account to your Apple Cash account by entering your banking information, such as a routing number and account number. You can do this by selecting Bank Account and following the instructions.
Debit card transfers will use any eligible card that's already available in your Apple Wallet. You can choose to transfer funds using your debit card for immediate transfer, but be aware of the 1.5% fee.
You might enjoy: Apple Cash Customer Service Phone Number
To initiate a transfer, select Transfer to Bank from the Apple Cash app, enter the amount you'd like to transfer, and choose the bank account and method you'd like to use. Confirm the transfer by double-clicking the side button and using Face ID or holding your finger gently on the Touch ID sensor, depending on the device you're using.
You can also transfer funds directly from the Wallet app by selecting the Apple Cash card, choosing the Three-dot menu in the top-right corner, and selecting Transfer to Bank. However, this only works from the iPhone, as there's no standalone Wallet app on the iPad.
Readers also liked: Using Your Mobile Banking App You Can
Apple Family
To set up Apple Cash for a younger family member, you need to be part of an Apple Family Sharing group. This allows you to create an Apple Cash account for kids of all ages, as long as they're under your supervision.
You can set up an Apple Cash account for a child as young as 13, but those younger than 13 will have some restrictions. They won't be able to add a debit card or set up recurring payments, but they can still use their Apple Cash card anywhere that accepts Apple Pay.
To set up Apple Cash for a child, start by choosing the child or teen you want to set up Apple Cash for, then follow the prompts to create their account.
Explore further: How Do I Print My Venmo Qr Code
Virtual Card Number Setup
You can set up a virtual card number for Apple Cash in iOS 17.4, which includes an expiration date and CVV2 code.
This feature is great for online purchases, but it's not enabled by default for security reasons. You can safely ignore it if you don't spend money directly from your Apple Cash card.
To enable the virtual card number, go to your Apple Cash card information and select "Set Up Virtual Card Number". You'll need to authenticate with Face ID or Touch ID to generate the virtual card number.
The virtual card information will be shown at the top of the card information screen, and you can regenerate the number by using the "Request New Card Number" button.
Check this out: Can You Add a Virtual Visa Card to Apple Wallet
Request
Requesting money with Apple Cash is a breeze. You can initiate a request from the Messages app or the iPhone Wallet app.
Go to the Messages app and open or start a conversation with the person you'd like to request money from. This is where the process starts.
Set the amount you'd like to request, either by using the Plus and Minus signs or choosing Show Keypad to enter a specific amount. This will help you stay organized and avoid any confusion.
The request will appear as an attachment, giving you an opportunity to add a comment before you send it. This is also where you can add a personal touch to your request.
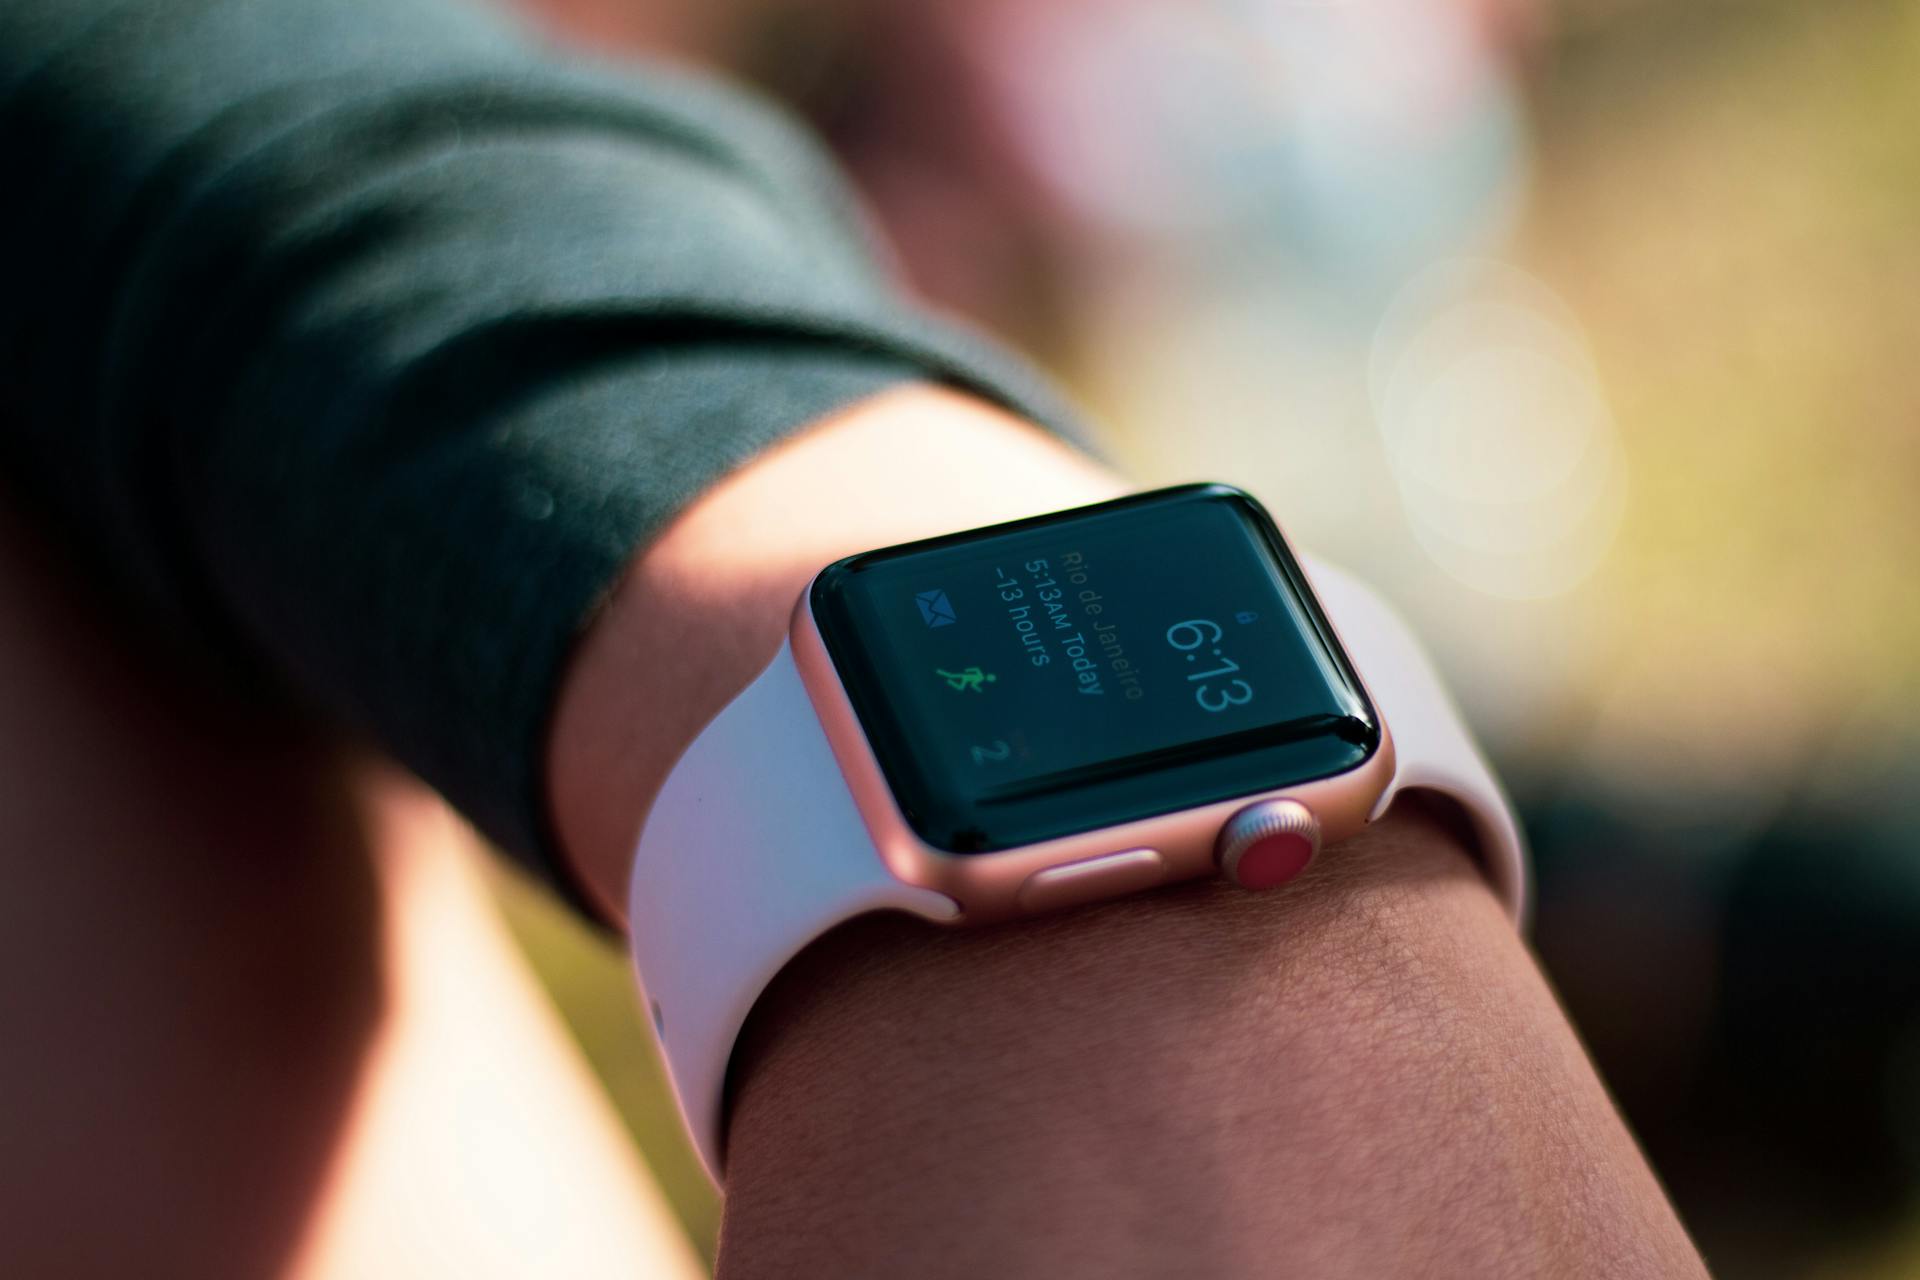
The recipient can tap the request once they received it, which will take them through the process of sending an Apple Cash payment from their iPhone, iPad, Apple Watch, or Vision Pro.
Frequently Asked Questions
Why can't I find Apple Cash?
Check if Apple Cash is enabled in Settings > Wallet & Apple Pay. If it's off, turn it on to access Apple Cash
Can you turn Apple Cash on and off?
Yes, you can turn Apple Cash on and off on a per-device basis, allowing you to control its use on individual devices. Simply sign in to iCloud with the same Apple Account to access Apple Cash settings.
Sources
- https://support.apple.com/en-us/105013
- https://support.apple.com/apple-cash
- https://www.iphonelife.com/content/how-to-send-money-apple-pay-cash-iphone
- https://www.digitaltrends.com/mobile/how-to-use-apple-pay-cash/
- https://www.macworld.com/article/230688/apple-cash-guide-what-it-is-how-it-works-and-what-it-costs.html
Featured Images: pexels.com