Setting up Apple Cash on your iPhone is a breeze. You can do it directly within the Wallet app.
To get started, open the Wallet app on your iPhone and tap the "+" icon in the top-right corner. This will bring up a list of available cards and services, including Apple Cash.
You'll need to have a debit card or bank account linked to your iPhone to use Apple Cash. This is where your money will be drawn from when you make a purchase.
To link a debit card or bank account, tap "Add Debit Card" or "Add Bank Account" and follow the on-screen instructions.
You might like: Debit Credit Cards
Setting Up Guide
To set up Apple Cash, you'll need to have an iPhone or iPad with the latest iOS version. Open the Settings app on your device and scroll down to tap Wallet & Apple Pay.
You'll then see the Payment Cards section, where you can tap Apple Cash to set it up. If you want to set up Apple Cash for a family member under 18, you'll need to use Apple Cash Family. On the other hand, if you're under 18, your Family Sharing organizer can set it up for you.
Take a look at this: Why Can't I Set up Apple Cash
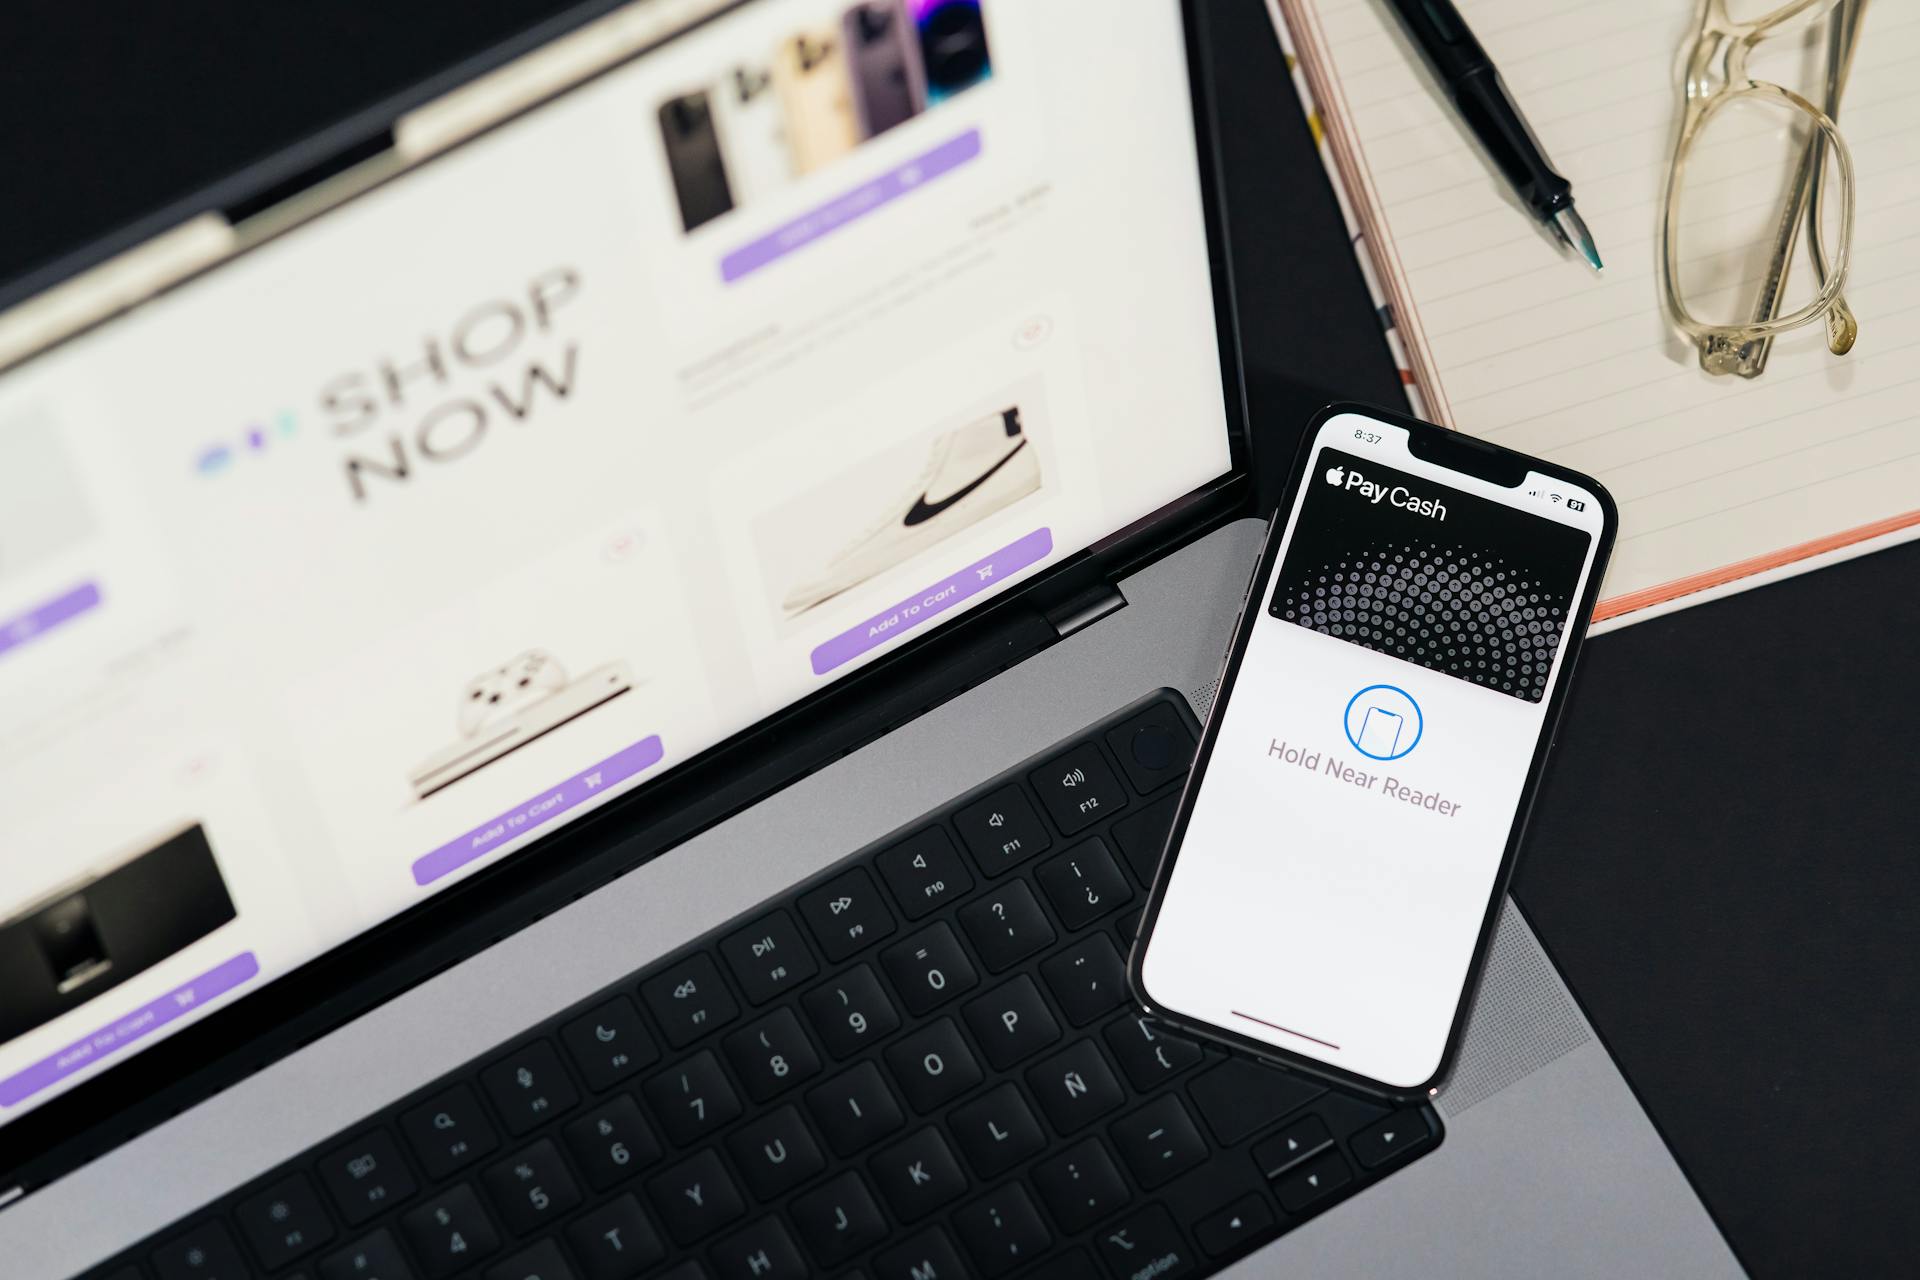
To set up Apple Pay Cash, tap the Wallet app to open it, then tap the Apple Pay Cash card and follow the on-screen instructions. You'll need to tap Set Up Now, then Continue, and finally Agree to the Apple Pay Cash terms. This will create a new virtual bank account, but don't worry, it won't affect your credit.
You'll need to link a debit card to Apple Pay Cash if you want to add funds to your Apple Pay Cash balance. This is optional, but it's required if you want to send money to others. You might be asked to verify your identity during the setup process, which could involve entering your address, date of birth, social security number, or taking a photo of your driver's license.
Here are the Apple Pay Cash requirements to keep in mind:
- A compatible Apple device, including iPhones with Face ID or Touch ID (except for the iPhone 5S)
- iPads with Face ID or Touch ID
- Apple Watch
- Macs with Touch ID (or released in 2012 when used with an iPhone or Apple Watch)
- iOS devices running iOS 11.2 or higher
- Watches running watchOS 4.2 or higher
- Two-Factor Authentication configured on your Apple ID/Apple Account
- To be signed into iCloud on the device you want to use
- A debit card added to your Apple Wallet app
To complete the setup process, you'll need to wait a few seconds for the Apple Pay Cash account to be activated. You'll see a message when it's ready, and you can then tap the X to hide it.
Sending Money
To send money, open up the Messages app and tap on a conversation thread of the person you want to send money to. If the recipient doesn't have an iOS device or doesn't meet the requirements, you'll get a message saying they cannot receive payments using Apple Pay.
You can change the dollar amount using the "+" and "-" buttons or pull up the keypad to enter in a custom amount. By default, Apple Pay Cash will use your Apple Pay Cash balance first, if you have one.
Using a credit card is subject to a 3% fee when sending money through Apple Pay Cash. If you didn't link a debit card, it will use your credit card that you have set up with Apple Pay.
Once the payment has been sent to the recipient, it will be marked as "Pending" until it is accepted by the recipient. During this time, you can cancel the payment, but once it has been accepted, there's no turning back.
To cancel a pending payment, tap on it on the iMessage conversation and hit "Cancel Payment" on the next screen.
For another approach, see: Sending Apple Cash
Receiving Payment

You have seven days to accept a payment sent to you via Apple Pay Cash. After that, all payments are automatically accepted unless you change your payment acceptance settings.
To change those settings, follow these steps:
- Tap the Wallet app.
- Tap your Apple Pay Cash card.
- Tap the ... icon.
- In the Accepting Payments section, tap Manually Accept Payments.
- Now, any time someone sends you cash, you'll need to tap Accept in the message they send.
You can transfer any Apple Cash you have to your bank. To do this, open the Wallet app and tap on Apple Cash, then locate and tap the Transfer to Bank button.
Here are the steps to transfer Apple Cash to your bank:
- Enter the amount you want to send and hit Next.
- Then choose 1-3 Business Days.
- If you have a Visa debit card tied to Apple Pay, you can use instant transfer to get the money into your bank account fast.
If you opt for instant transfer, you might be charged a 1% fee, and your funds should transfer within 30 minutes.
Take a look at this: Apple Cash Instant Transfer
Using Apple Cash
You can use your Apple Cash balance to send money to others through iMessage, and it's just as easy as sending a text. Simply tap on the "Send" button and enter the amount you want to send.
You can also use your Apple Cash balance to pay for goods or services anywhere that Apple Pay is accepted. This means you can turn around and spend money you received through Apple Pay Cash at places like Walgreens.
The minimum amount you can add to your Apple Cash balance is $10, and you can only use a debit card to do so. Unfortunately, you can't use a credit card.
Here's an interesting read: How to Send Money Back on Apple Pay
How to Use

To use Apple Pay Cash, start by tapping the App Store icon in iMessage, where it will show up as the first option.
You can then use the plus or minus sign to adjust the amount you want to send or request, or tap on the middle to get the keypad icon and enter a specific amount.
Select whether you're sending or requesting the chosen amount, and the amount will be shown in the text field.
Tap on the blue arrow next to the payment method to change cards, and if Apple Pay Funds are available in your wallet, it will be shown as Pay Cash Balance.
To add money to your Apple Pay Cash balance, open up the Settings app, scroll down, and tap on "Wallet & Apple Pay".
You can either wait for people to send you money through the service, or add funds yourself using a debit card.
Suggestion: Tap to Cash Apple
Unfortunately, you can't use a credit card, so make sure you have a debit card linked to Apple Pay Cash.
The minimum amount you can add is $10, and you can enter this amount and hit "Add" in the top-right corner.
Use Touch ID (or Face ID on the iPhone X) to confirm the transaction, and your new balance will update immediately.
You can then begin spending it right away, either by sending it to others through iMessage or using it to pay for goods or services anywhere that Apple Pay is accepted.
With Apple Pay Cash, you can finally use Apple Pay without linking a debit or credit card, just as long as you receive money from other people through the Apple Pay Cash service.
Discover more: How to Add Money from Apple Account to Apple Cash
How to Use Siri
You can use Siri to send Apple Pay Cash by activating her and saying something like "Send $50 to Joe" or "Apple Pay $50 to Joe for dinner" and following the prompts.
To send money with Siri, you don't need to type anything, just use your voice to get the job done.
Setup Process
To set up Apple Pay Cash, you'll need to follow a few simple steps. First, you'll receive a pop-up message in your iMessage that guides you through the process.
If you don't follow the pop-up message, you can also go to Settings, then Wallet & Apple Pay, and finally Apple Pay Cash to access the setup process.
To process transactions, Apple Pay Cash uses Green Dot bank and the Discover Network, and it also allows you to use your debit card as a backup when you don't have a balance.
Related reading: Why Don't I Have Apple Cash
Verify Your Identity
To verify your identity, you'll need to provide some personal details. This is a crucial step in the setup process, as it helps ensure that you're the actual person creating the account.
You'll be asked to enter your name, date of birth, and address. This information is used to match you with your government-issued ID.
Make sure the details you enter match the ones on your ID card. A mismatch can cause issues with the verification process.
You may also be asked to upload a photo of your ID, such as a driver's license or passport. The image should be clear and legible.
The verification process typically takes a few minutes to complete. You'll receive a notification once it's finished.
A different take: Apple Cash Verification Required
Unlocking Setup Mechanism
To set up Apple Pay Cash, you'll get a pop-up message in your iMessage. If you don't follow it, you'll need to go to Settings and then Wallet & Apple Pay to access Apple Pay Cash.
You'll need to verify your identity with Apple to avoid any issues while making payments. Apple Pay Cash uses Green Dot bank and the Discover Network to process transactions.
If you're adding a debit card, the one that auto-populates might not be the debit card you want to use. Tap "Add a Different Card" to choose a different one.
You'll need to verify the identity with Apple right away to ensure a smooth payment experience.
Here's an interesting read: Capital One Spark Business App
Frequently Asked Questions
Is Apple Cash available immediately?
Apple Cash transfers are usually immediate, but may take up to 30 minutes to complete
How do I activate Apple Cash?
To activate Apple Cash, go to Settings, scroll down, and tap Wallet & Apple Pay. Then, follow the prompts to enter your Apple ID password and turn on Apple Cash.
Why can't I get my Apple Cash to work?
Check if your device, card, and Apple ID meet Apple Pay's system requirements, then update your operating system and try again
Sources
- https://appleworld.today/2024/08/heres-how-to-set-up-apple-cash/
- https://www.lifewire.com/using-apple-pay-cash-4707226
- https://www.howtogeek.com/335364/how-to-set-up-and-use-apple-pay-cash-on-your-iphone/
- https://www.cnet.com/tech/services-and-software/apple-pay-cash-iphone-is-easy-to-use-and-set-up/
- https://www.mobileappdaily.com/feed/how-to-set-up-apple-pay-cash
Featured Images: pexels.com