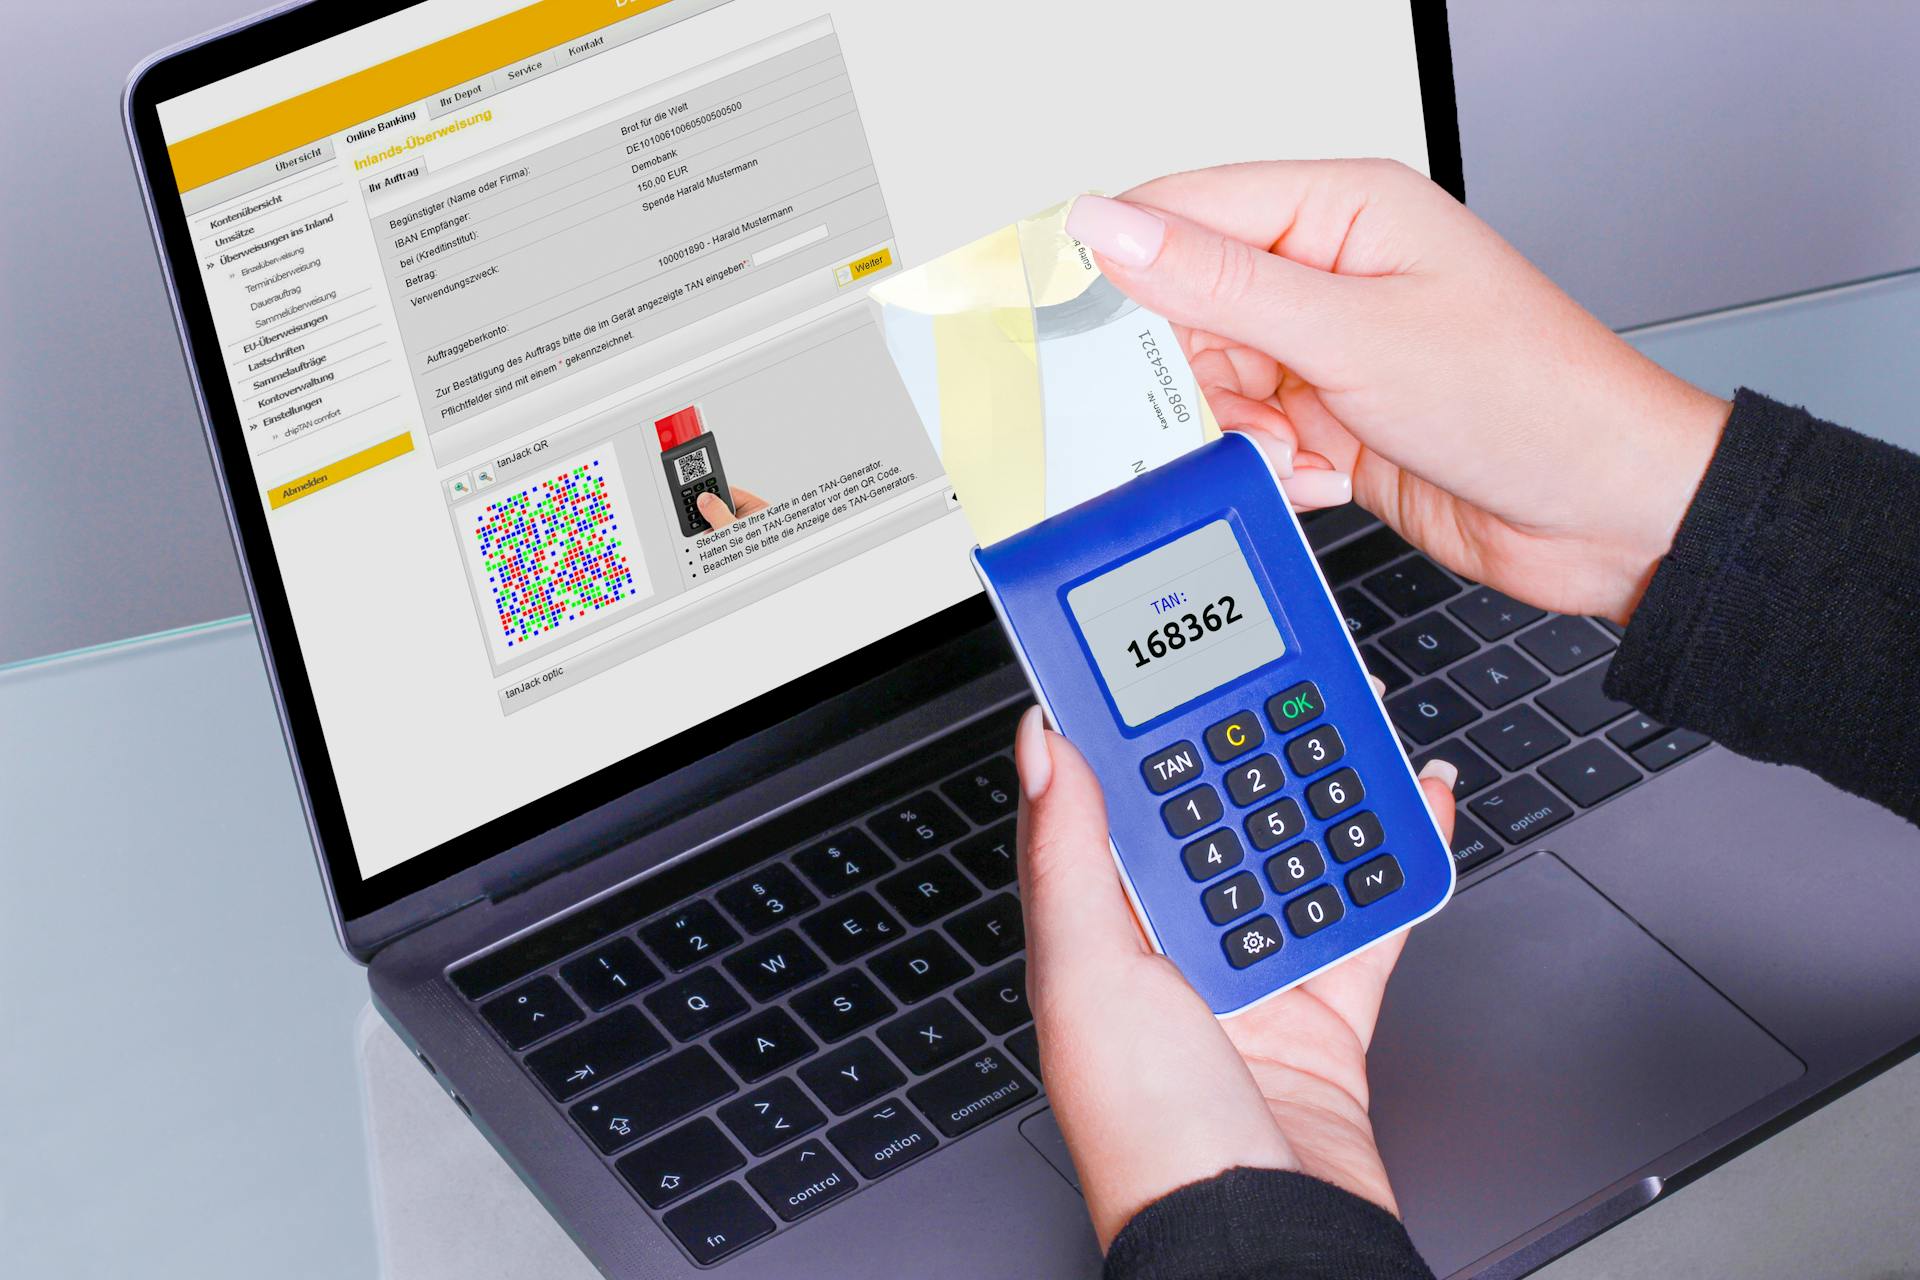
Recording payments in QuickBooks Online is a straightforward process that helps you stay on top of your finances. You can record payments through the "Receive Payment" feature, which allows you to track deposits and update your customer's balance.
To start, navigate to the "Customers" tab and select the customer who made the payment. From there, click on the "Receive Payment" button to access the payment details.
You can also use the "Bank Feeds" feature to import bank transactions, including deposits, and automatically match them with outstanding customer payments. This helps eliminate manual data entry and reduces errors.
Make sure to categorize each payment correctly, such as cash, credit card, or check, to ensure accurate financial reporting and compliance with accounting standards.
Additional reading: Accept Payments Online Free
Receiving Payments
Receiving Payments in QuickBooks Online is a crucial step in managing your finances accurately. You can record payments even if it's a partial payment of the owed amount, and QuickBooks Online will keep track of the remaining invoice balance.
To receive a payment, select the + New button and choose Receive Payment. Then, select the customer name from the Customer dropdown menu. Choose the desired payment method from the Payment method dropdown.
The payment method can be cash, check, PayPal, or deposit to a bank account. You can also select the Undeposited Funds if you need to group payments with others. Tip: You can put the money directly into an account like your current account.
To apply the payment to the correct invoice, check the box next to the invoice in the Outstanding Transactions section. Enter the amount received in the Amount Received field. You can also enter a reference number and memo if required.
If the customer doesn't have any open invoices, you can record the payment received as income using a sales receipt. However, if the payment is for a prior invoice, you should apply it to the correct invoice.
Here's a summary of the steps to receive a payment:
- Select the + New button and choose Receive Payment
- Select the customer name and payment method
- Apply the payment to the correct invoice
- Enter the amount received and any additional details
- Save and close the transaction
By following these steps, you can ensure that your payments are recorded accurately and your finances are up-to-date.
Entering Payments
Entering payments in QuickBooks Online is a straightforward process that can be completed in a few steps. You can record payments even if it's a partial payment of the owed amount.
To start, select the + New button and then Receive Payment. You can also click on the Quick Create (+) menu and select Receive Payment. Either way, you'll be taken to the Receive Payment screen.
From here, select the customer name from the Customer dropdown menu. All open invoices for that customer will appear under Outstanding Transactions. If you know which invoice the payment is for, you can use the Find by invoice no. button.
Next, fill in the payment details, including the payment date, payment method, reference number (if applicable), deposit to, and amount received. Make sure to select the Undeposited Funds account as the deposit to if you want to group payments together.
In the Outstanding Transactions section, check all the invoices to which this payment applies. You can also use the Amount to Apply field to ensure the payment is applied correctly.
Recommended read: Td Canada Trust Deposit Slip
Here's a quick rundown of the payment details you'll need to enter:
- Payment date: The date you received the payment
- Payment method: How you were paid (cash, check, etc.)
- Reference no.: Optional, if paid by check (enter the check number)
- Deposit to: The bank account into which this payment was deposited
- Amount Received: The amount received in the payment
By following these steps, you'll be able to record payments accurately in QuickBooks Online.
Partial Payments
Recording partial payments in QuickBooks Online is a breeze. You can do this by selecting the customer and invoice you want to apply the payment to and entering the amount of the partial payment in the Payment column on the Receive payment screen.
As mentioned in Example 4, you can record partial payments by selecting the customer and invoice, and then entering the amount of the partial payment. This will update the outstanding balance on the invoice.
To apply a partial payment, simply click on the checkbox for the invoice in the Outstanding Transactions section. This is a crucial step, as it ensures that the payment is applied to the correct invoice.
You can also use the Find by invoice no. button to locate the specific invoice you want to apply the payment to. This can save you time and effort in the long run.
On a similar theme: Online Invoice Payments
If you're unsure about which invoices to apply the payment to, you can use the Outstanding Transactions section to review all open invoices for the customer. This will give you a clear picture of which invoices are still outstanding.
Here's a step-by-step guide to recording partial payments in QuickBooks Online:
- Select the customer and invoice you want to apply the payment to
- Enter the amount of the partial payment in the Payment column on the Receive payment screen
- Click on the checkbox for the invoice in the Outstanding Transactions section
- Save the payment and apply additional payments to the same invoice as needed
By following these simple steps, you can easily record partial payments in QuickBooks Online and keep track of your customers' outstanding balances.
Merge Multiple into One
Merging multiple payments into one record can be a huge time-saver and help keep your finances organized.
You can group multiple payments together into a single record by depositing them into the undeposited funds account in QuickBooks Online. This allows you to group those multiple records together.
To do this, you'll want to select the undeposited funds account as the deposit to option when recording the payment. This way, you can easily keep track of all the payments together.
This is especially useful when the bank records multiple payments as a single record, as mentioned in the article.
Suggestion: Ship Vinyl Records
Entering Bank Deposits
To enter a bank deposit in QuickBooks Online, click on the Quick Create (+) menu and select Bank Deposit. Select the bank account you'll deposit the checks to, and enter the date of the deposit, which should match the date you deposited the checks.
Make sure to select the checks you'll deposit from the "Select Existing Payments" section, leaving all other information as is. This will ensure that the deposit amount matches the amount you deposited at the bank.
A bank deposit in QuickBooks Online should match the amount you download from your bank. To do this, click Save and Close or Save and New after entering the deposit details.
Here's a step-by-step guide to recording a bank deposit in QuickBooks Online:
1. Click on the Quick Create (+) menu
2. Select Bank Deposit
3. Select the bank account
4. Enter the date of the deposit
5. Select the checks to deposit
6. Verify the total amount equals the deposited amount
7. Click Save and Close or Save and New
On a similar theme: Financial Close Management
Electronic Payments
Electronic payments are a convenient way to record payments in QuickBooks Online. You can link your bank account to QuickBooks to automatically import transactions.
To set up electronic payments, you'll need to connect your bank account to QuickBooks Online. This can be done through the "Banking" tab in the navigation menu.
QuickBooks supports over 14,000 banks and financial institutions, making it easy to find your bank and link it to your account. Once connected, you can choose which accounts to import transactions from.
Electronic payments can help you stay on top of your finances by automatically importing transactions into QuickBooks. This saves time and reduces the risk of errors.
You can also use QuickBooks Online's bill pay feature to pay bills electronically. This allows you to schedule payments in advance and even send reminders to customers.
The bill pay feature is available for businesses with a US bank account and can be accessed through the "Pay Bills" tab in the navigation menu.
A fresh viewpoint: Online Real Time Bill Payment
QuickBooks Online Instructions
To record payments in QuickBooks Online, you must report them in QuickBooks so that the invoice is marked as paid. Otherwise, invoices would appear on your files as open and unpaid.
To begin, click the + New button in the upper left and under CUSTOMERS click Receive Payment. On the Receive Payment screen, enter the customer's name and all open invoices for that customer will appear under Outstanding Transactions.
You can also use the Find by invoice no. button if you know which invoice the payment is for. Fill in the following: Payment date, Payment method, Reference no. (if paid by check), Deposit to (the bank account into which this payment was deposited), and Amount Received.
The Payment date is important, so make sure you enter the right date. The Payment method should be entered or added as "EFT/ACH" for electronic funds. For electronic funds, select the bank account where the funds were received, and not the Undeposited Funds account.
You can also select the bank account where the funds were received for wire transfers or ACH payments. The Amount received should be entered as the full amount due from your customer.
A different take: Equity Method
Sources
- https://www.henssler.com/quickbooks-tip-receiving-payments-in-quickbooks-online/
- https://www.dancingnumbers.com/record-invoice-payments-in-quickbooks-online/
- https://fitsmallbusiness.com/how-to-receive-payments-in-quickbooks-online/
- https://www.gentlefrog.com/apply-payment-to-an-invoice-in-quickbooks-online/
- https://5minutebookkeeping.com/how-to-enter-customer-payments-and-deposits-in-quickbooks-online/
Featured Images: pexels.com


