To start a checkbook, you'll need to set up a record of your account information, including your name, address, and account number.
Make sure to record your account balance accurately, as this will be the starting point for all future transactions.
A checkbook typically includes a register where you'll record each transaction, including deposits and withdrawals.
The register should also include columns for date, check number, payee, and amount.
Discover more: What Is the Purpose of a Checkbook Register
Understanding Check Basics
Understanding a check's format can be a bit overwhelming at first, but it's actually quite straightforward. The preprinted information on a check typically includes the account holder's name and information, check number, and bank routing number and account number.
The preprinted information is usually found in the upper left corner, top and bottom right corner, and bottom of the check. You'll also find empty fields where you'll need to write out the check, including the date, pay to the order of line, dollar amount in numbers, dollar amount in words, memo line, and signature line.
Here's a breakdown of the preprinted information on a check:
- Account holder's name and information: The name and address—and sometimes phone number—of the checking account holder linked to the check are usually printed in the upper left corner.
- Check number: The check number is typically in the top and bottom right corner of the check.
- Bank routing number and account number: The routing number and account number are a series of numbers usually on the bottom of the check, with the routing number on the left side.
Understanding a Format
Understanding a check's format is crucial before filling one out for the first time. The parts of a check include preprinted information and empty fields that you'll need to complete each time you write a check.
Preprinted information typically includes the account holder's name and information, check number, bank routing number, and account number. These are usually printed in specific areas of the check.
The account holder's name and information are usually printed in the upper left corner. The check number is typically found in the top and bottom right corner, which helps keep track of how many checks have been used.
The bank routing number and account number are usually on the bottom of the check, with the routing number on the left side. These numbers help process the check.
The rest of the empty fields are used to write out a check, including the date, payee, dollar amount in numbers, dollar amount in words, memo line, and signature line.
Additional reading: Revolving Account Example
Account Balance
Knowing your account balance is key to avoiding overdrafts and bounced checks. You can keep track of your balance by using a checkbook register, which is usually provided with your checkbook.
A checkbook register is a booklet that helps you record your check and bank account transactions. You can compare it to your online balance to ensure there are no discrepancies.
To balance your checkbook, you'll need to record the date, check number, payee or description of transaction, and check amount for each transaction. You can find these details on the back of your check or on your bank statement.
If you forget to fill out one of these sections, don't worry! Checkbooks usually come with carbon copies that leave behind a copy of what's written on them.
Here's what you should record for each transaction:
To calculate your monthly transactions, start by writing down your account balance at the beginning of the month. Then, go through each transaction and calculate your balance.
A fresh viewpoint: Balance Checkbook Worksheet
Filling Out the Form
Start by writing the current date on the top right-hand corner of the check. This will help you and the recipient keep accurate records.
The date can be written in long form or all numbers, such as 1/11/2024 or Jan. 11, 2024. Some people may write a future date on their check, but this is generally not recommended.
Next, write the name of the payee on the line that says "Pay to the order of." Be sure to use the payee's full name instead of a nickname. If you don't know the exact name, you can write "cash" here.
The payee's name should be written clearly and legibly, just like your signature.
Now, fill in the amount with numerals in the small box to the right of the payee's name. Start writing as far over to the left as possible to prevent fraud. Use a decimal point in the small box, such as 100.00.
Intriguing read: How to Put Checks in a Checkbook Cover
To the right of the payee's name, write the numerical dollar amount in this box, such as $100.30.
Below the payee's name, write out the dollar amount in words, making sure it matches the numerical amount. Add the cent amount over 100, such as "One hundred and 30/100."
Finally, include a memo line with a brief description of the payment, such as "Rent" or "Electric bill." This line is optional, but it can be helpful for the recipient to know what the payment is for.
Here's a quick summary of the fields you'll need to fill out:
Writing and Signing a Check
Writing a check is a straightforward process, but it's essential to get it right to avoid any issues. Use a pen to write the check, as this reduces the risk of someone altering the check or changing the amount of money you're paying someone.
To start, fill in the "Pay to the Order of" section, as well as the numeric and written amount, before signing the check. This ensures that your bank account isn't exposed if the check gets lost or stolen.
See what others are reading: How to Write a Check without a Checkbook
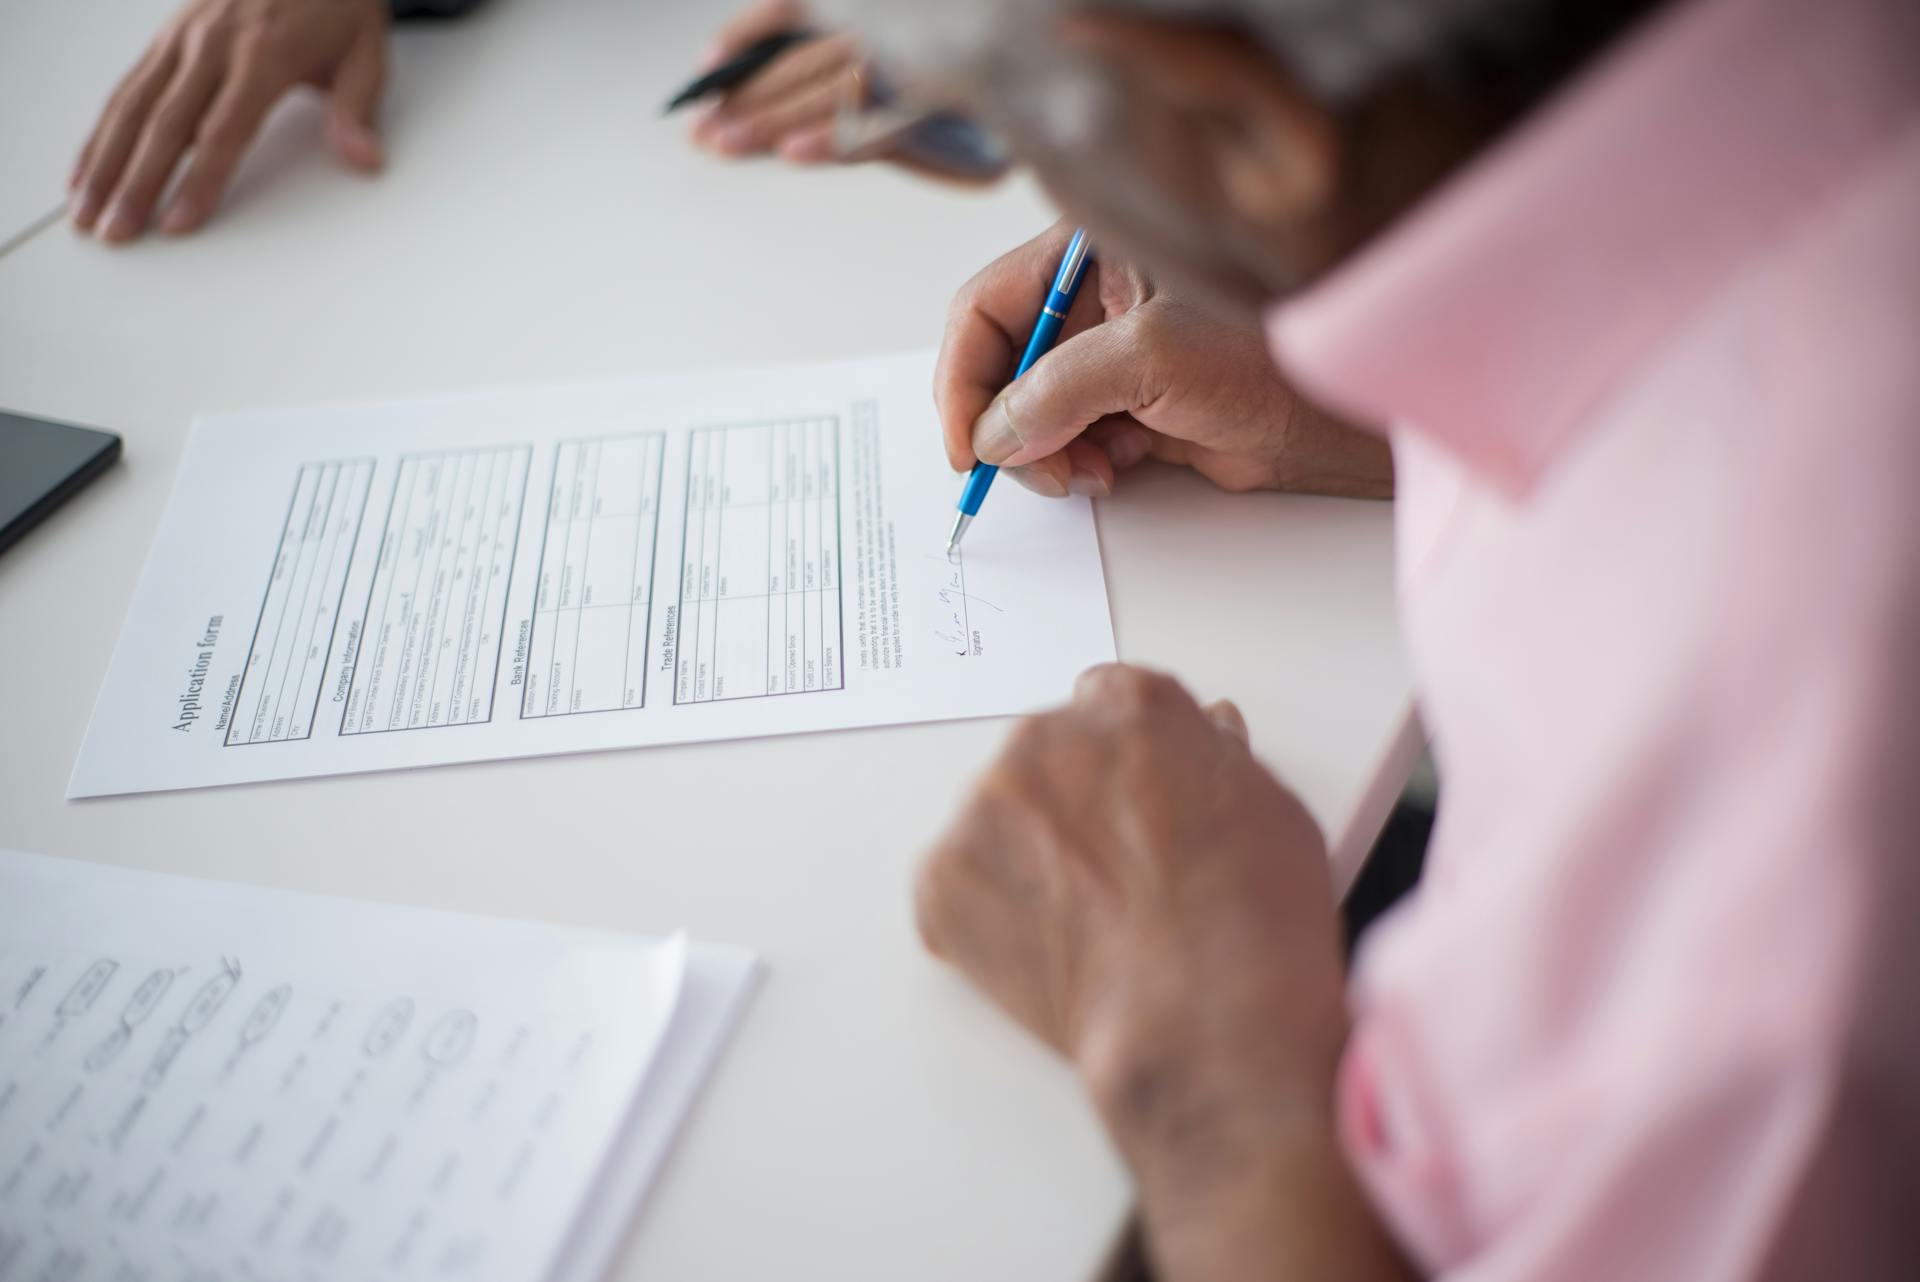
You'll sign the check on the line in the bottom right corner, making sure to sign legibly and use the same signature on file at your bank. This confirms to the bank that you agree to pay the stated amount to the payee.
Here are some key fields to remember when writing a check:
- Payee: Write the name of the check's recipient.
- Written amount: Put the check's amount in numerals in this blank box.
- Legal amount: Write out the check's amount in words in this blank line.
- Memo line: This is an optional field where you can write the purpose of your check.
4. Sign the
Signing a check is a crucial step that confirms your agreement to pay the stated amount to the payee. Use the line in the bottom right-hand corner of the check to sign your name.
To sign a check, you'll need to use a pen - writing with a pen can reduce the risk of someone altering the check. Always sign a check with a pen, not a pencil.
The signature on a check is one of the most important parts, and it should be legible. Print is often easier to read than cursive, so consider printing your signature on the check.
A different take: Checkbook Signature Line

Don't sign a blank check, as this leaves your bank account exposed to potential fraud. Always fill in the "Pay to the Order of" section and the numeric and written amount before signing.
Use care to sign your name legibly, and use the same signature on file at your bank. This confirms that you, the account holder, approved the check.
Here's a quick checklist to follow when signing a check:
- Use a pen to sign the check.
- Make sure the "Pay to the Order of" section and the amount are filled in before signing.
- Sign your name legibly in the bottom right-hand corner.
- Use the same signature on file at your bank.
Signing Over
You can sign a check over to someone else, also known as endorsing, by following a few simple steps.
Signing over a check requires a few steps, such as signing the back of the check in the endorsement area.
To sign a check over to someone else, you'll need to write "Pay to the order of" and the recipient's name on the back of the check.
This is often necessary when a child receives a check and doesn't have a bank account, or when you want to sign over a check to a roommate.

You should check with the recipient's bank to confirm they will accept a signed-over or "third party" check.
If the bank requires proof of identification, you may need to accompany the recipient to the bank when they deposit the check.
Some banks may allow mobile deposits, but it's best to check with the bank's customer service to confirm their policies.
Check Management and Security
To manage your checkbook effectively, it's essential to void a check if you make a mistake. To do this, simply write "VOID" across the entire check and start over with a new one.
Using a pen is crucial when writing checks. If you use a pencil, anyone with an eraser can change the amount or payee, so make it a habit to use a pen whenever you write a check. This will help prevent others from using the check and protect you from fraud.
To avoid giving someone unlimited access to your account, don't sign a check until after you've filled in the name of the payee and the amount. It's also a good idea to keep a record of every check you write, which can be done by using checkbooks with carbon copies.
Related reading: Can You Use Checkbook with Old Address
Here are some key security tips to keep in mind:
- Use a pen to write checks and a dark color for legibility.
- Don't offer blank checks to anyone unless you've added an authorized signer.
- Keep your signature on the line and be careful not to erase it, as this can compromise the MICR line.
- Write "VOID" across a check if you make a mistake and tear it up to prevent it from being used.
Security Tips
Use a pen to write checks, as it's harder to erase than a pencil. This can help prevent scammers from altering the amount or payee's name.
Avoid signing blank checks, as they can be used by anyone to withdraw money from your account.
When writing a check, start at the left edge of the space and draw a line after the last digit to prevent scammers from adding to the amount.
Consider using checkbooks with carbon copies to keep a record of every check you write.
A consistent signature helps you and your bank identify fraud, so make sure to sign checks with the same signature every time.
Use a dark-colored pen to write checks, as it's easier to read and harder to erase than a light-colored pen.
Don't sign a check until you've filled in the "Pay to the Order of" section, the numeric amount, and the written amount.
See what others are reading: How to Properly Use Credit Cards

Here are some key security tips to keep in mind when writing checks:
Balance a Book
Keeping track of your checking account balance is crucial to avoid bouncing a check or overdrawing your account. You can use a digital tool or a paper copy, such as a checkbook register, to stay up to date on your account balance.
A checkbook register is a booklet attached to your checkbook that helps you record your check and bank account transactions. It's a great way to keep track of your payments and ensure there are no discrepancies between your paper copy and online balance.
To fill out your checkbook register, you'll need to record the date, check number, payee or description of transaction, and check amount for each check you write. If you forgot to fill out one of these sections, checkbooks usually include carbon copies that leave behind a copy of what's written on them.
Suggestion: Quickbooks Checkbook Register

To calculate your monthly transactions, start by writing down the account balance you had at the beginning of the month. Then, go through each transaction you made during the month and calculate your balance using your checkbook register, the back of your bank statement, or an online spreadsheet.
Here's what you'll need to record in your checkbook register:
- Date: The day you wrote your check.
- Check number: Each check has a unique number listed on it.
- Payee/Description of transaction: The person you paid or a description of the transaction.
- Check amount: The amount you paid your payee.
After calculating your monthly transactions, compare your checkbook register to your monthly bank statement. The total from your calculations should be equal to the balance of your bank statement.
Frequently Asked Questions
How do I record checks in checkbook?
To record a check in your checkbook, start by writing the check number, payee's name, and date in the corresponding columns. This information helps you keep track of your payments and maintain accurate records.
How do I add a check to my checking account?
To add a check to your checking account, download and access your bank's app, then follow the steps to endorse, deposit, and confirm the transaction
Sources
- https://www.capitalone.com/learn-grow/money-management/how-to-write-a-check/
- https://www.nerdwallet.com/article/banking/how-to-write-a-check
- https://www.thebalancemoney.com/how-to-write-a-check-4019395
- https://www.bankrate.com/banking/checking/how-to-write-a-check/
- https://www.businessinsider.com/personal-finance/banking/how-to-write-a-check
Featured Images: pexels.com